Bowden BrighamPersonal blog
Projects
2025
Build space
13 photos

Boat Competition Build

I built and tested a boat out of thin plywood, epoxy resin, and thin trim. Eventually, after achieving the boat I needed, I took it out with some friends and won a school-wide competition.

Boat Competition Build hero image

Project notes

What this project shows

For this competition project, I built a boat with performance and durability in mind. The process started with shaping the structure, selecting materials, and thinking through how the boat would hold up once it was actually in the water.

The build involved several rounds of measuring, fastening, sealing, and refinement. Every stage had a tradeoff between weight, strength, and the time available before testing.

The final boat was a practical lesson in how design choices show up in real conditions. It connected planning with physical feedback in a way that made each improvement measurable.
Build sequence

Start to finish

13 photos in numeric project order

Boat Competition Build progress photo 1

Step 1

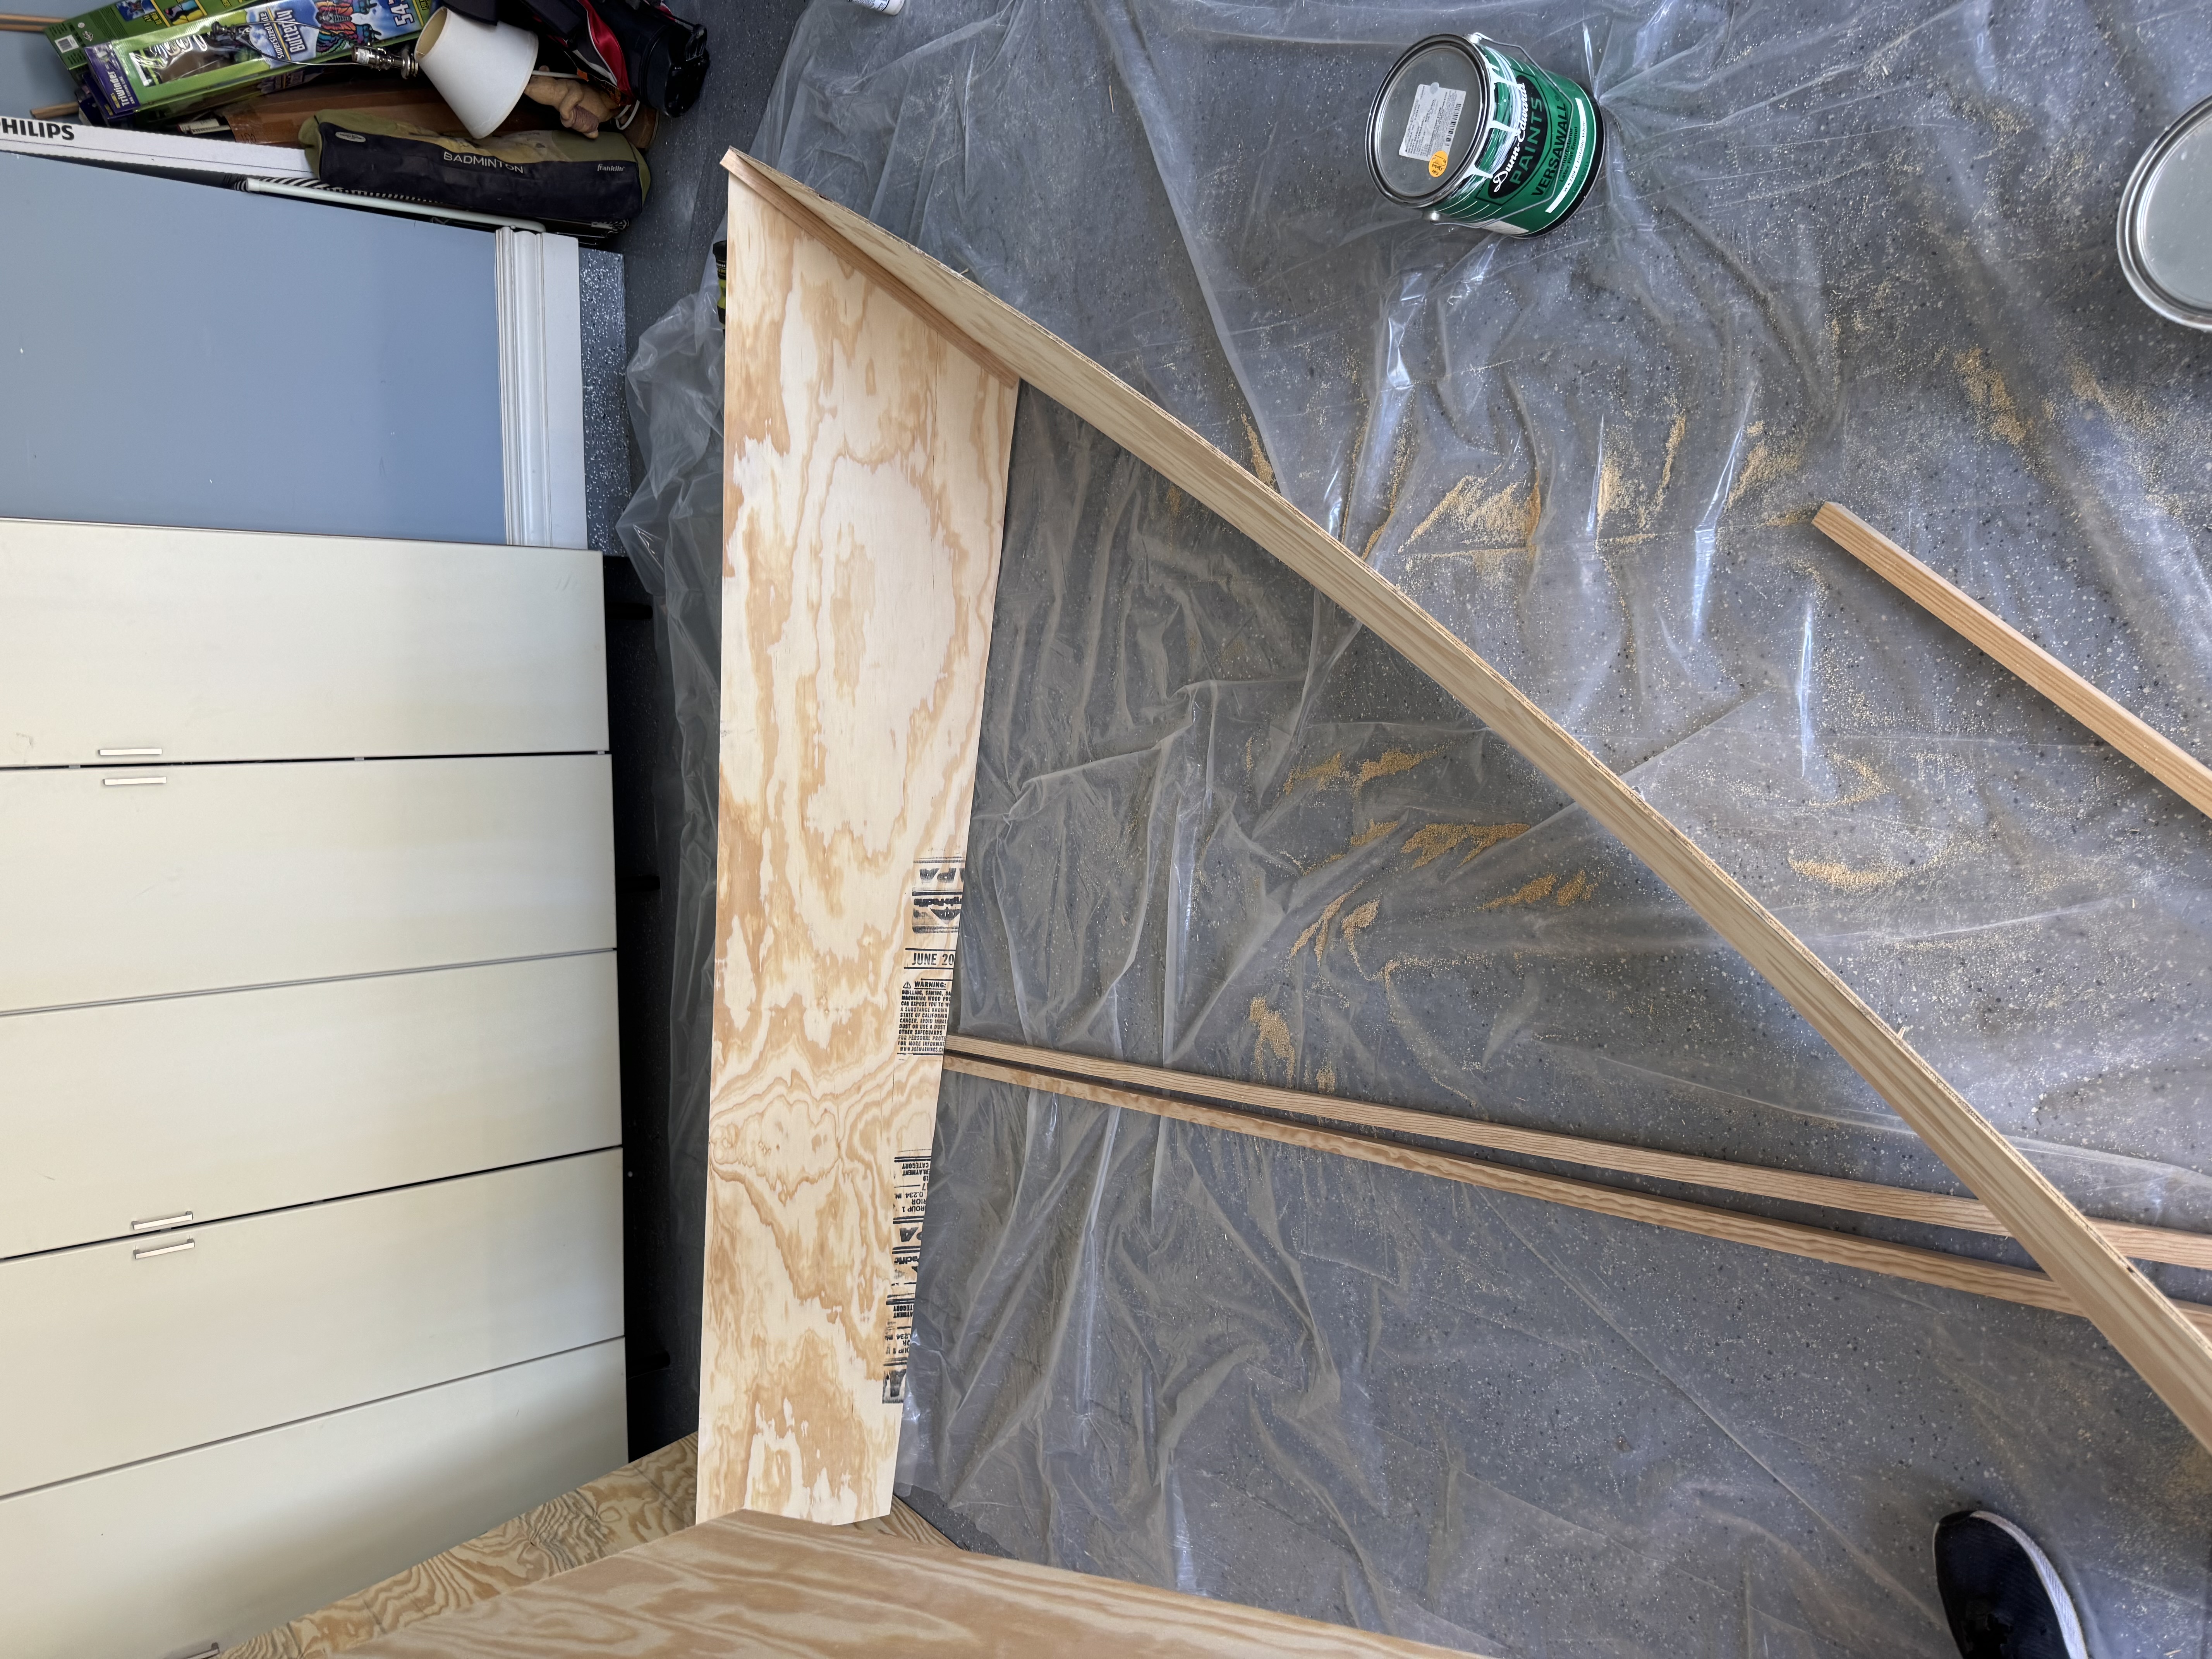
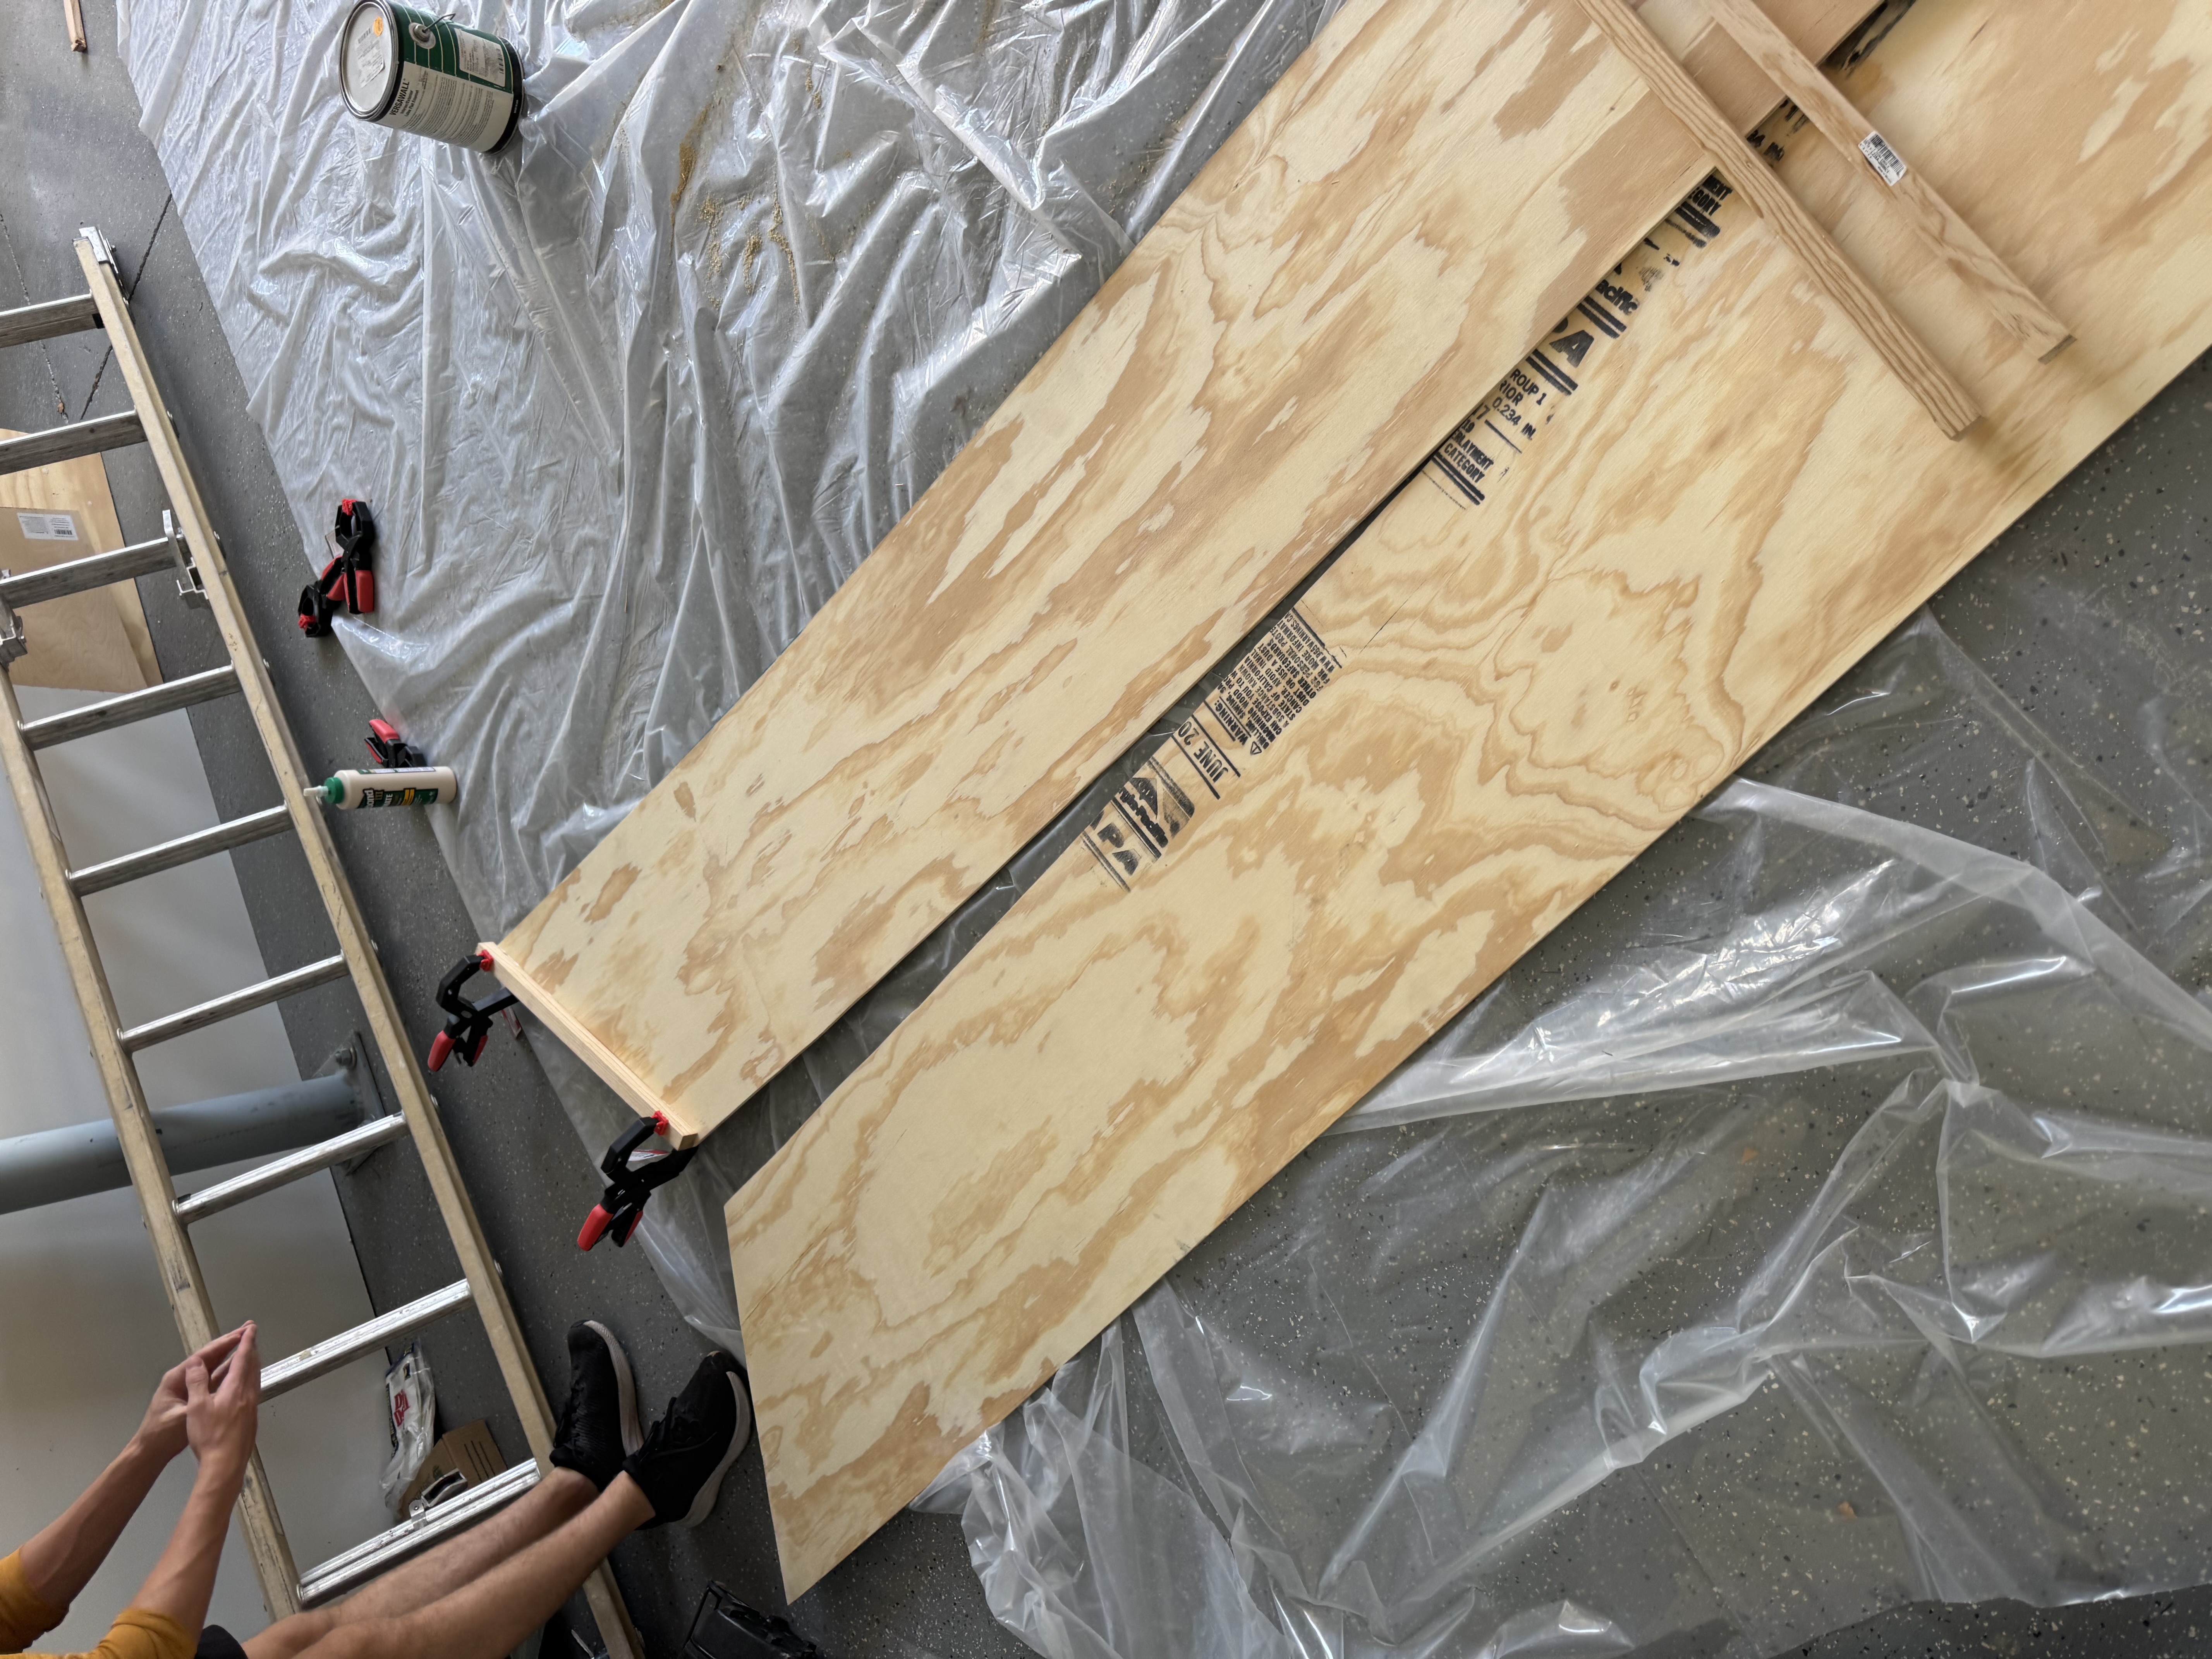
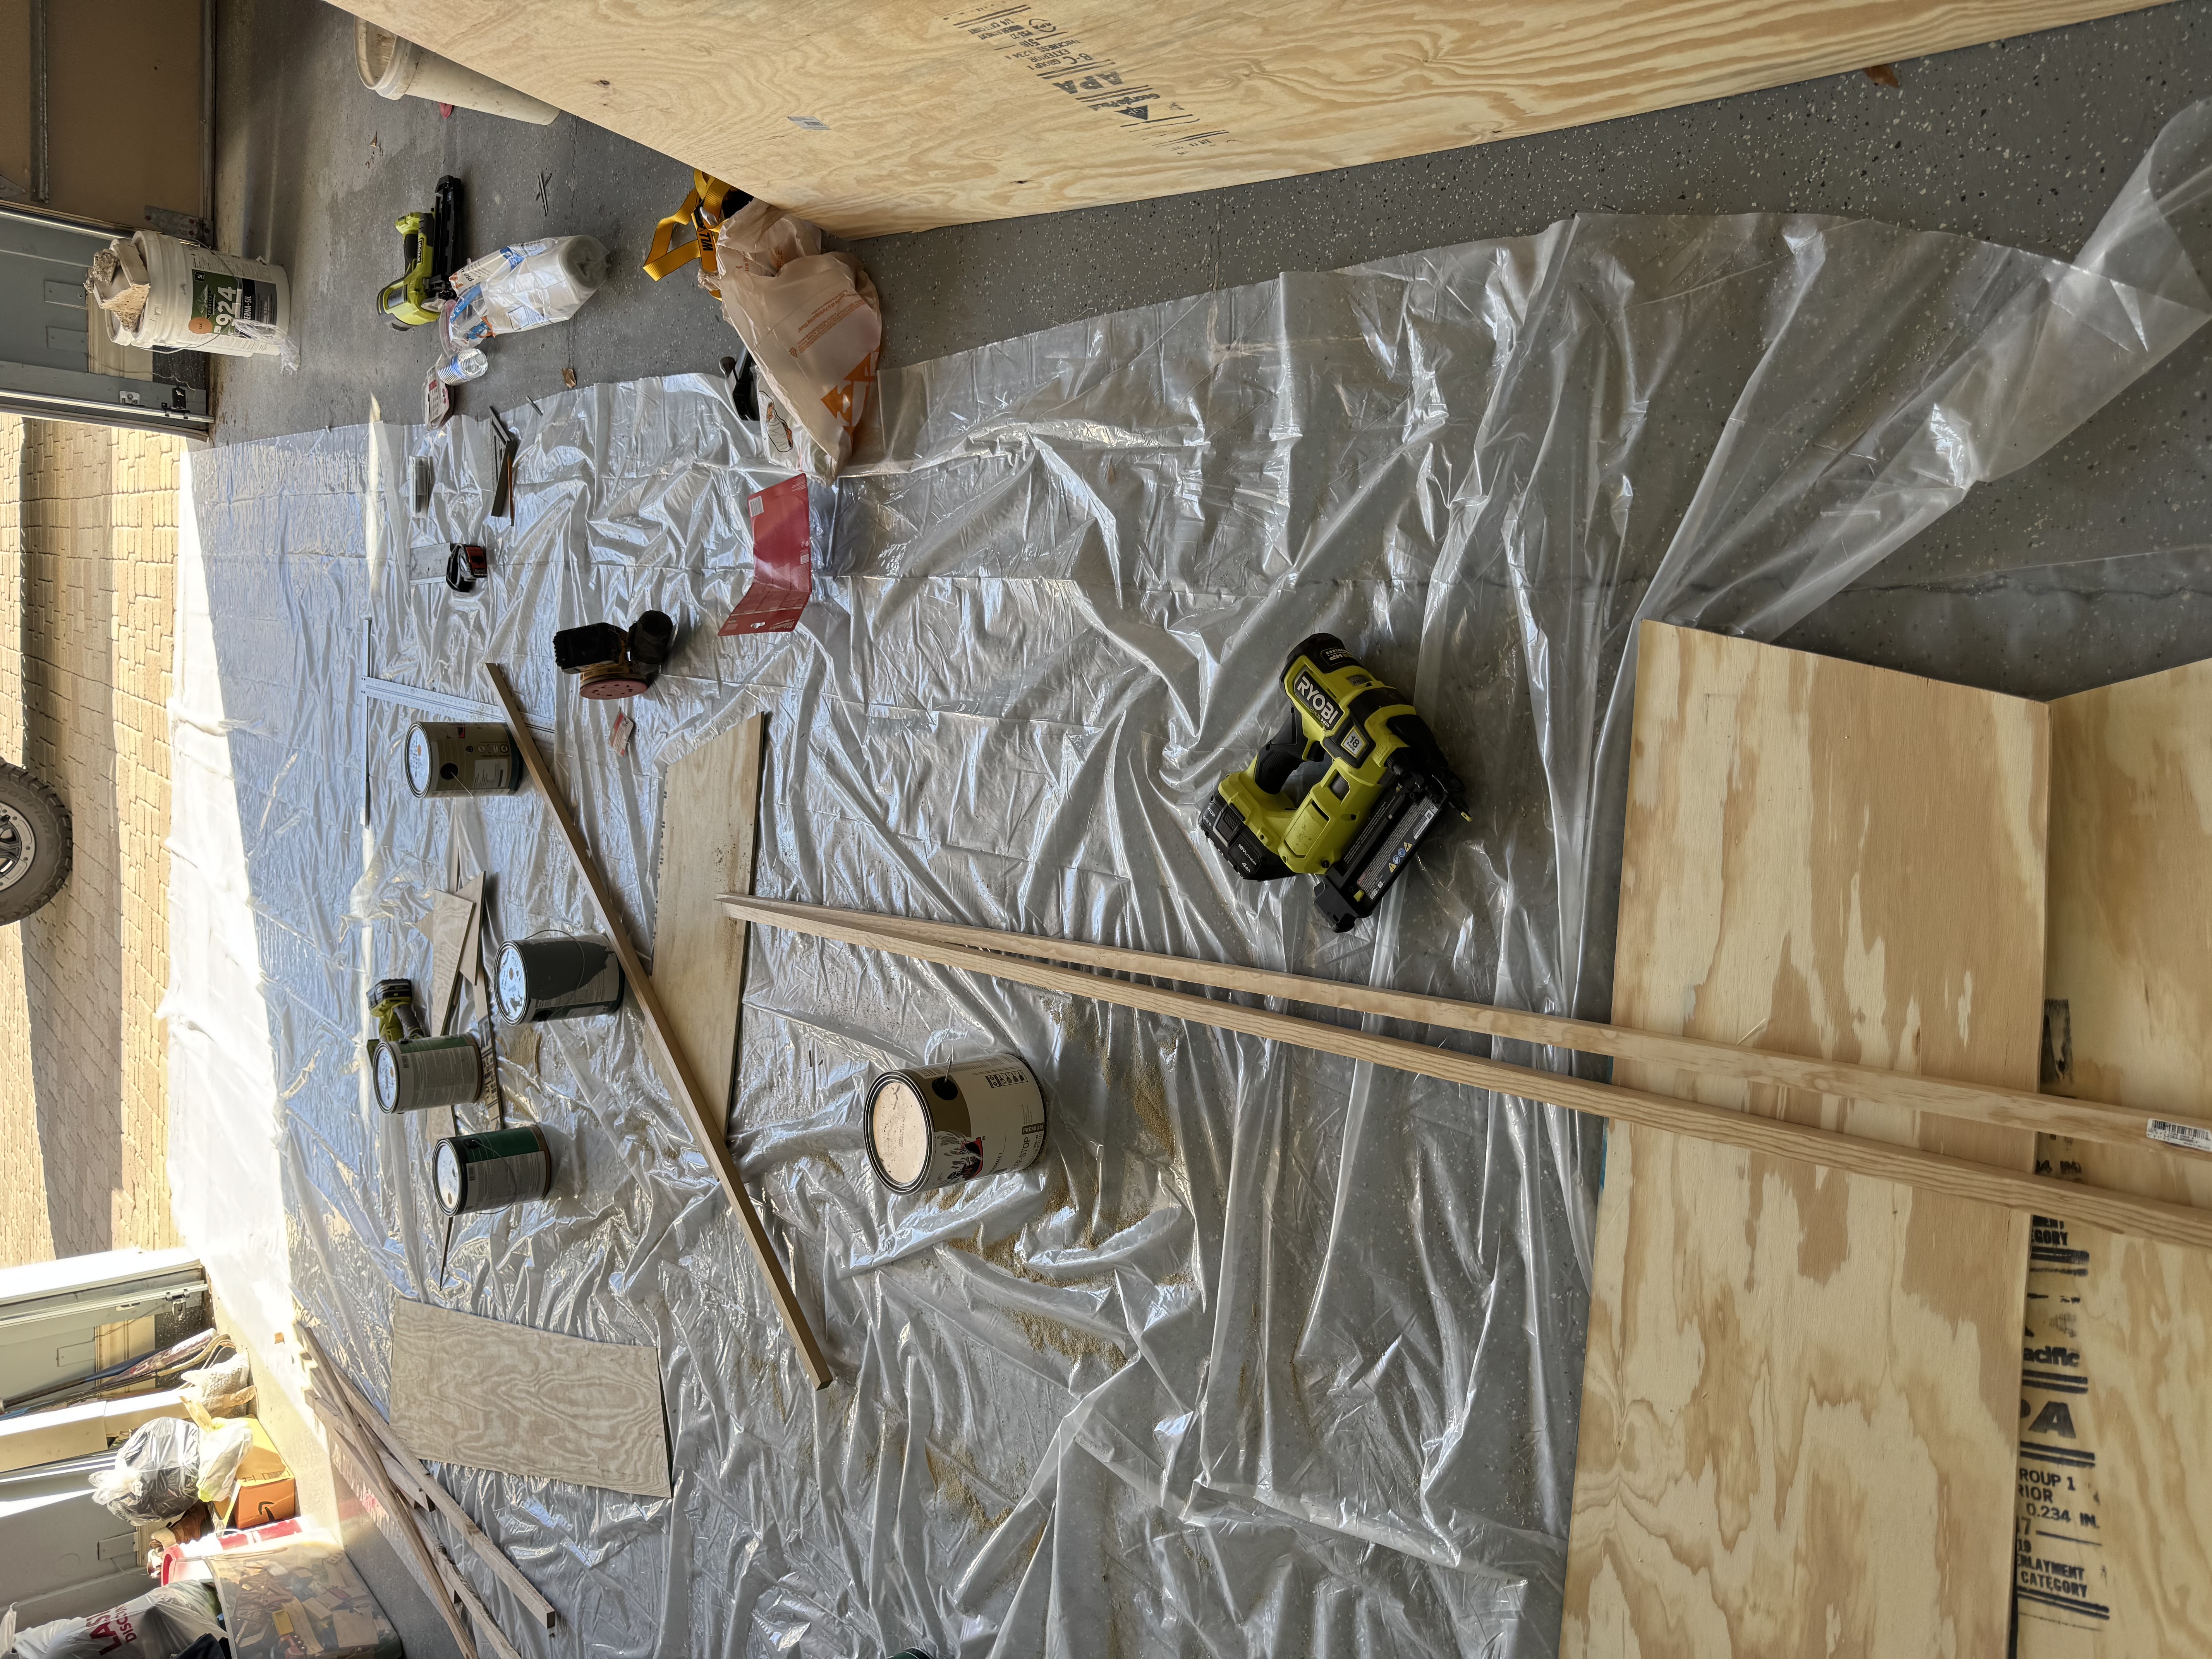
I started by cutting out all the pieces for the sides, stern, and bottom. Then I began wood-gluing and nail-gunning the 1x1 corner-joining pieces into place.

Boat Competition Build progress photo 2

Step 2

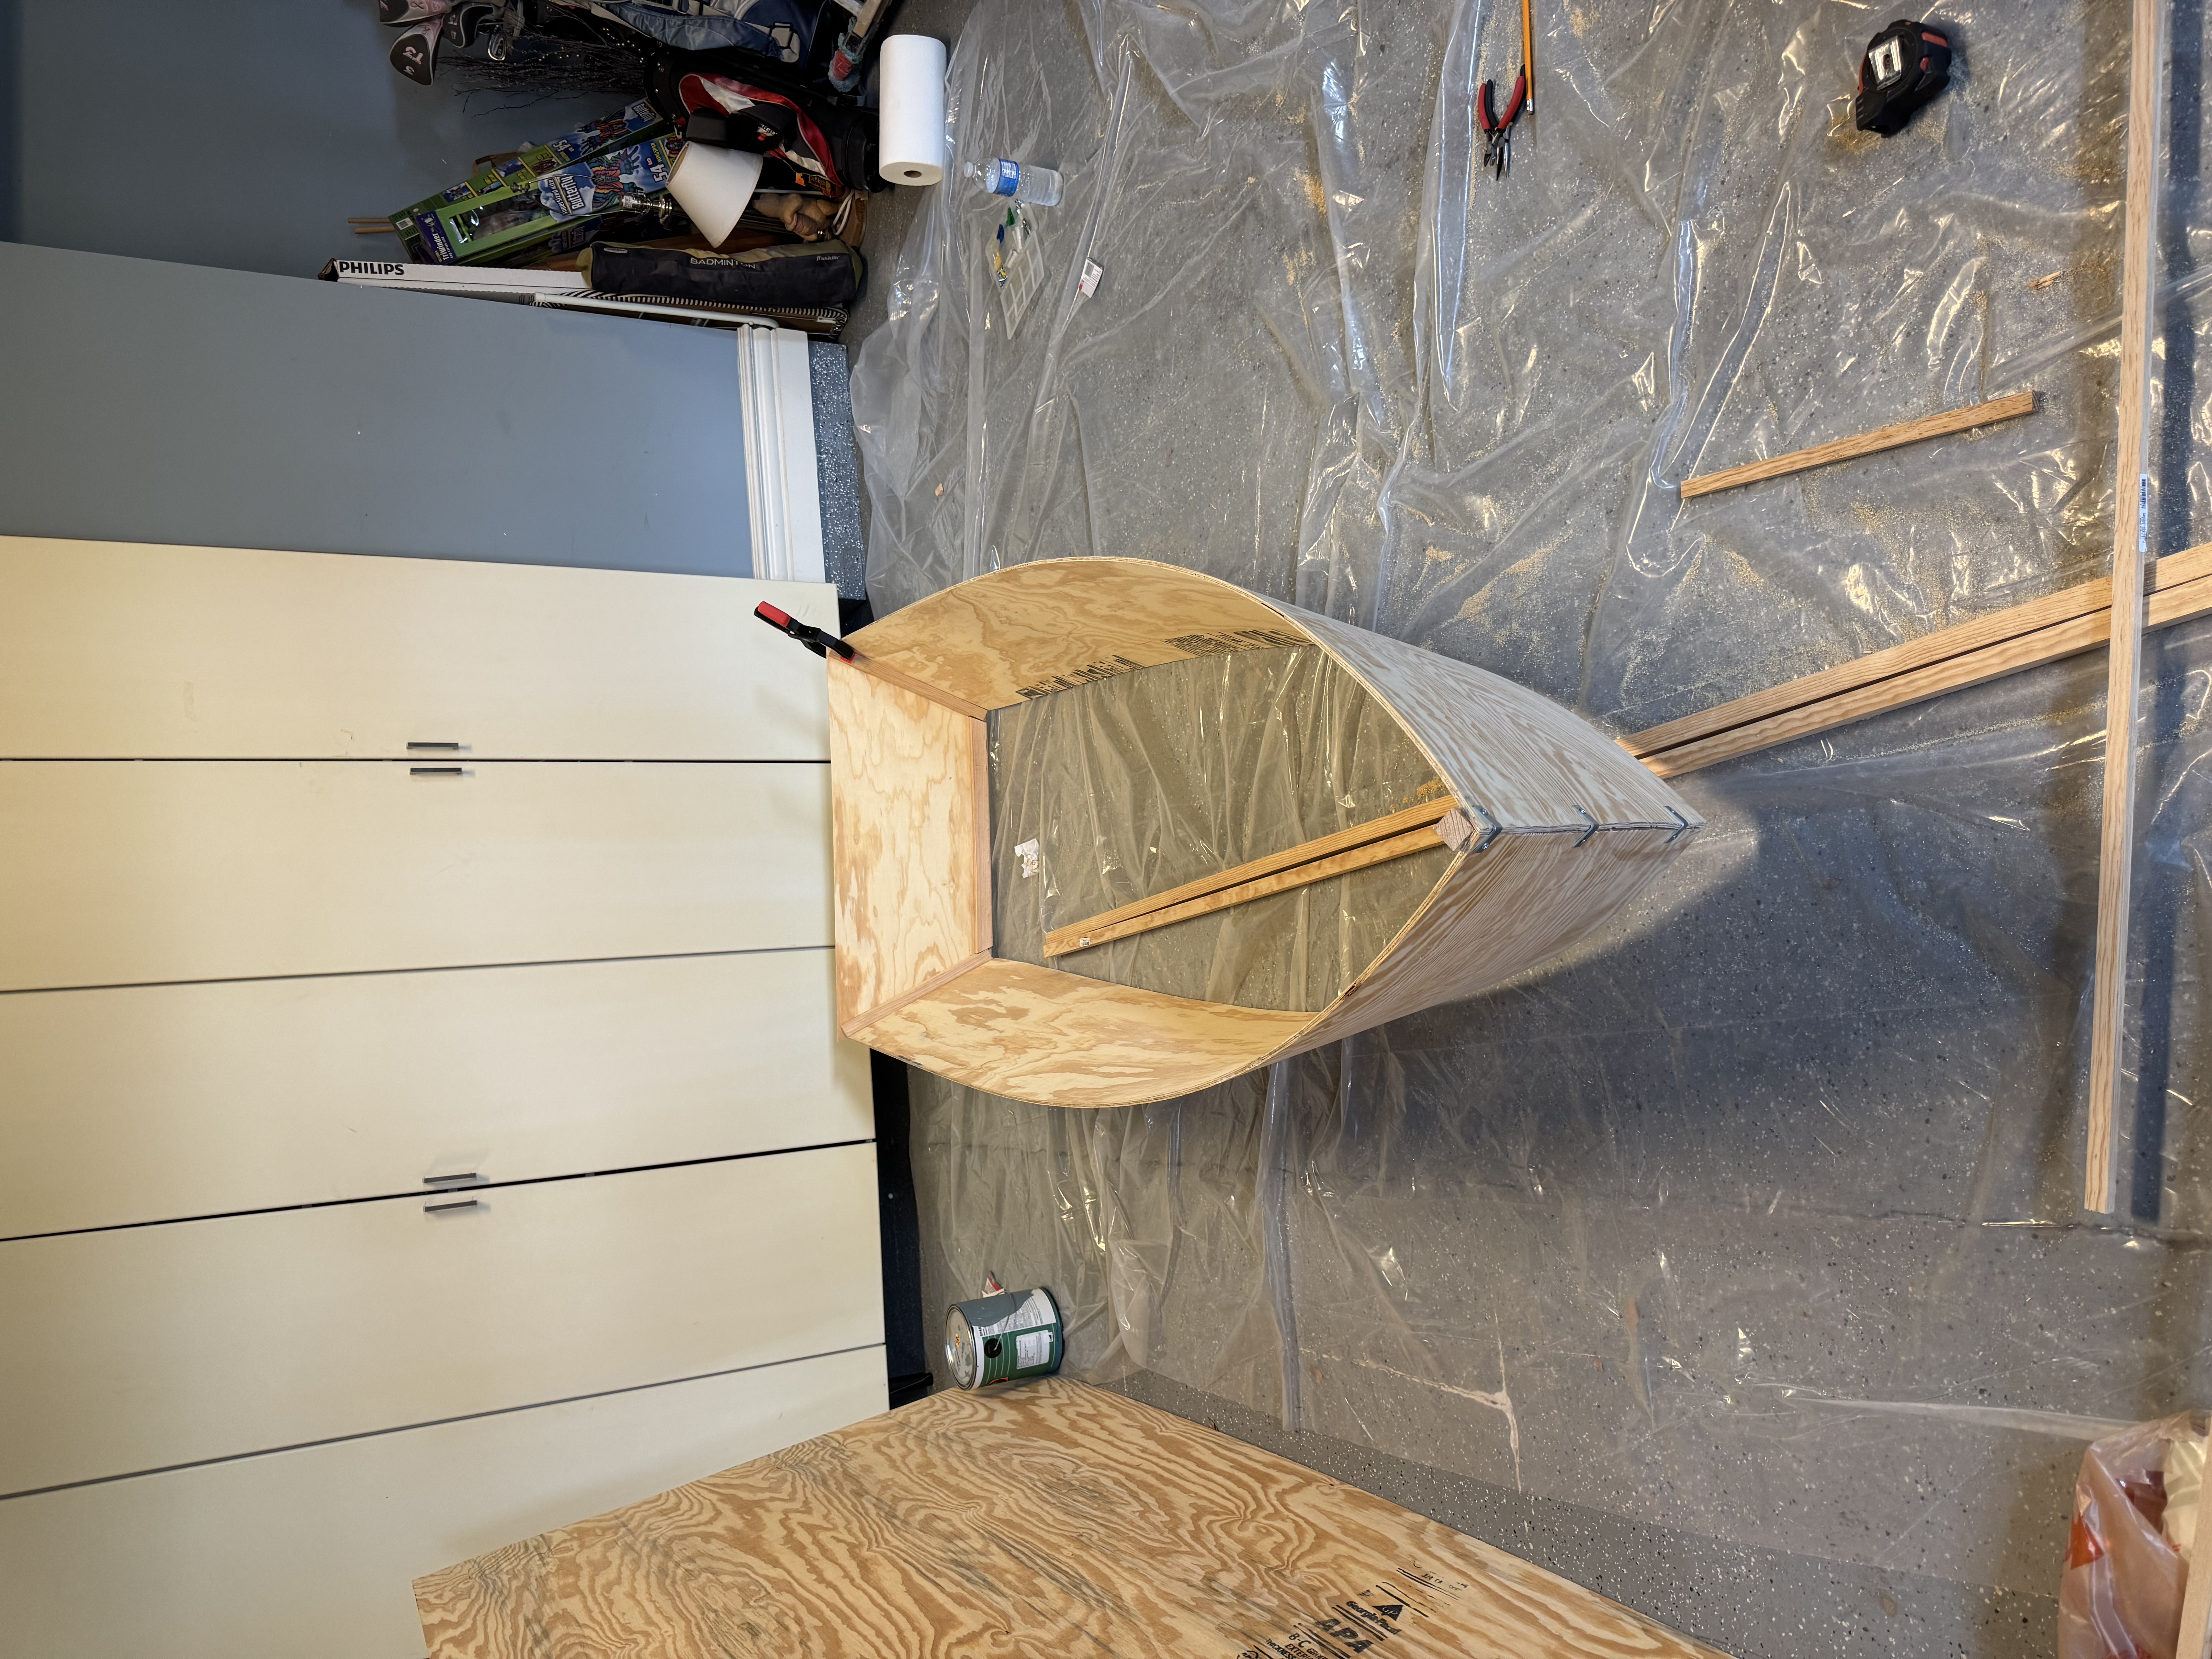
I cut the other 1x1 pieces to length so I could join the bottom of the boat to the sides and stern, while also pushing out the interior to create that classic, secure boat shape.

Boat Competition Build progress photo 3

Step 3

I joined the front of the sides with wood glue and nails to create a proper, consistent seal.

Boat Competition Build progress photo 4

Step 4

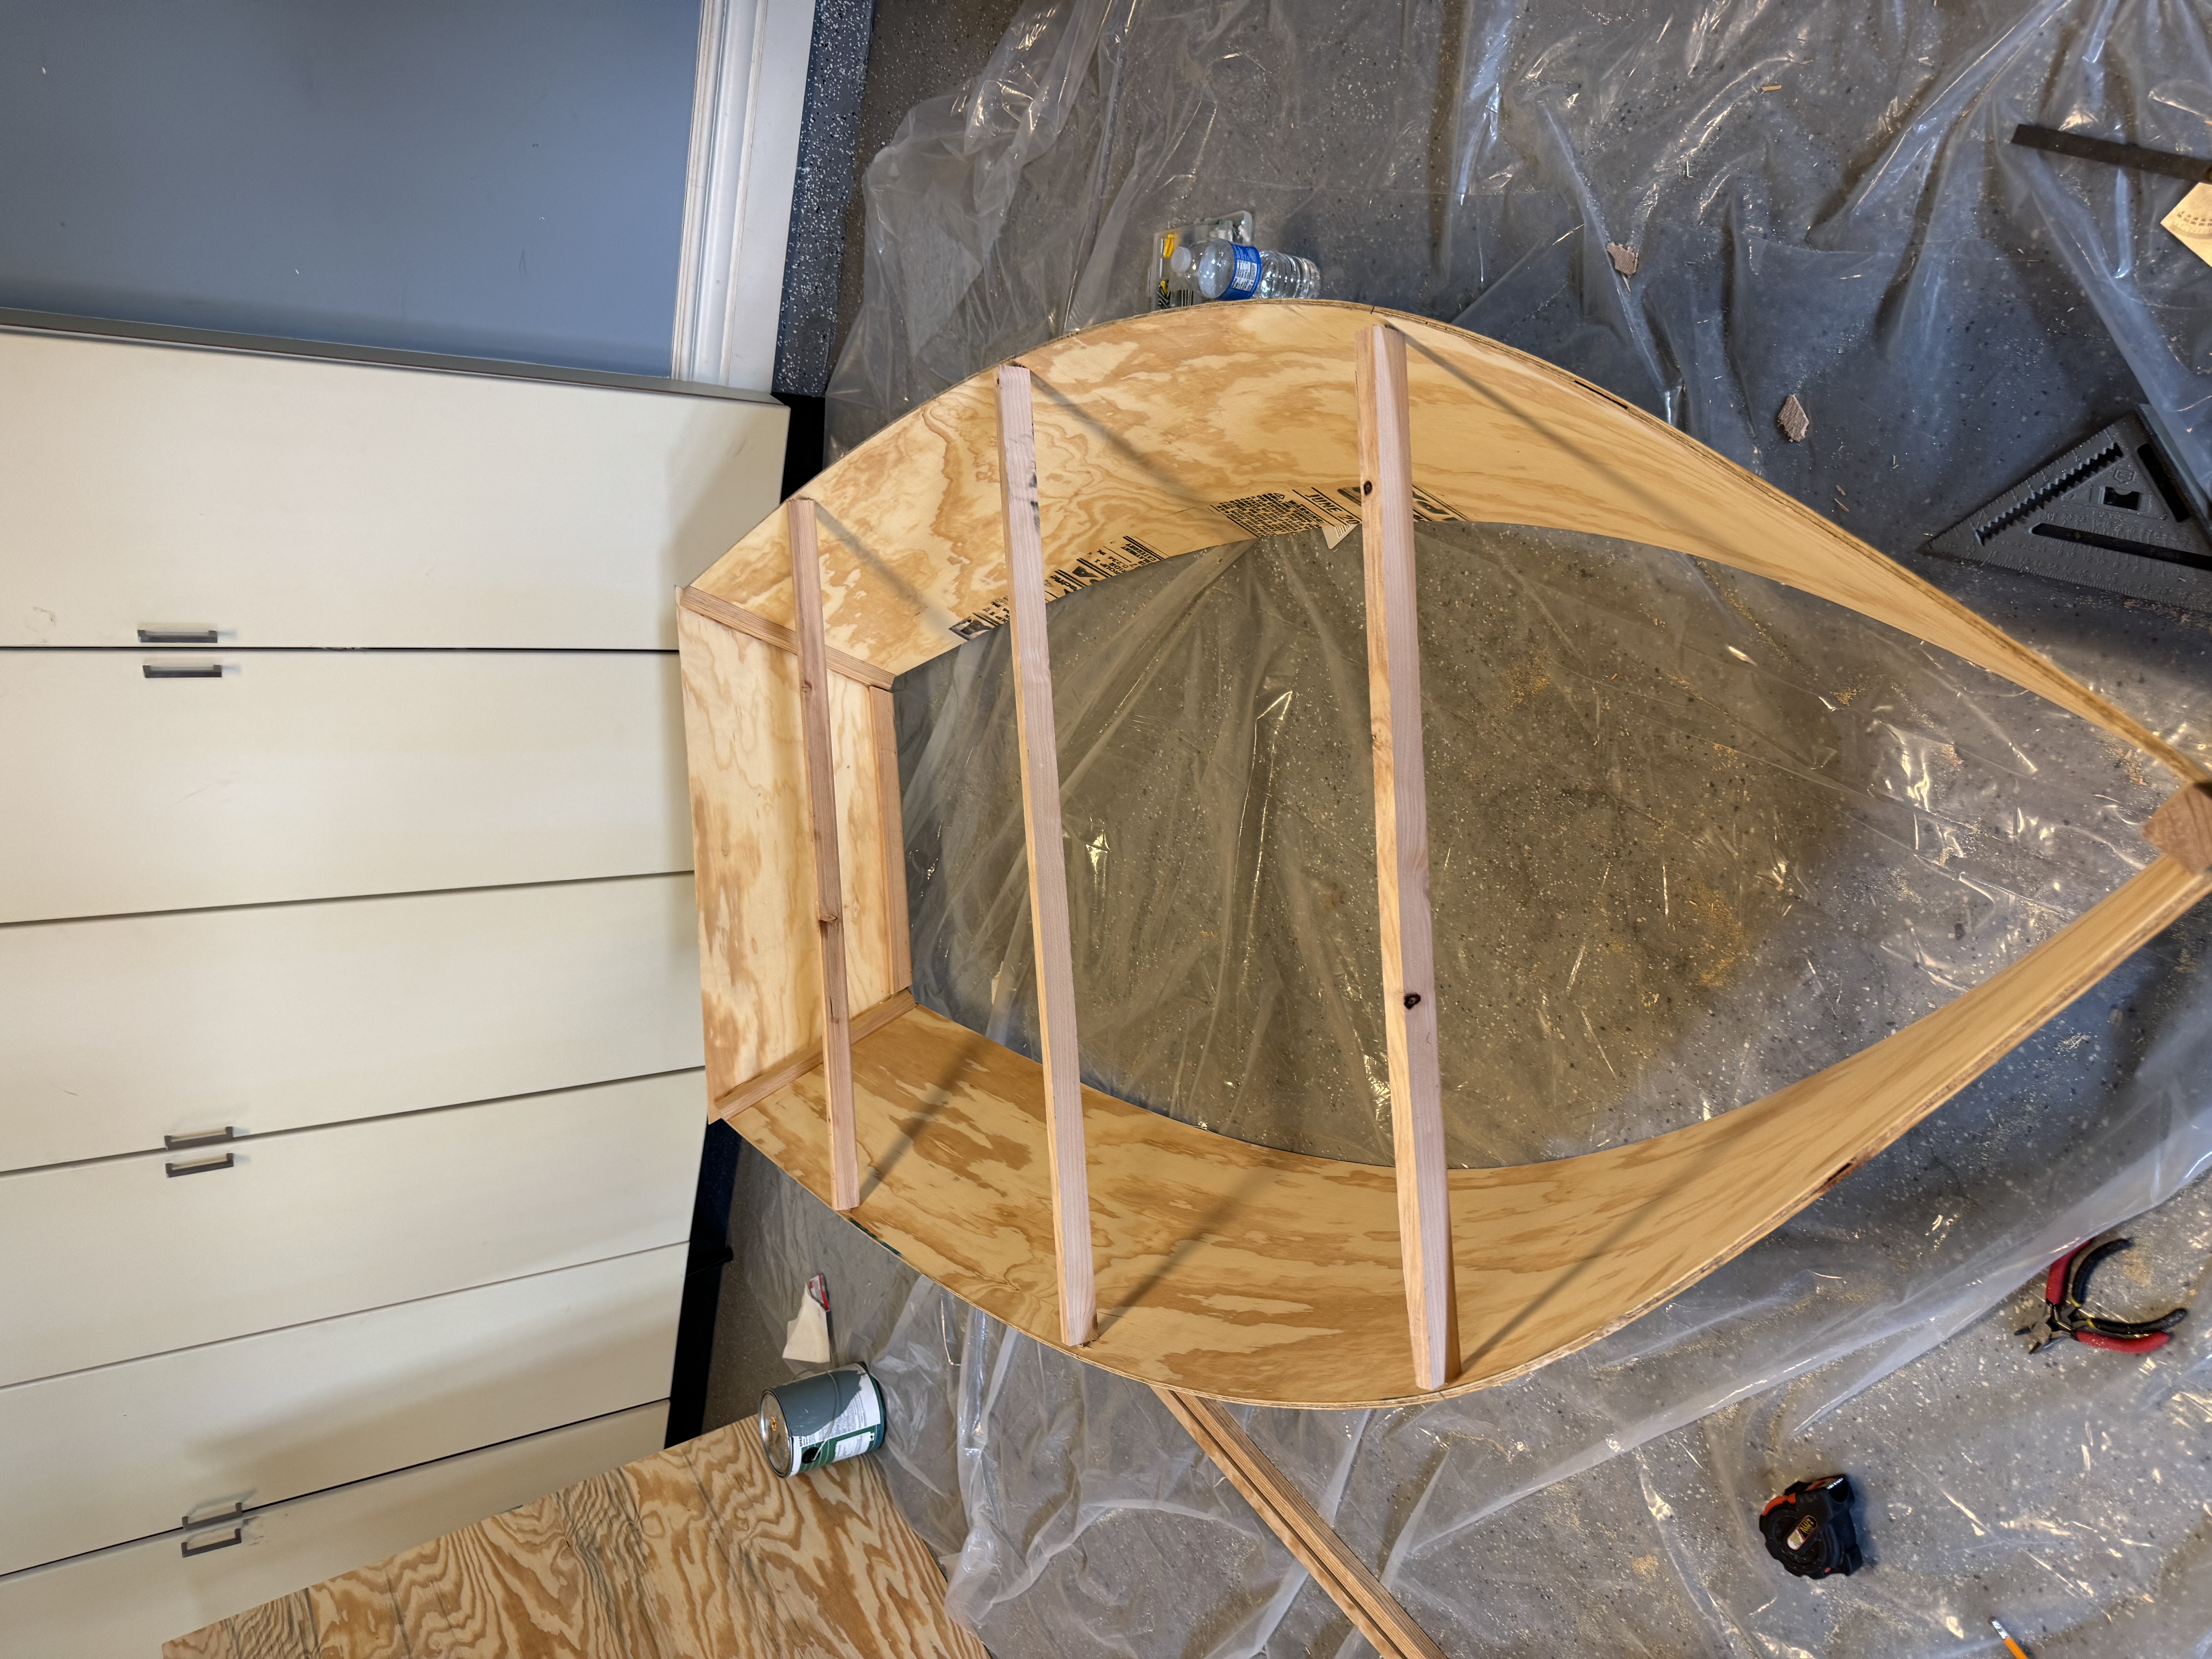
I added the stern to the build and joined it to the sides using the same method: wood glue and nails. To make sure everything was secure, I also added braces to every corner and the front.

Boat Competition Build progress photo 5

Step 5

I bowed out the sides with supports in the center to create the optimal surface area for the boat to operate on the water.

Boat Competition Build progress photo 6

Step 6

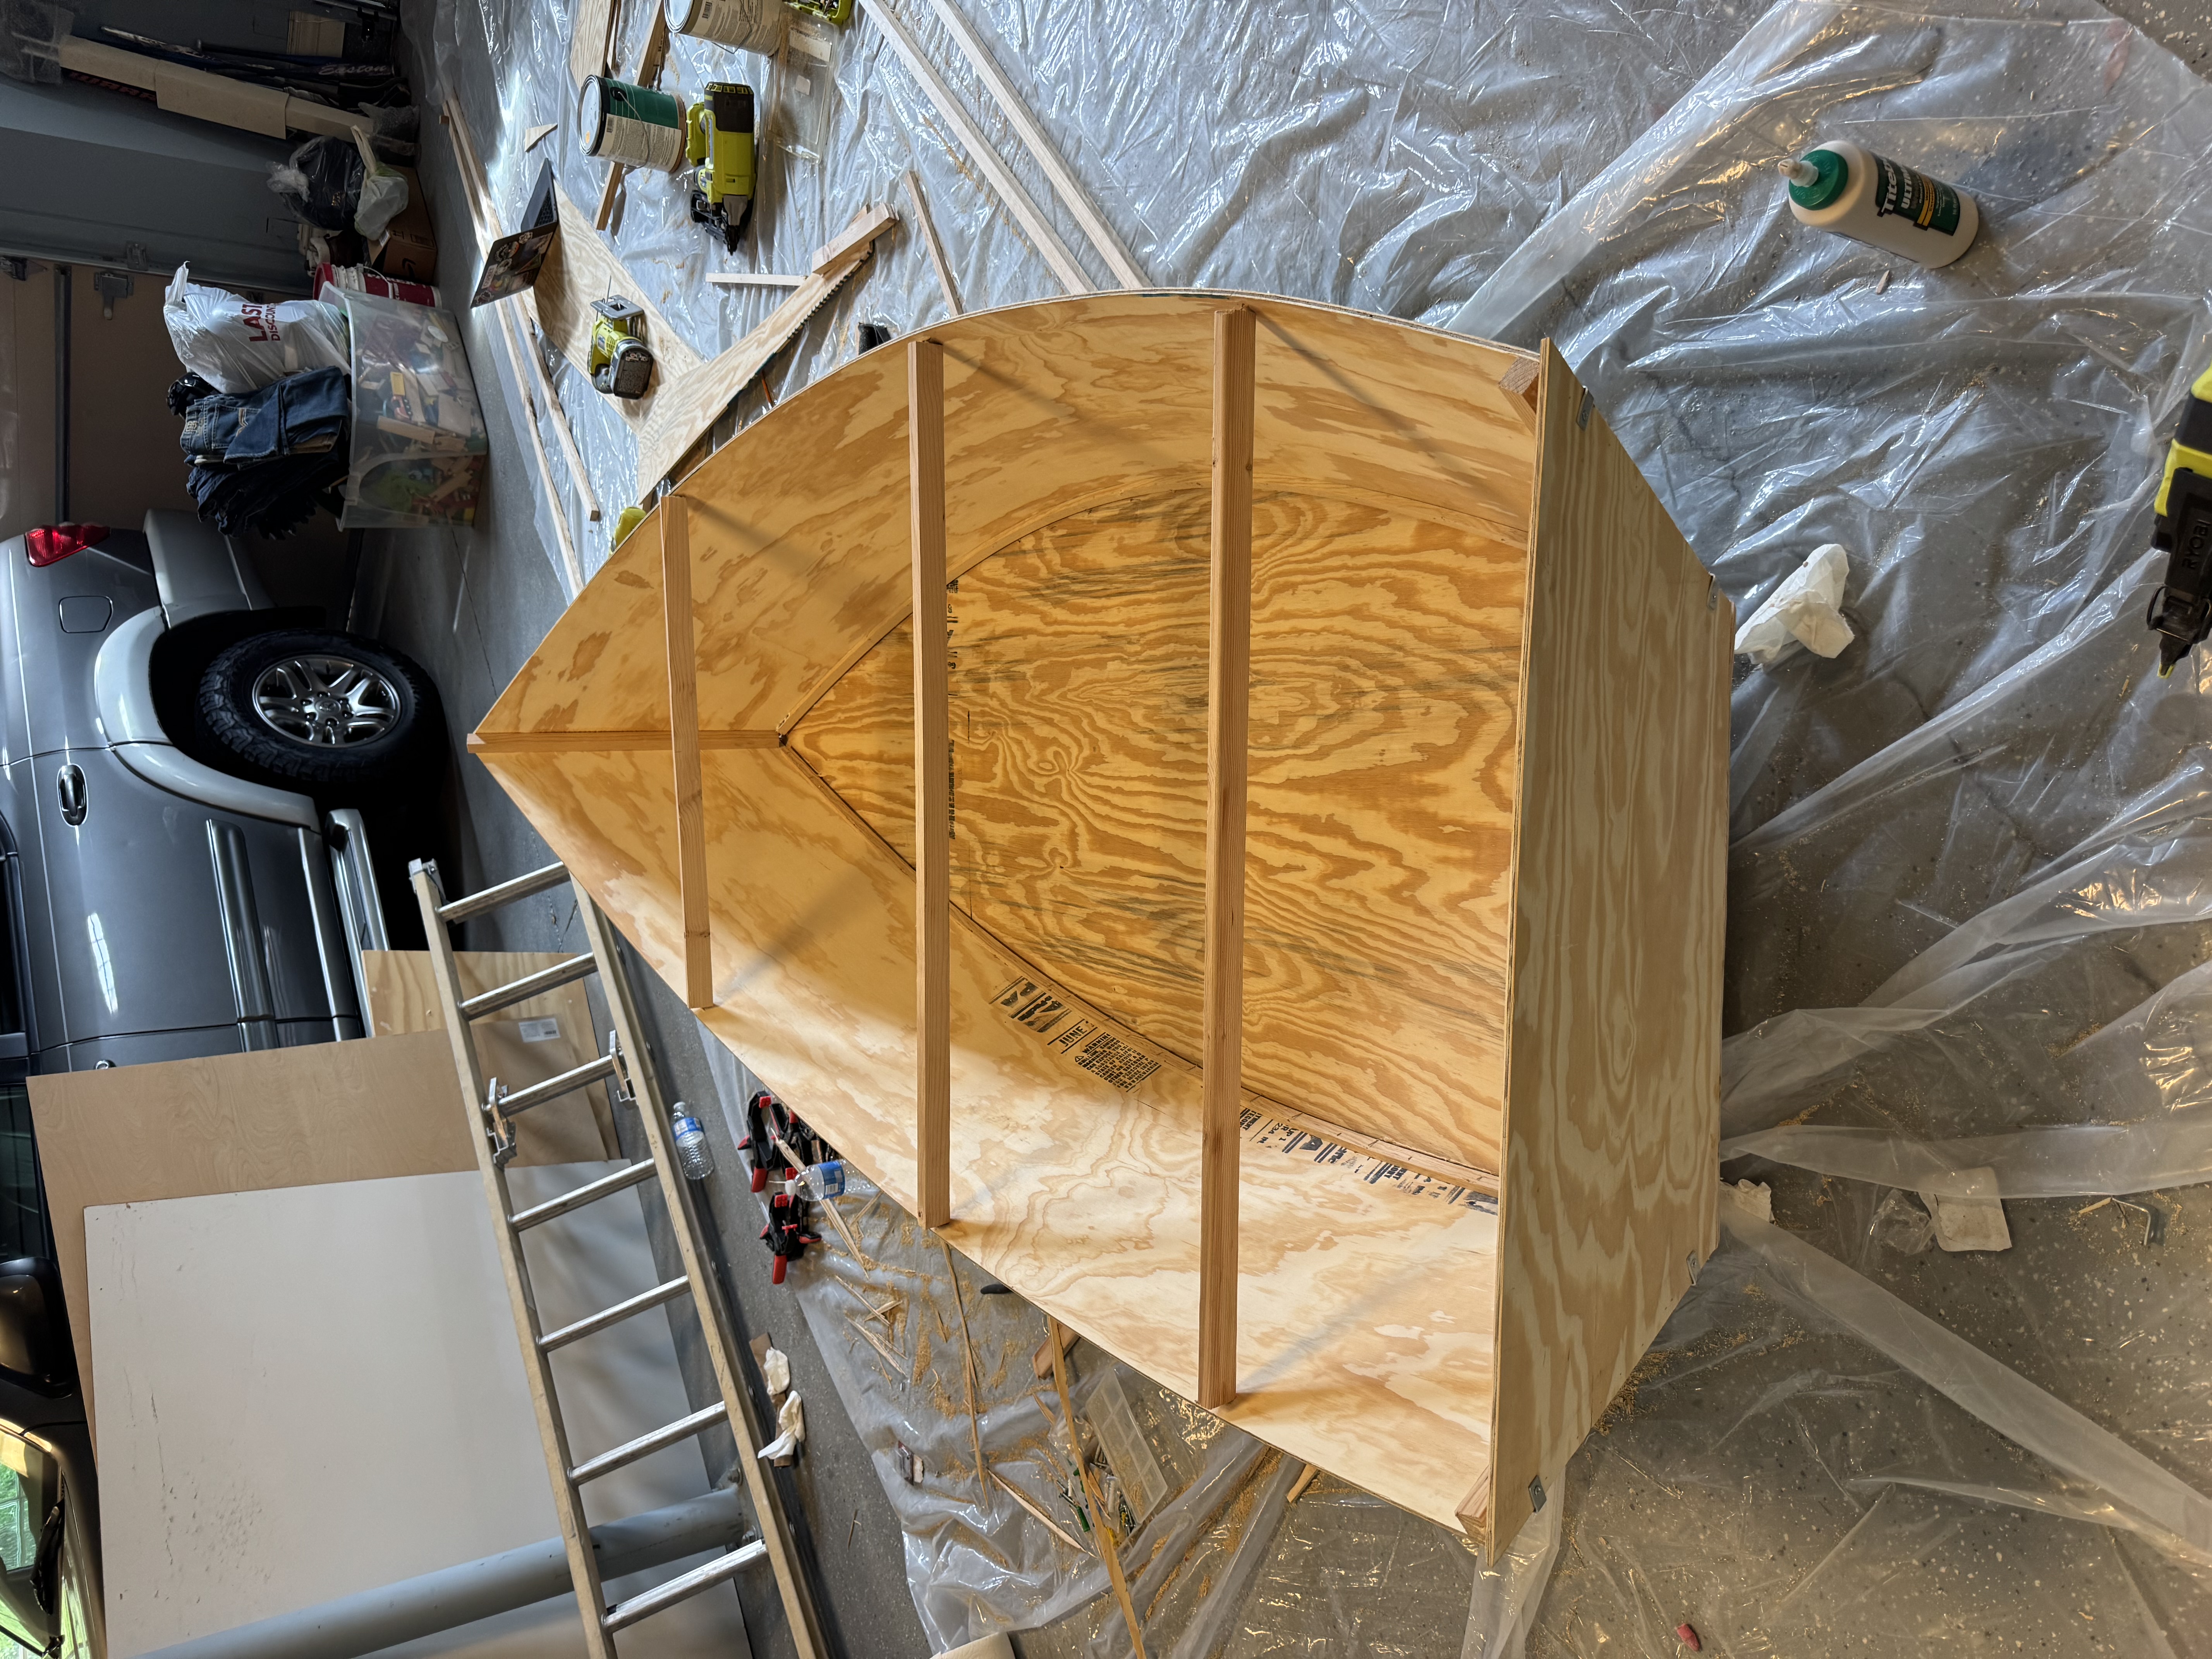
Finally, I added the bottom and sealed the inside with caulk. It was ready for epoxy.

Boat Competition Build progress photo 7

Step 7

I started preparing the boat for epoxy. First, I added fiberglass cloth to every corner to create a stronger and more watertight seal.

Boat Competition Build progress photo 8

Step 8

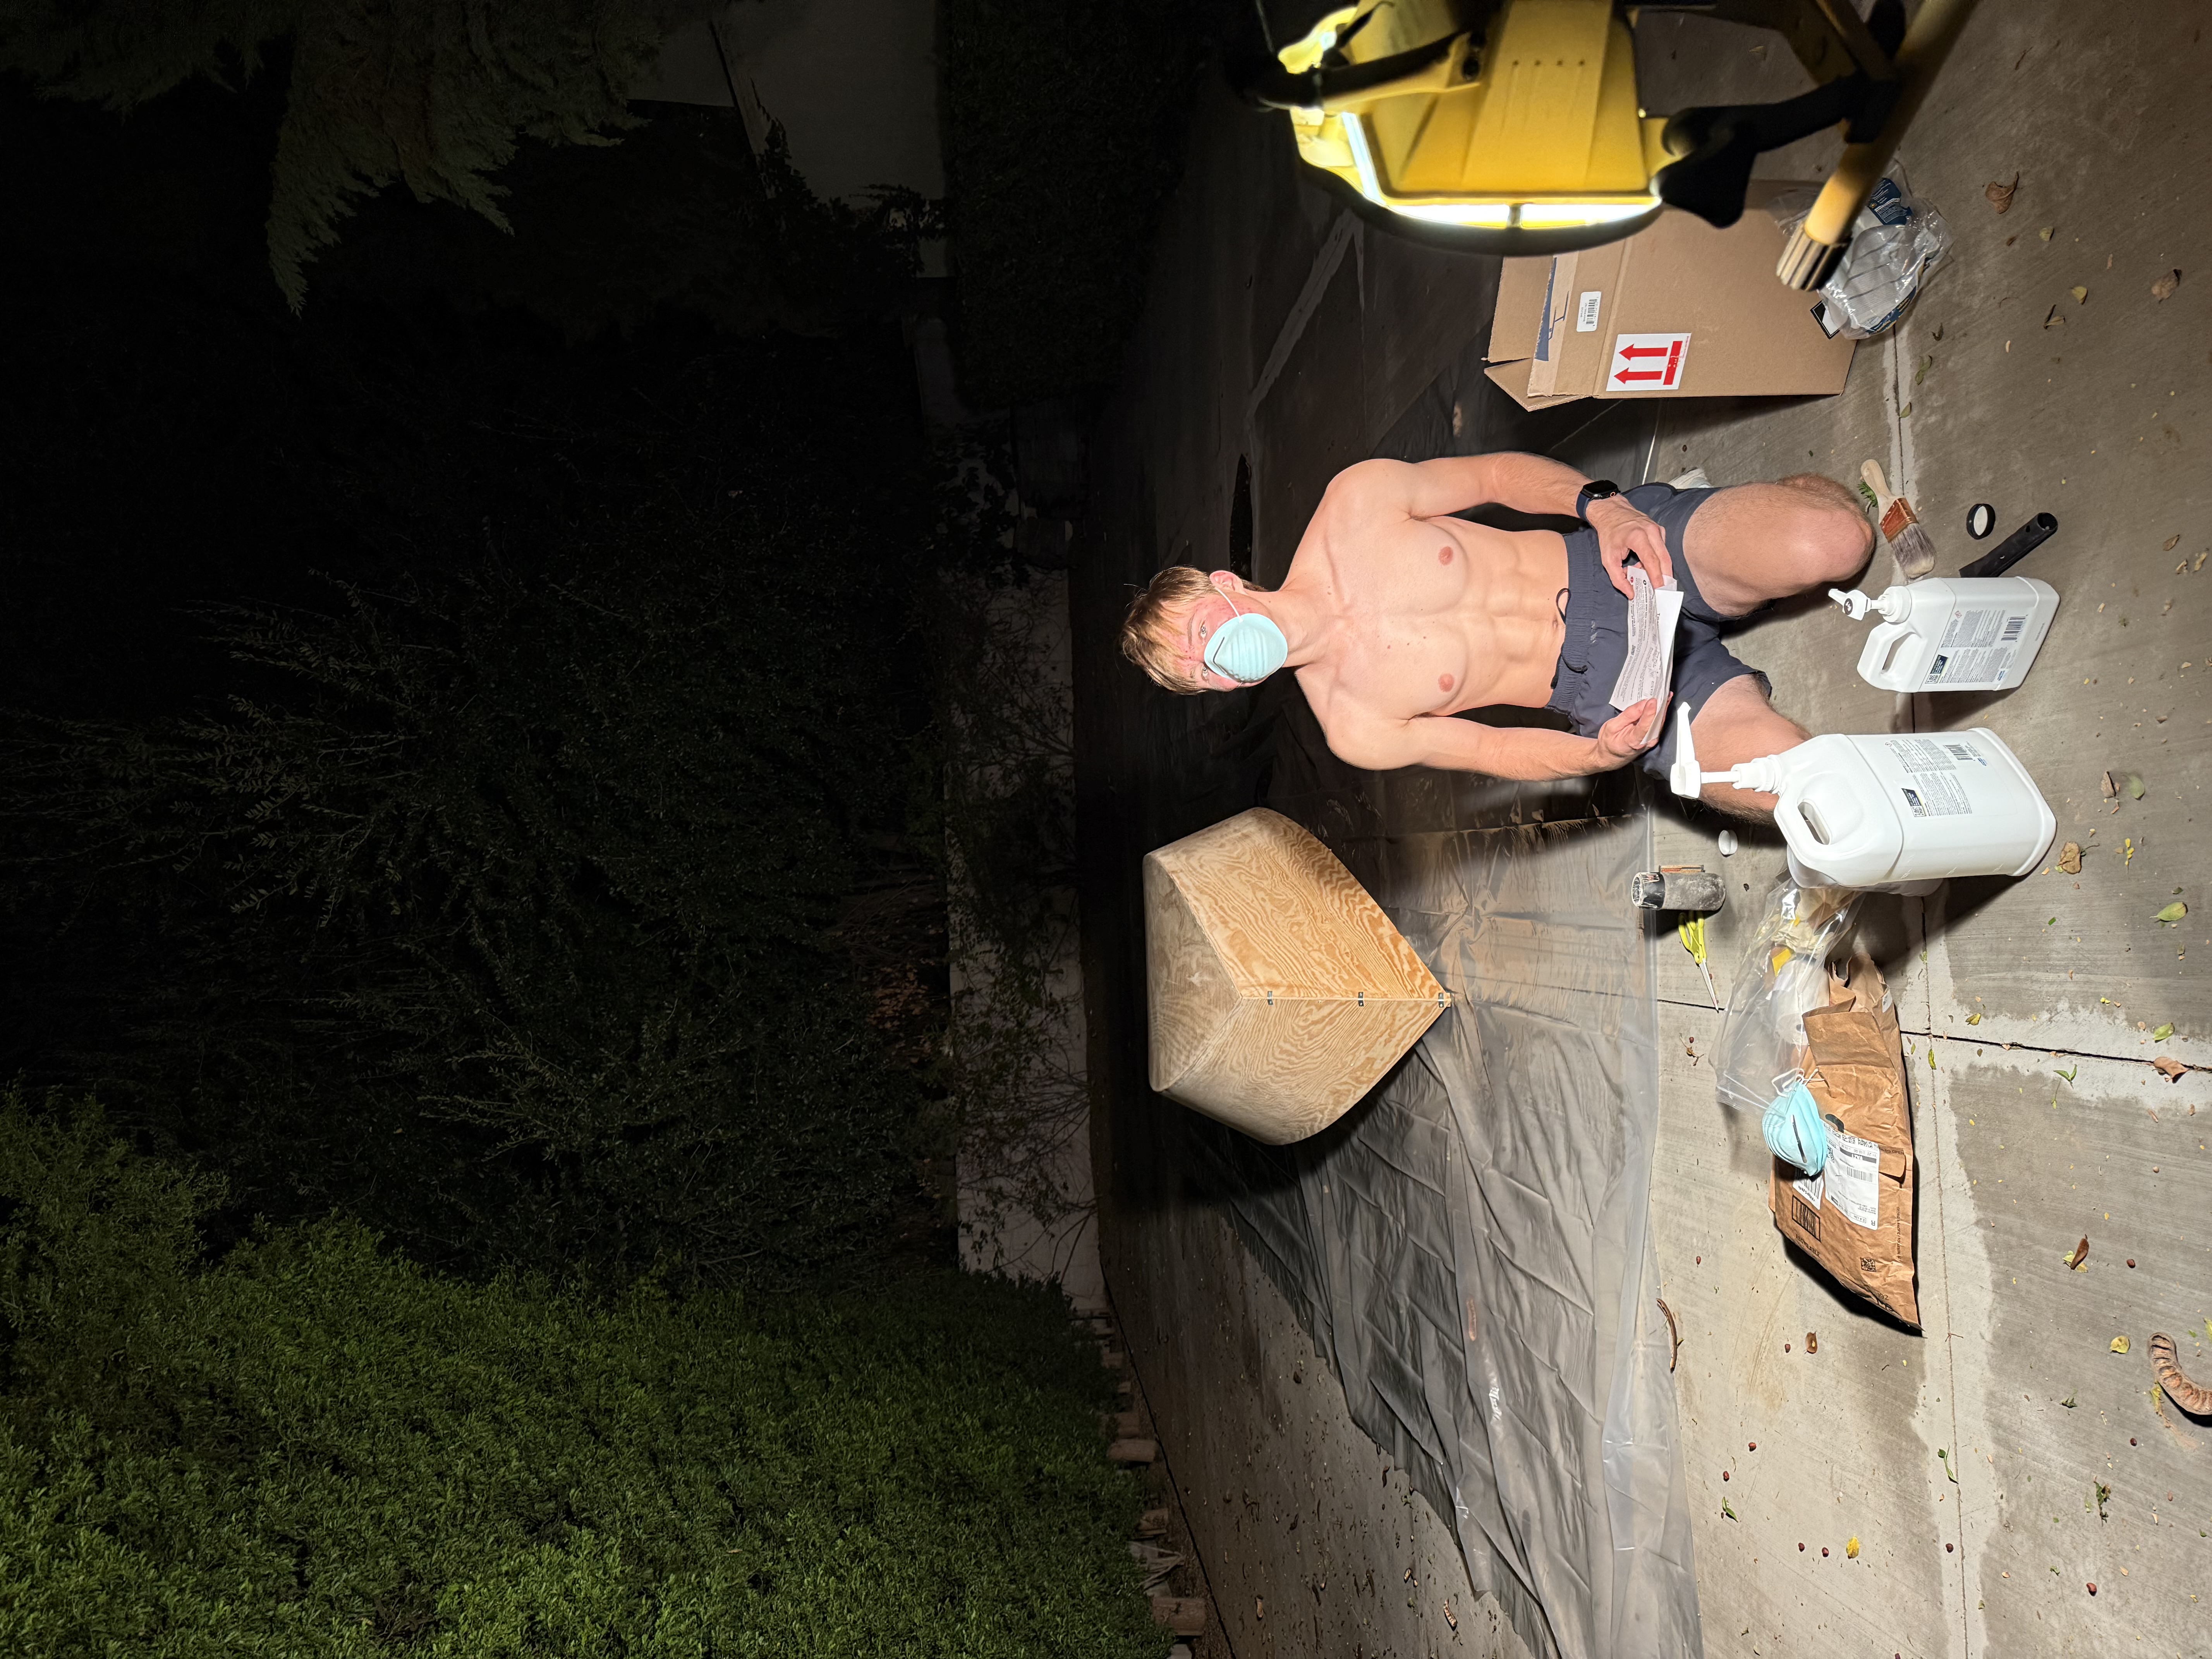
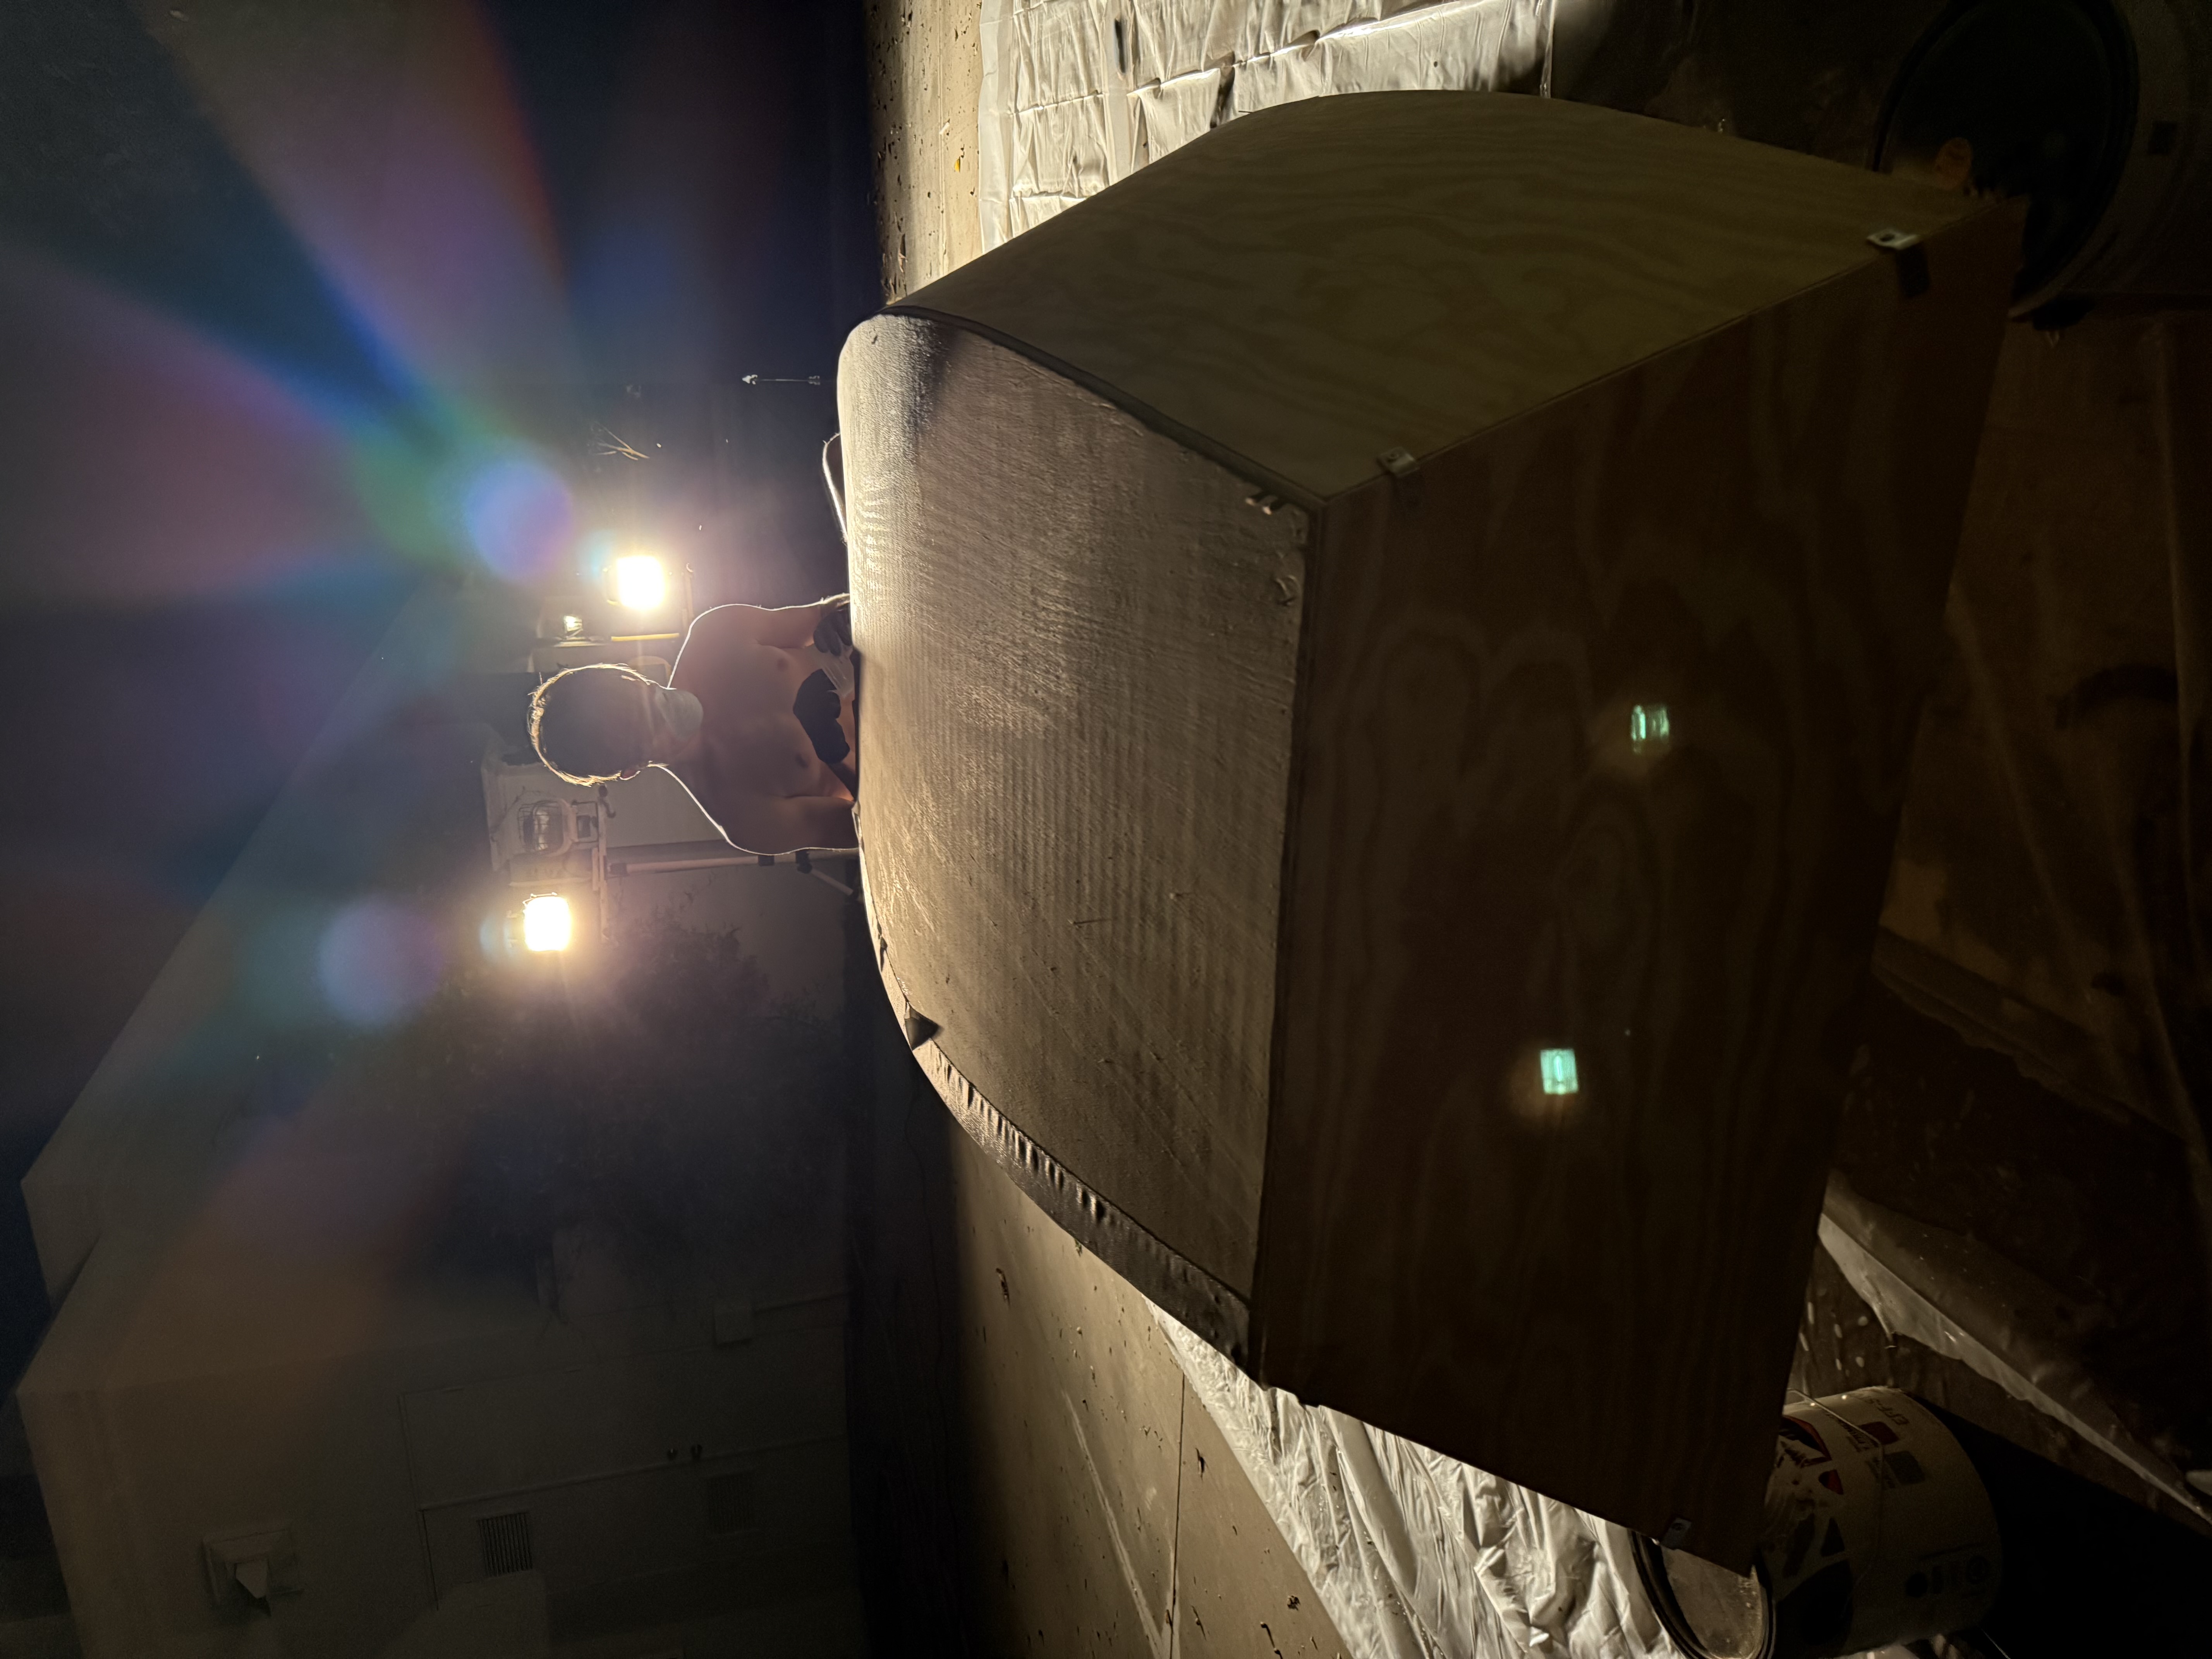
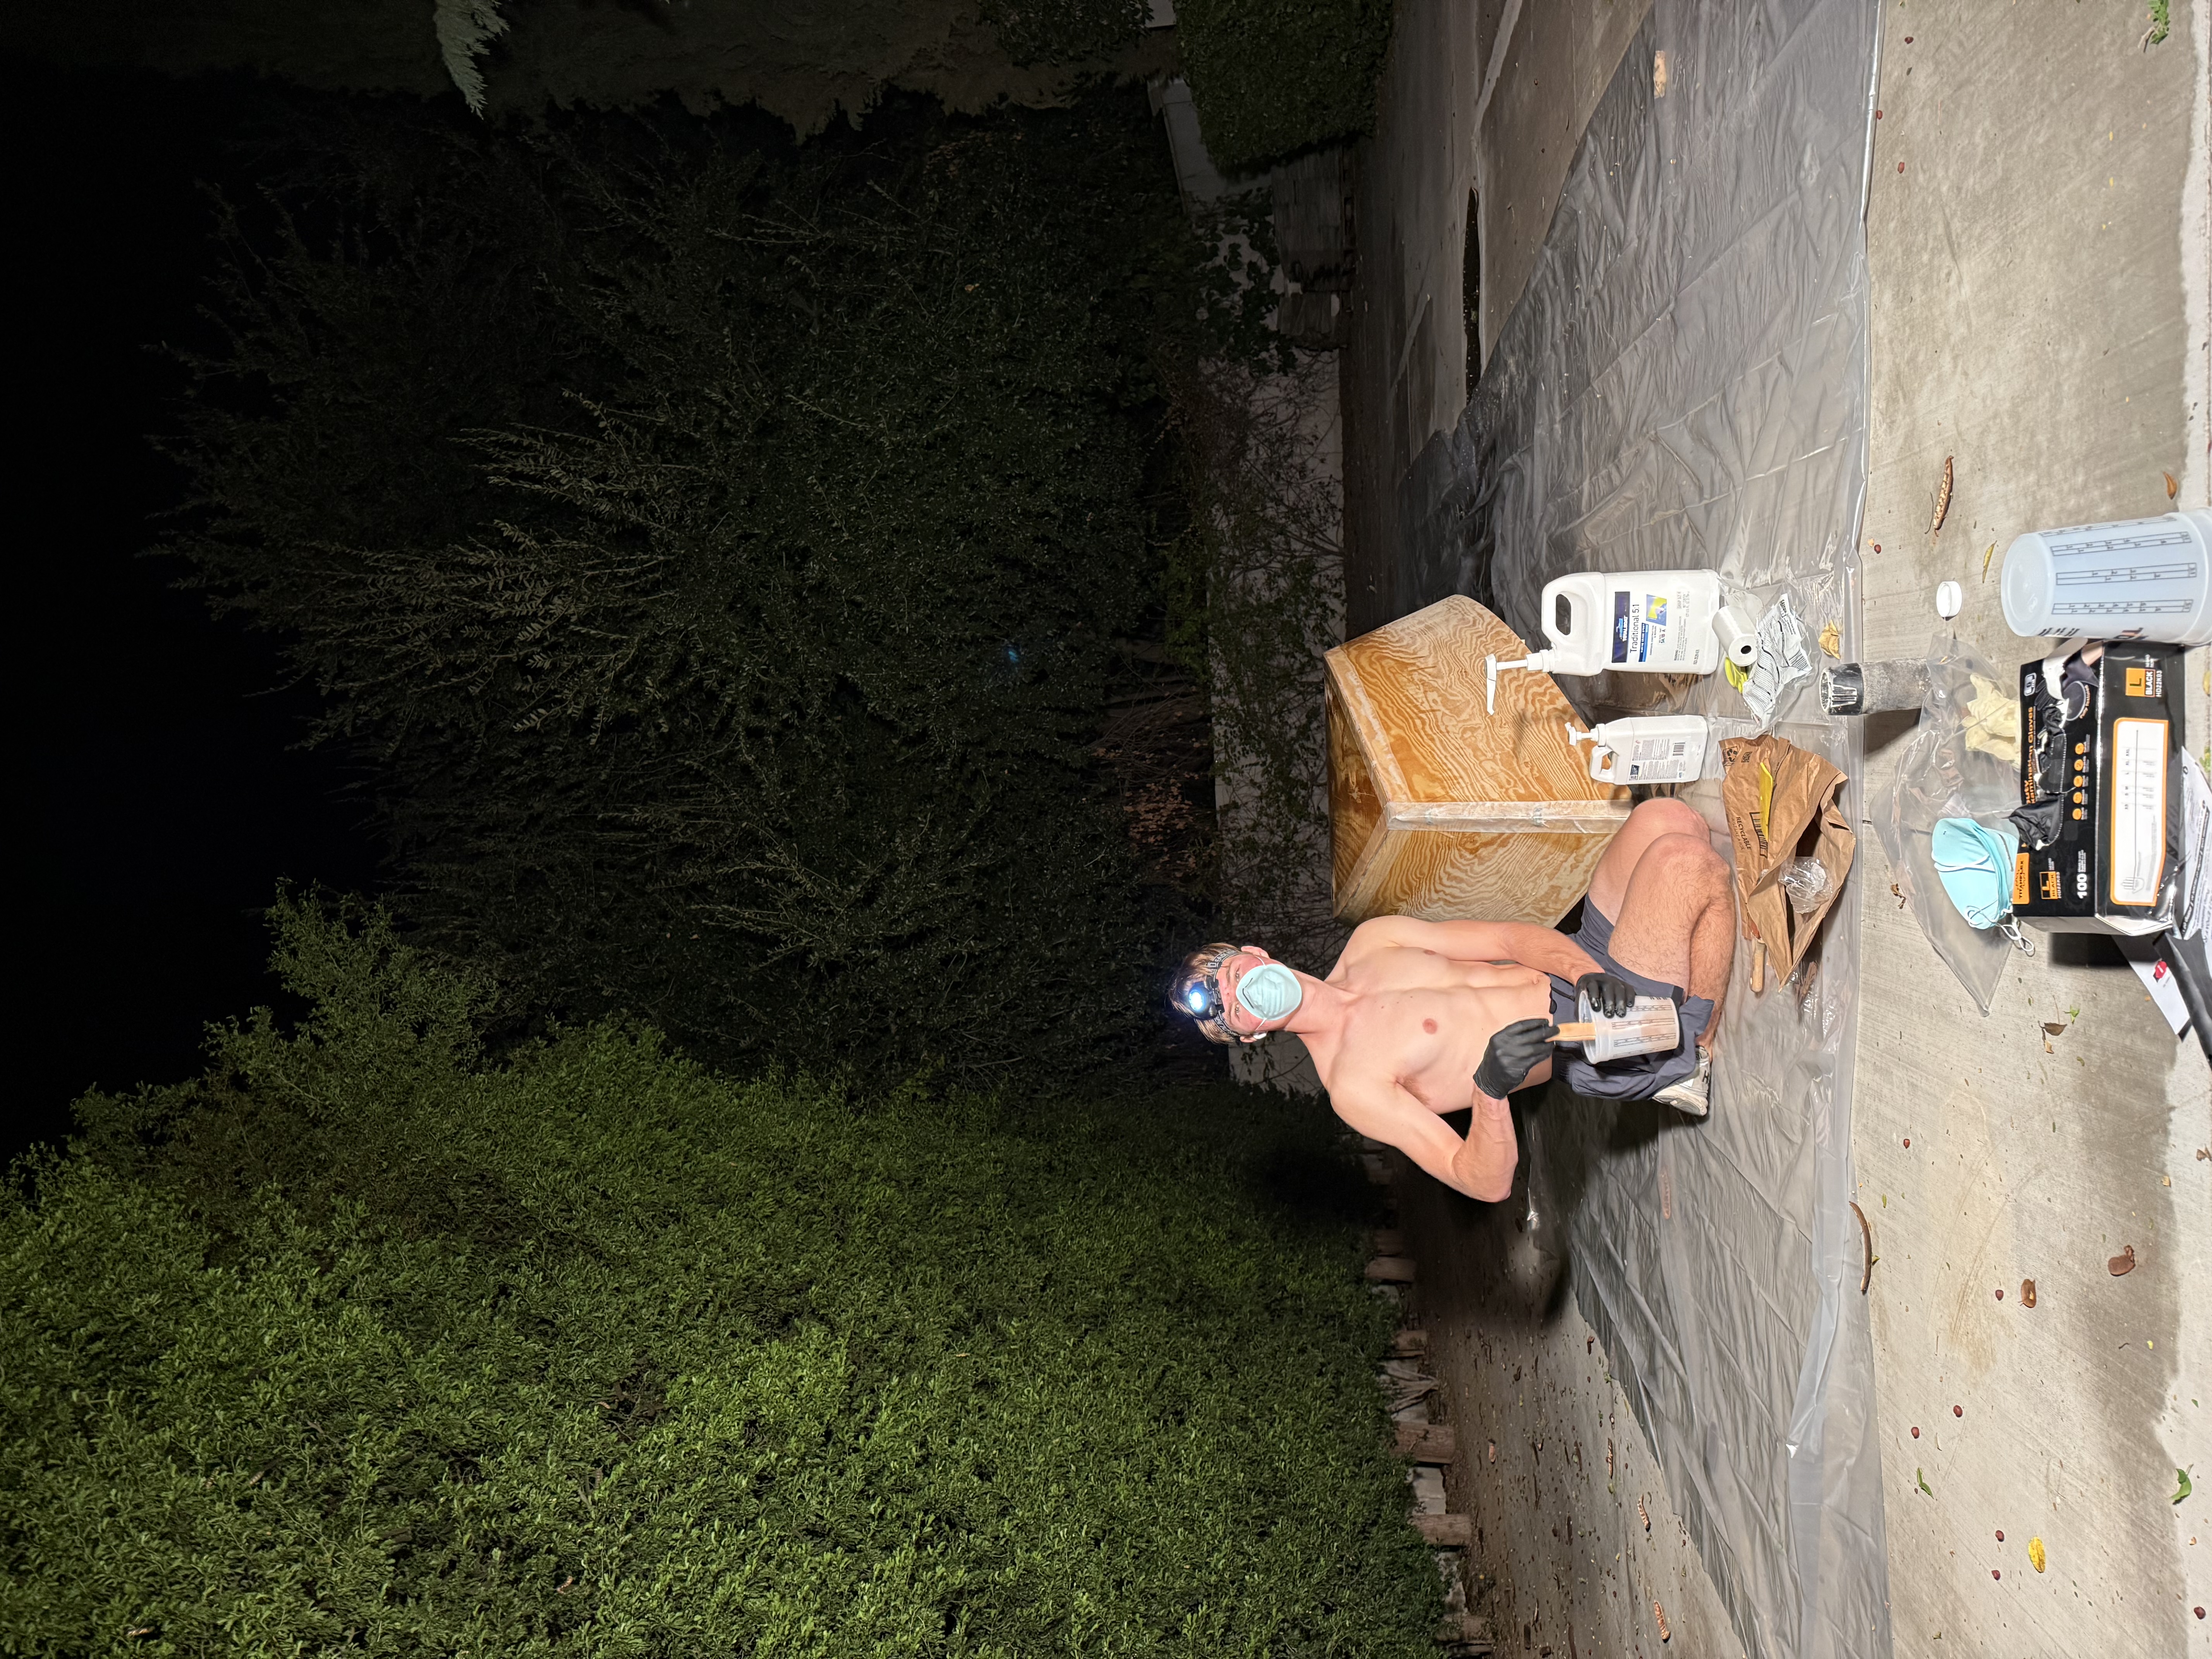
I began applying epoxy to the boat, working it into the seams to create a tight seal.

Boat Competition Build progress photo 9

Step 9

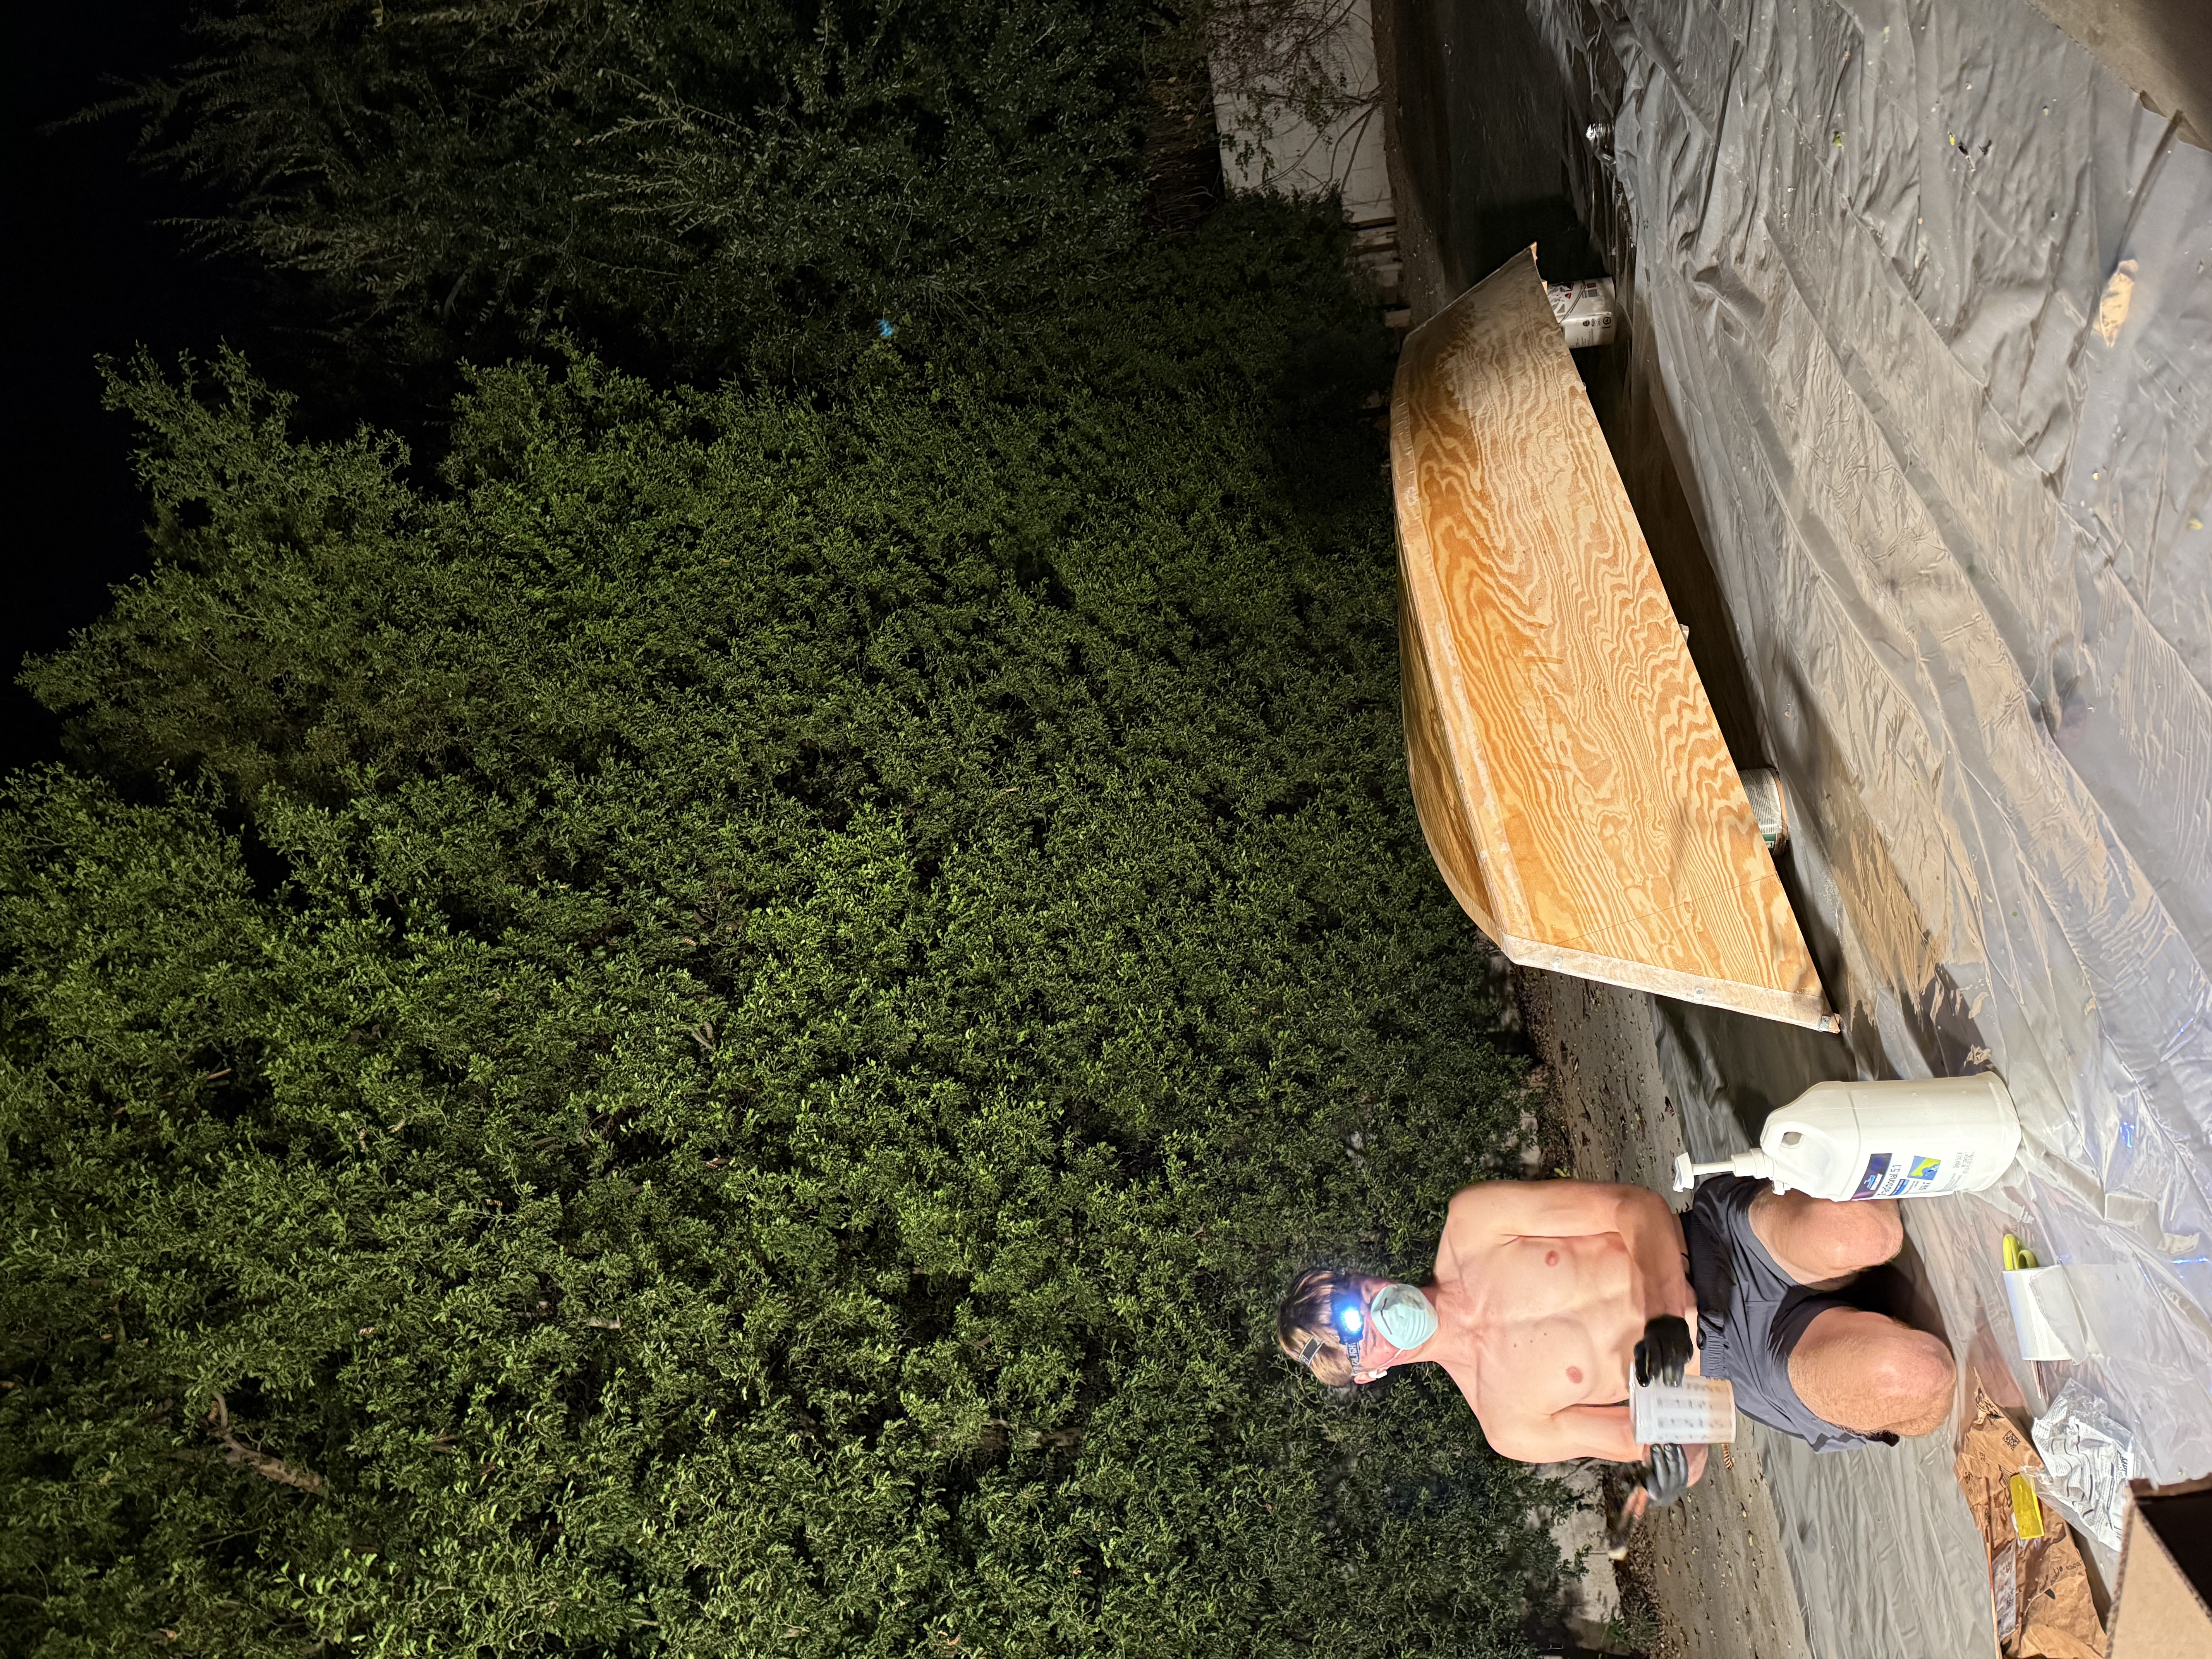
I continued the epoxy process, making sure the plywood and fiberglass cloth were fully coated and protected.

Boat Competition Build progress photo 10

Step 10

I finished sealing the boat with epoxy so the structure would be stronger and ready for testing.

Boat Competition Build progress photo 11

Step 11

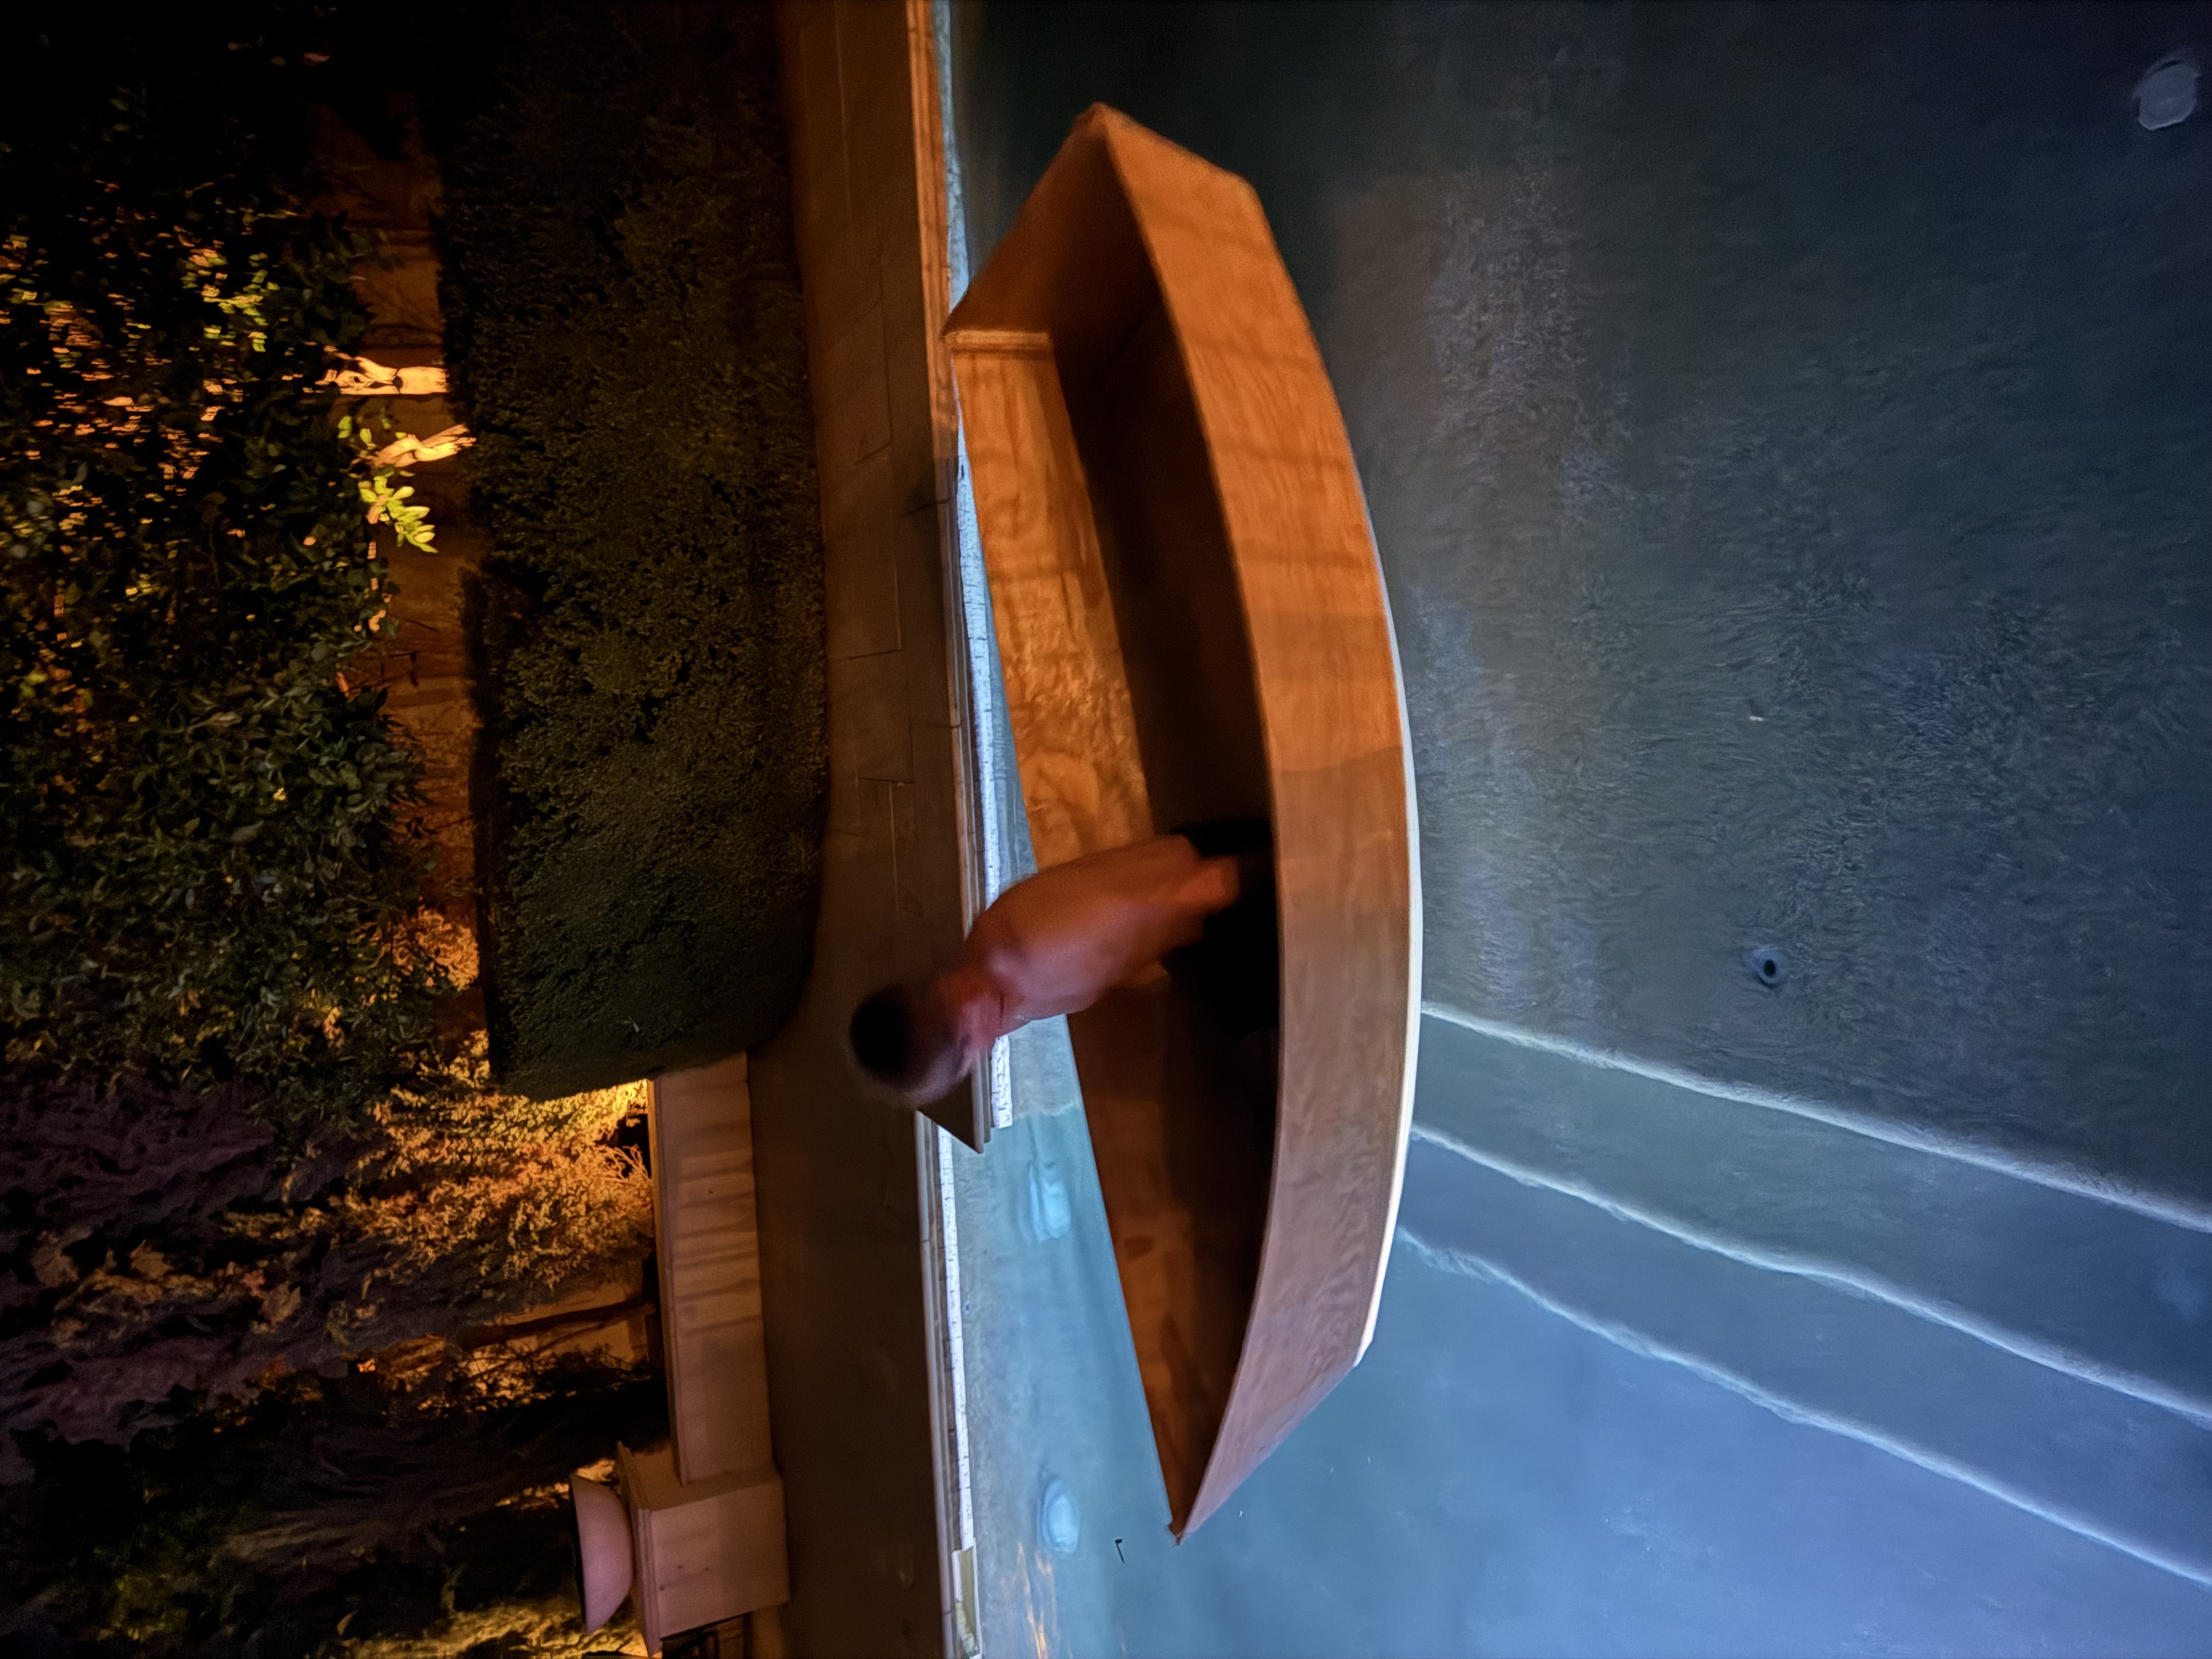
It was time to test. I put it in the water, and it floated perfectly without a single leak.

Boat Competition Build progress photo 12

Step 12

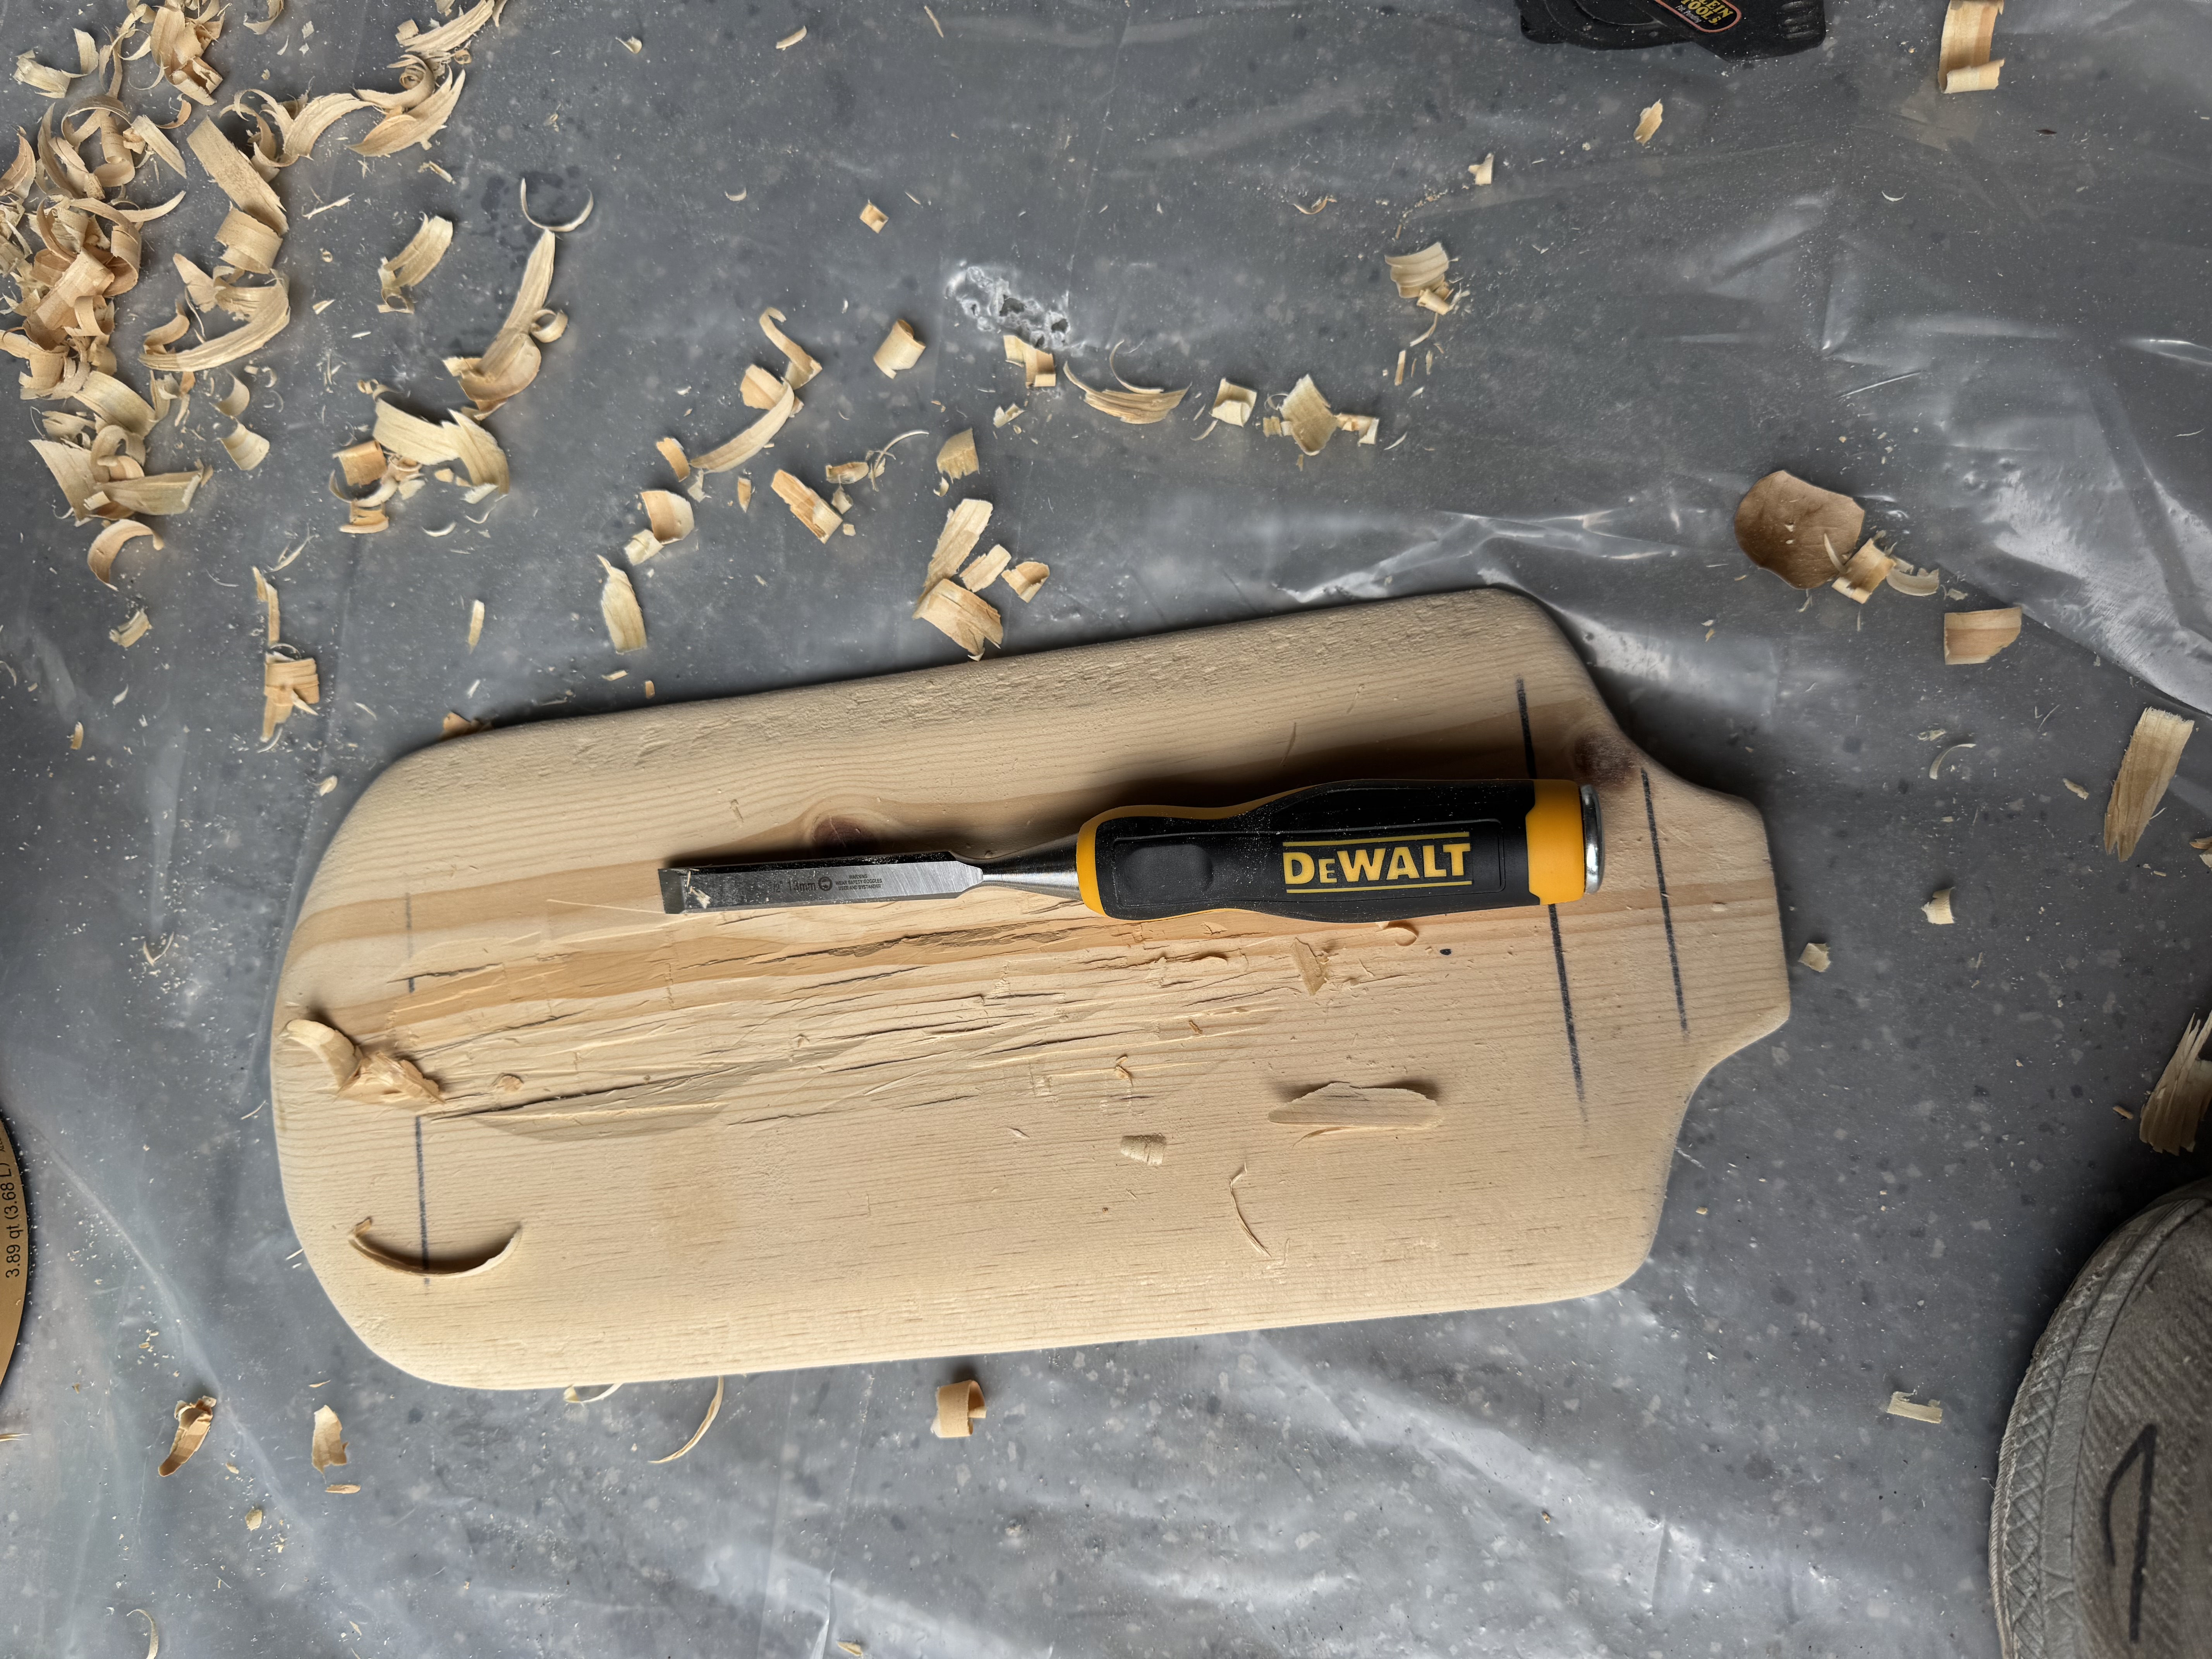
I started to create the paddles. I cut out the paddle shape, planed down the sides so it could cut into the water, hollowed out the inside to improve water-catching ability, sanded the whole thing, and finally epoxied it for extra strength.

Boat Competition Build progress photo 13

Step 13

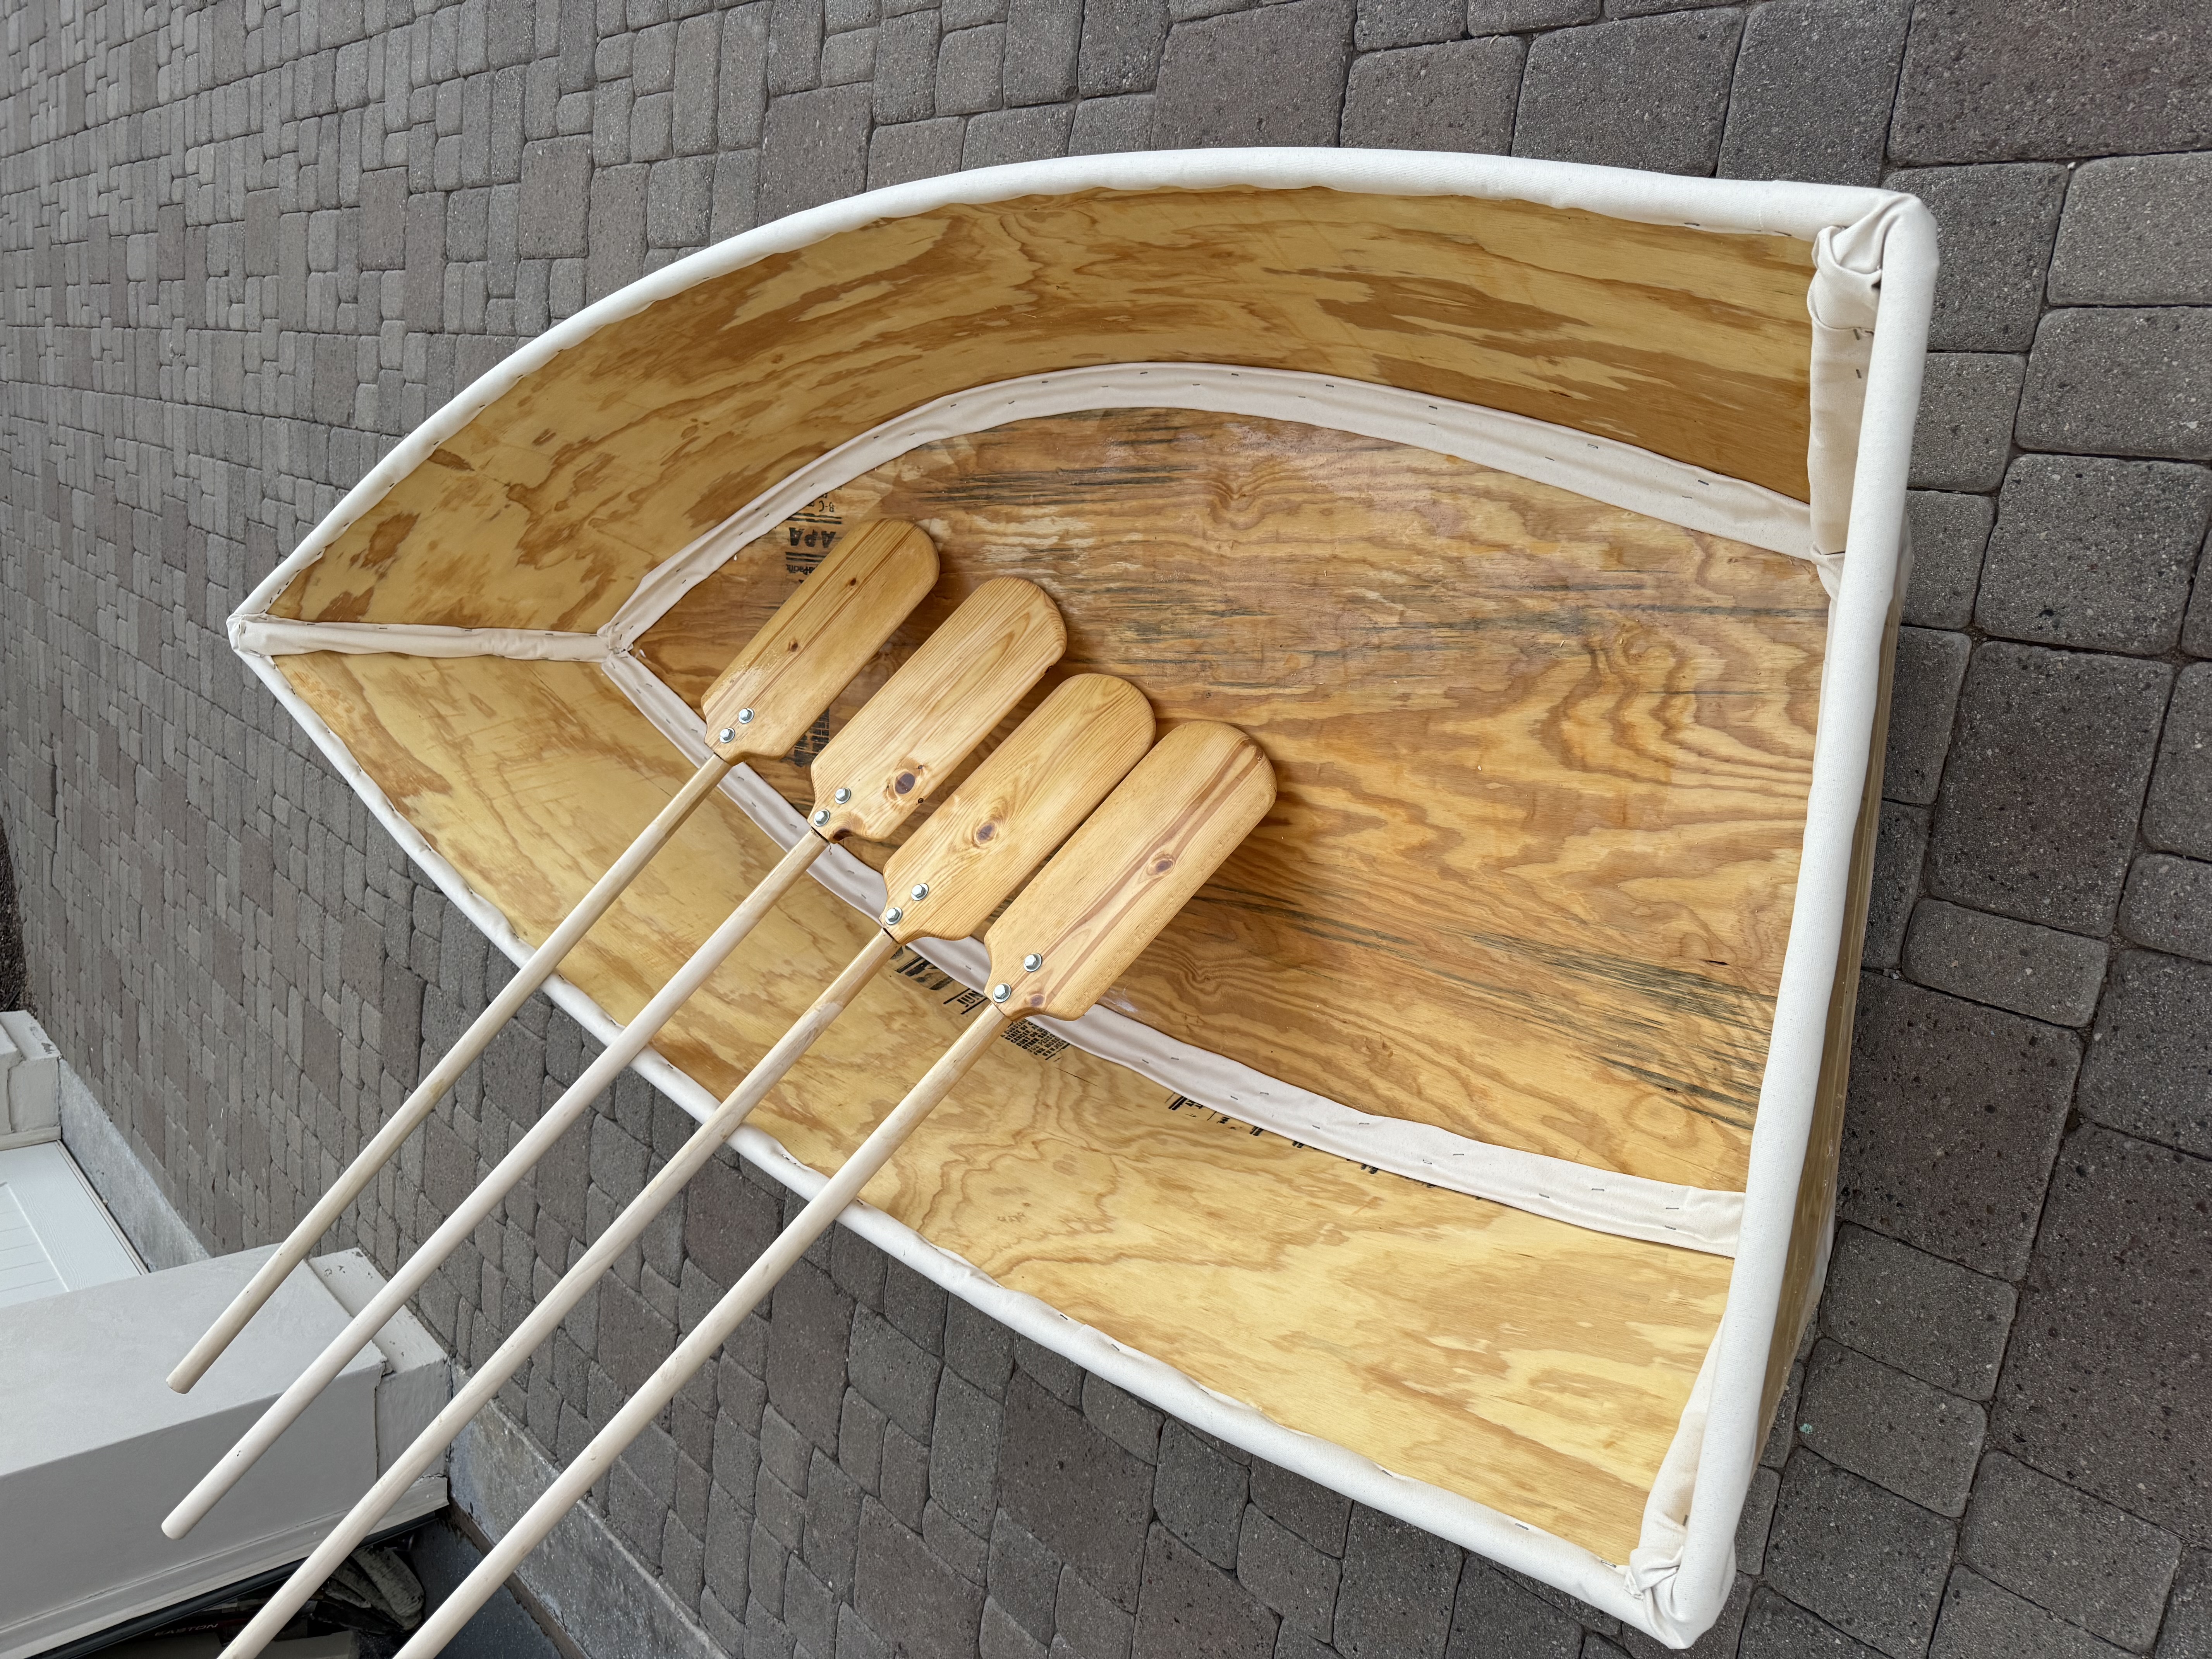
The boat was done. I just needed to add secure handles to the paddles and add trim to eliminate the possibility of anyone cutting themselves.