Bowden BrighamPersonal blog
Projects
2025-2026
Workshop
34 photos

1971 Chevy Blazer Restoration

The process of bringing a 1971 Chevy back to life after it had not run for many years: a straight sequence of diagnostics, getting it started, tearing it down, and rebuilding it from the ground up once more.

1971 Chevy Blazer Restoration hero image

Project notes

What this project shows

This project followed the full arc of getting a 1971 Chevy Blazer back into dependable condition. I started by documenting the truck as it was, identifying the most important mechanical and structural issues, and breaking the work into smaller steps that could be tested as I went.

The restoration required patience because each fix revealed the next decision. I worked through parts, fit, finish, and mechanical details with a focus on understanding why a repair was needed instead of simply replacing components.

The finished result represents the kind of work I enjoy most: hands-on, iterative, and grounded in careful observation. It pushed me to combine research, tool use, sequencing, and persistence over a long build.
Build sequence

Start to finish

34 photos in numeric project order

1971 Chevy Blazer Restoration progress photo 1

Step 1

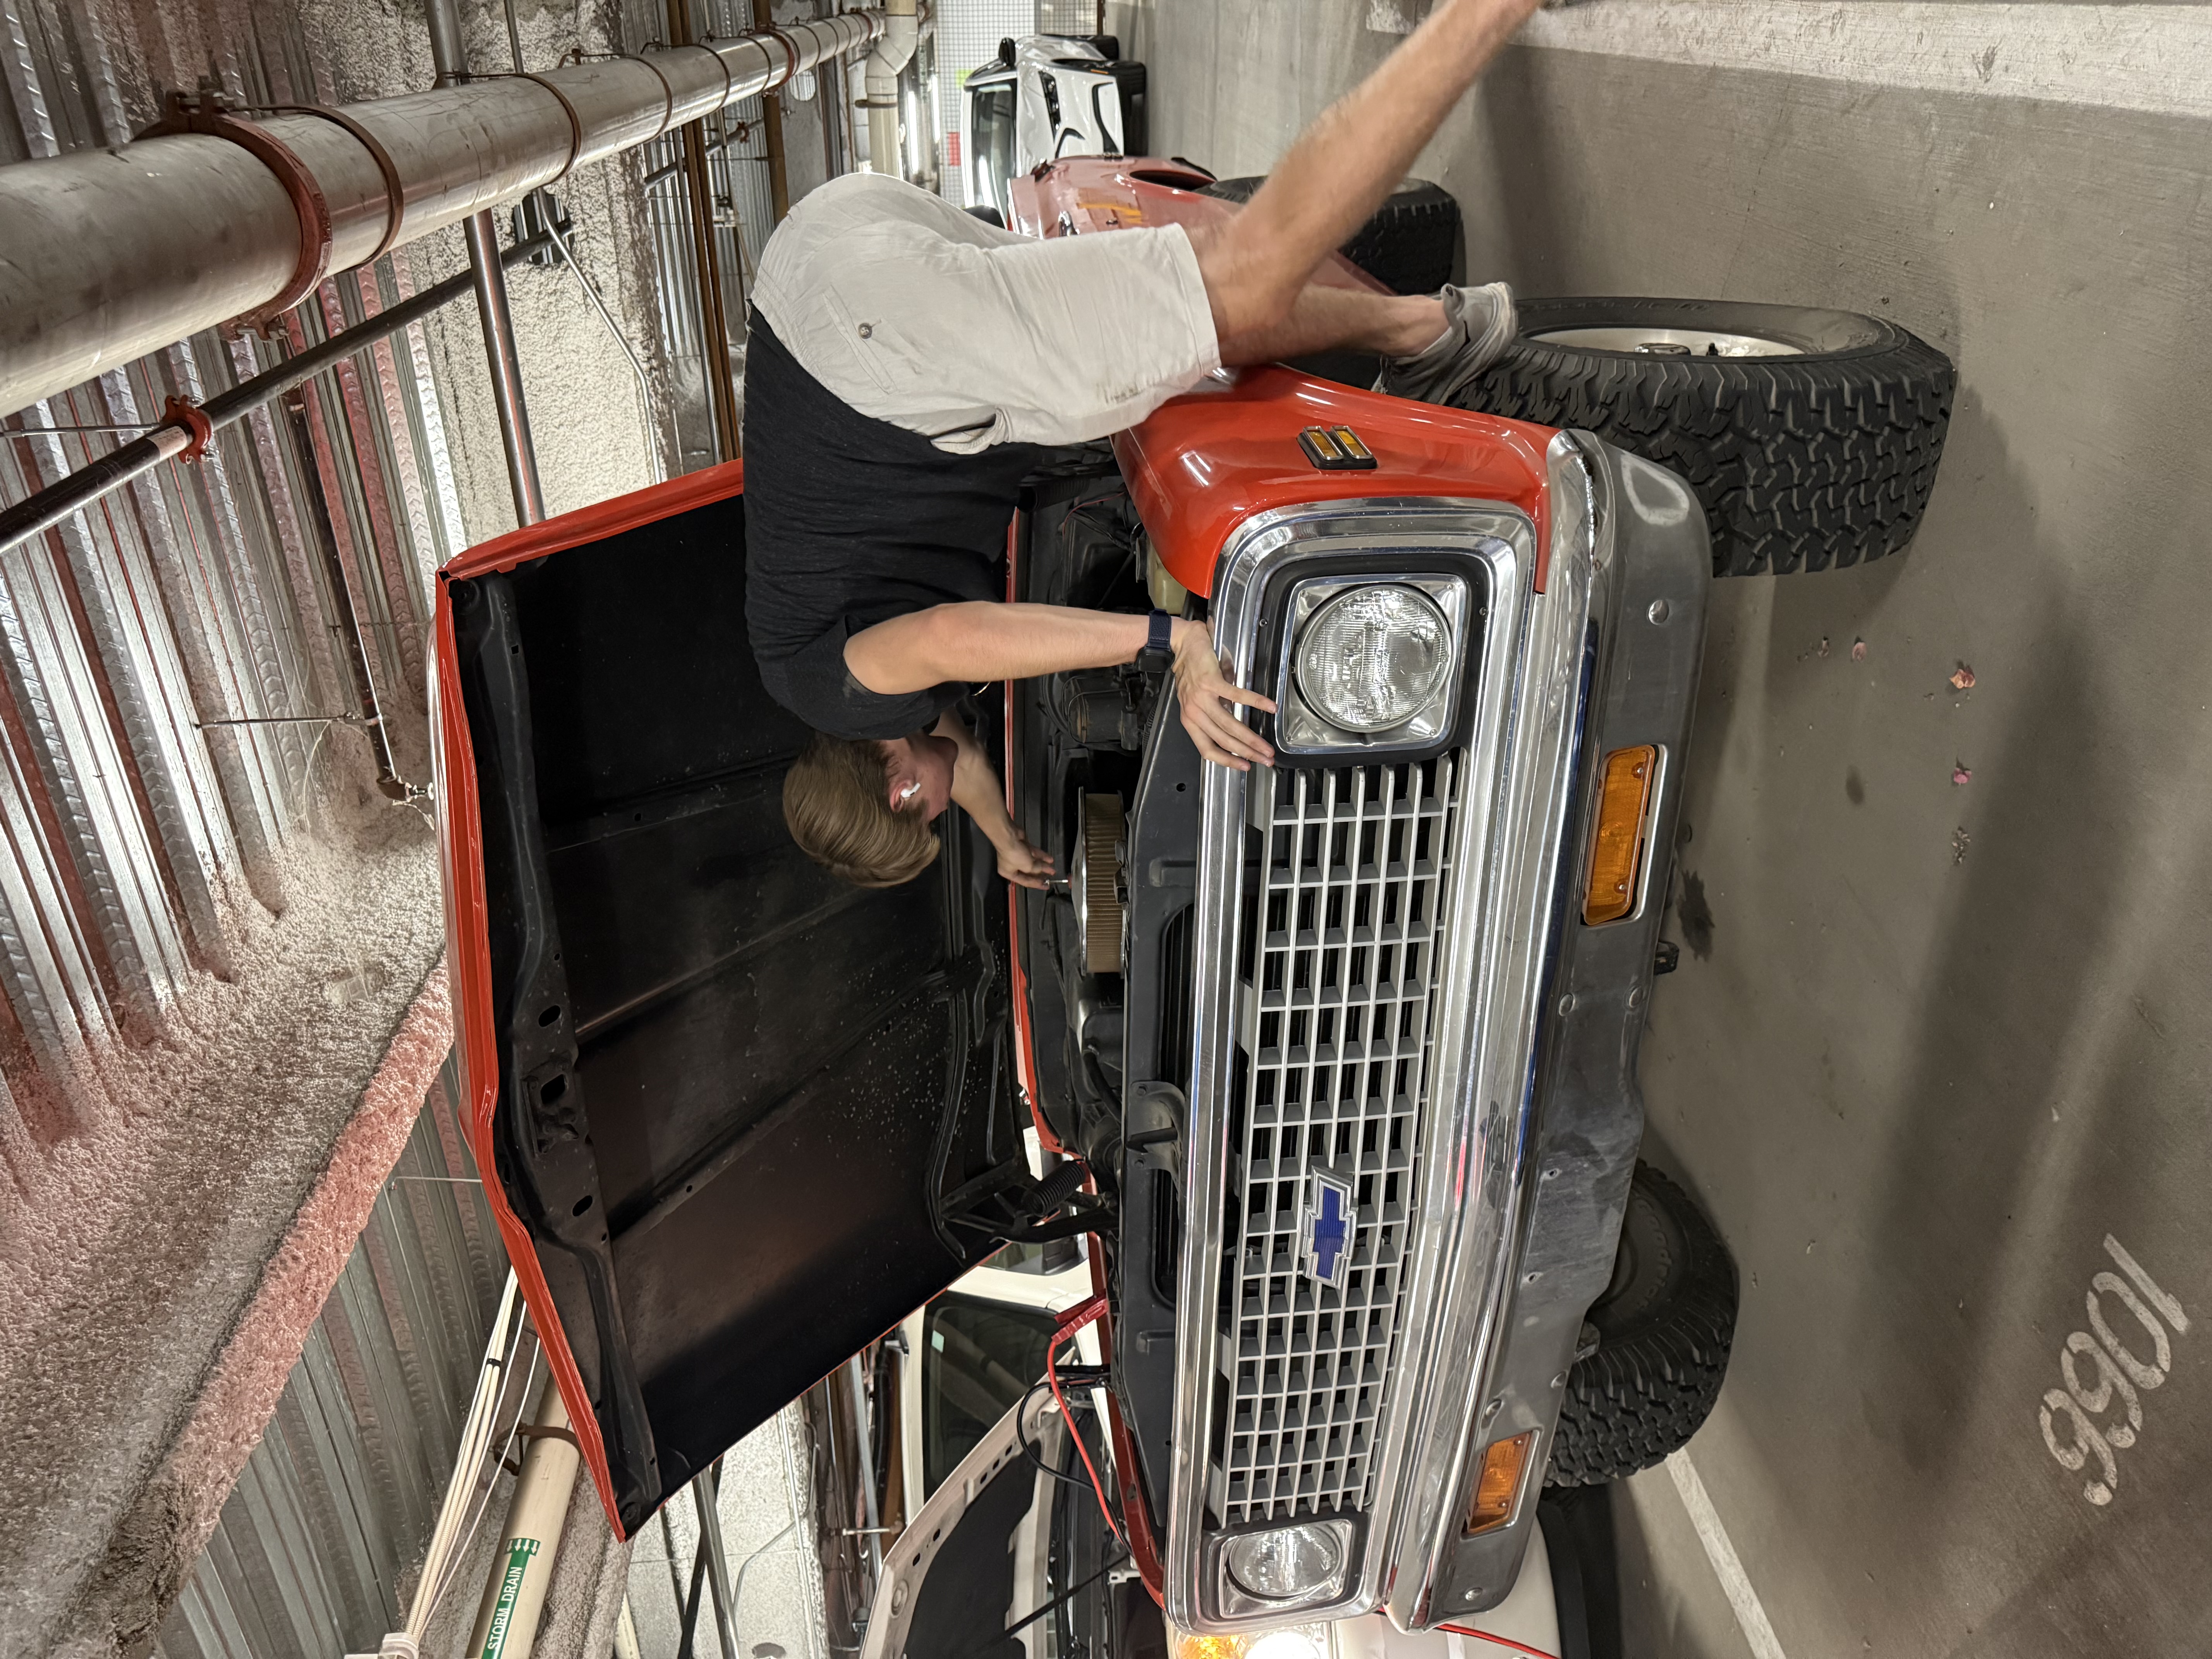
When I first got the car, it had not been started in around eight years, so I knew it would be tough to get running. I tried over and over to start it, but without much luck.

1971 Chevy Blazer Restoration progress photo 2

Step 2

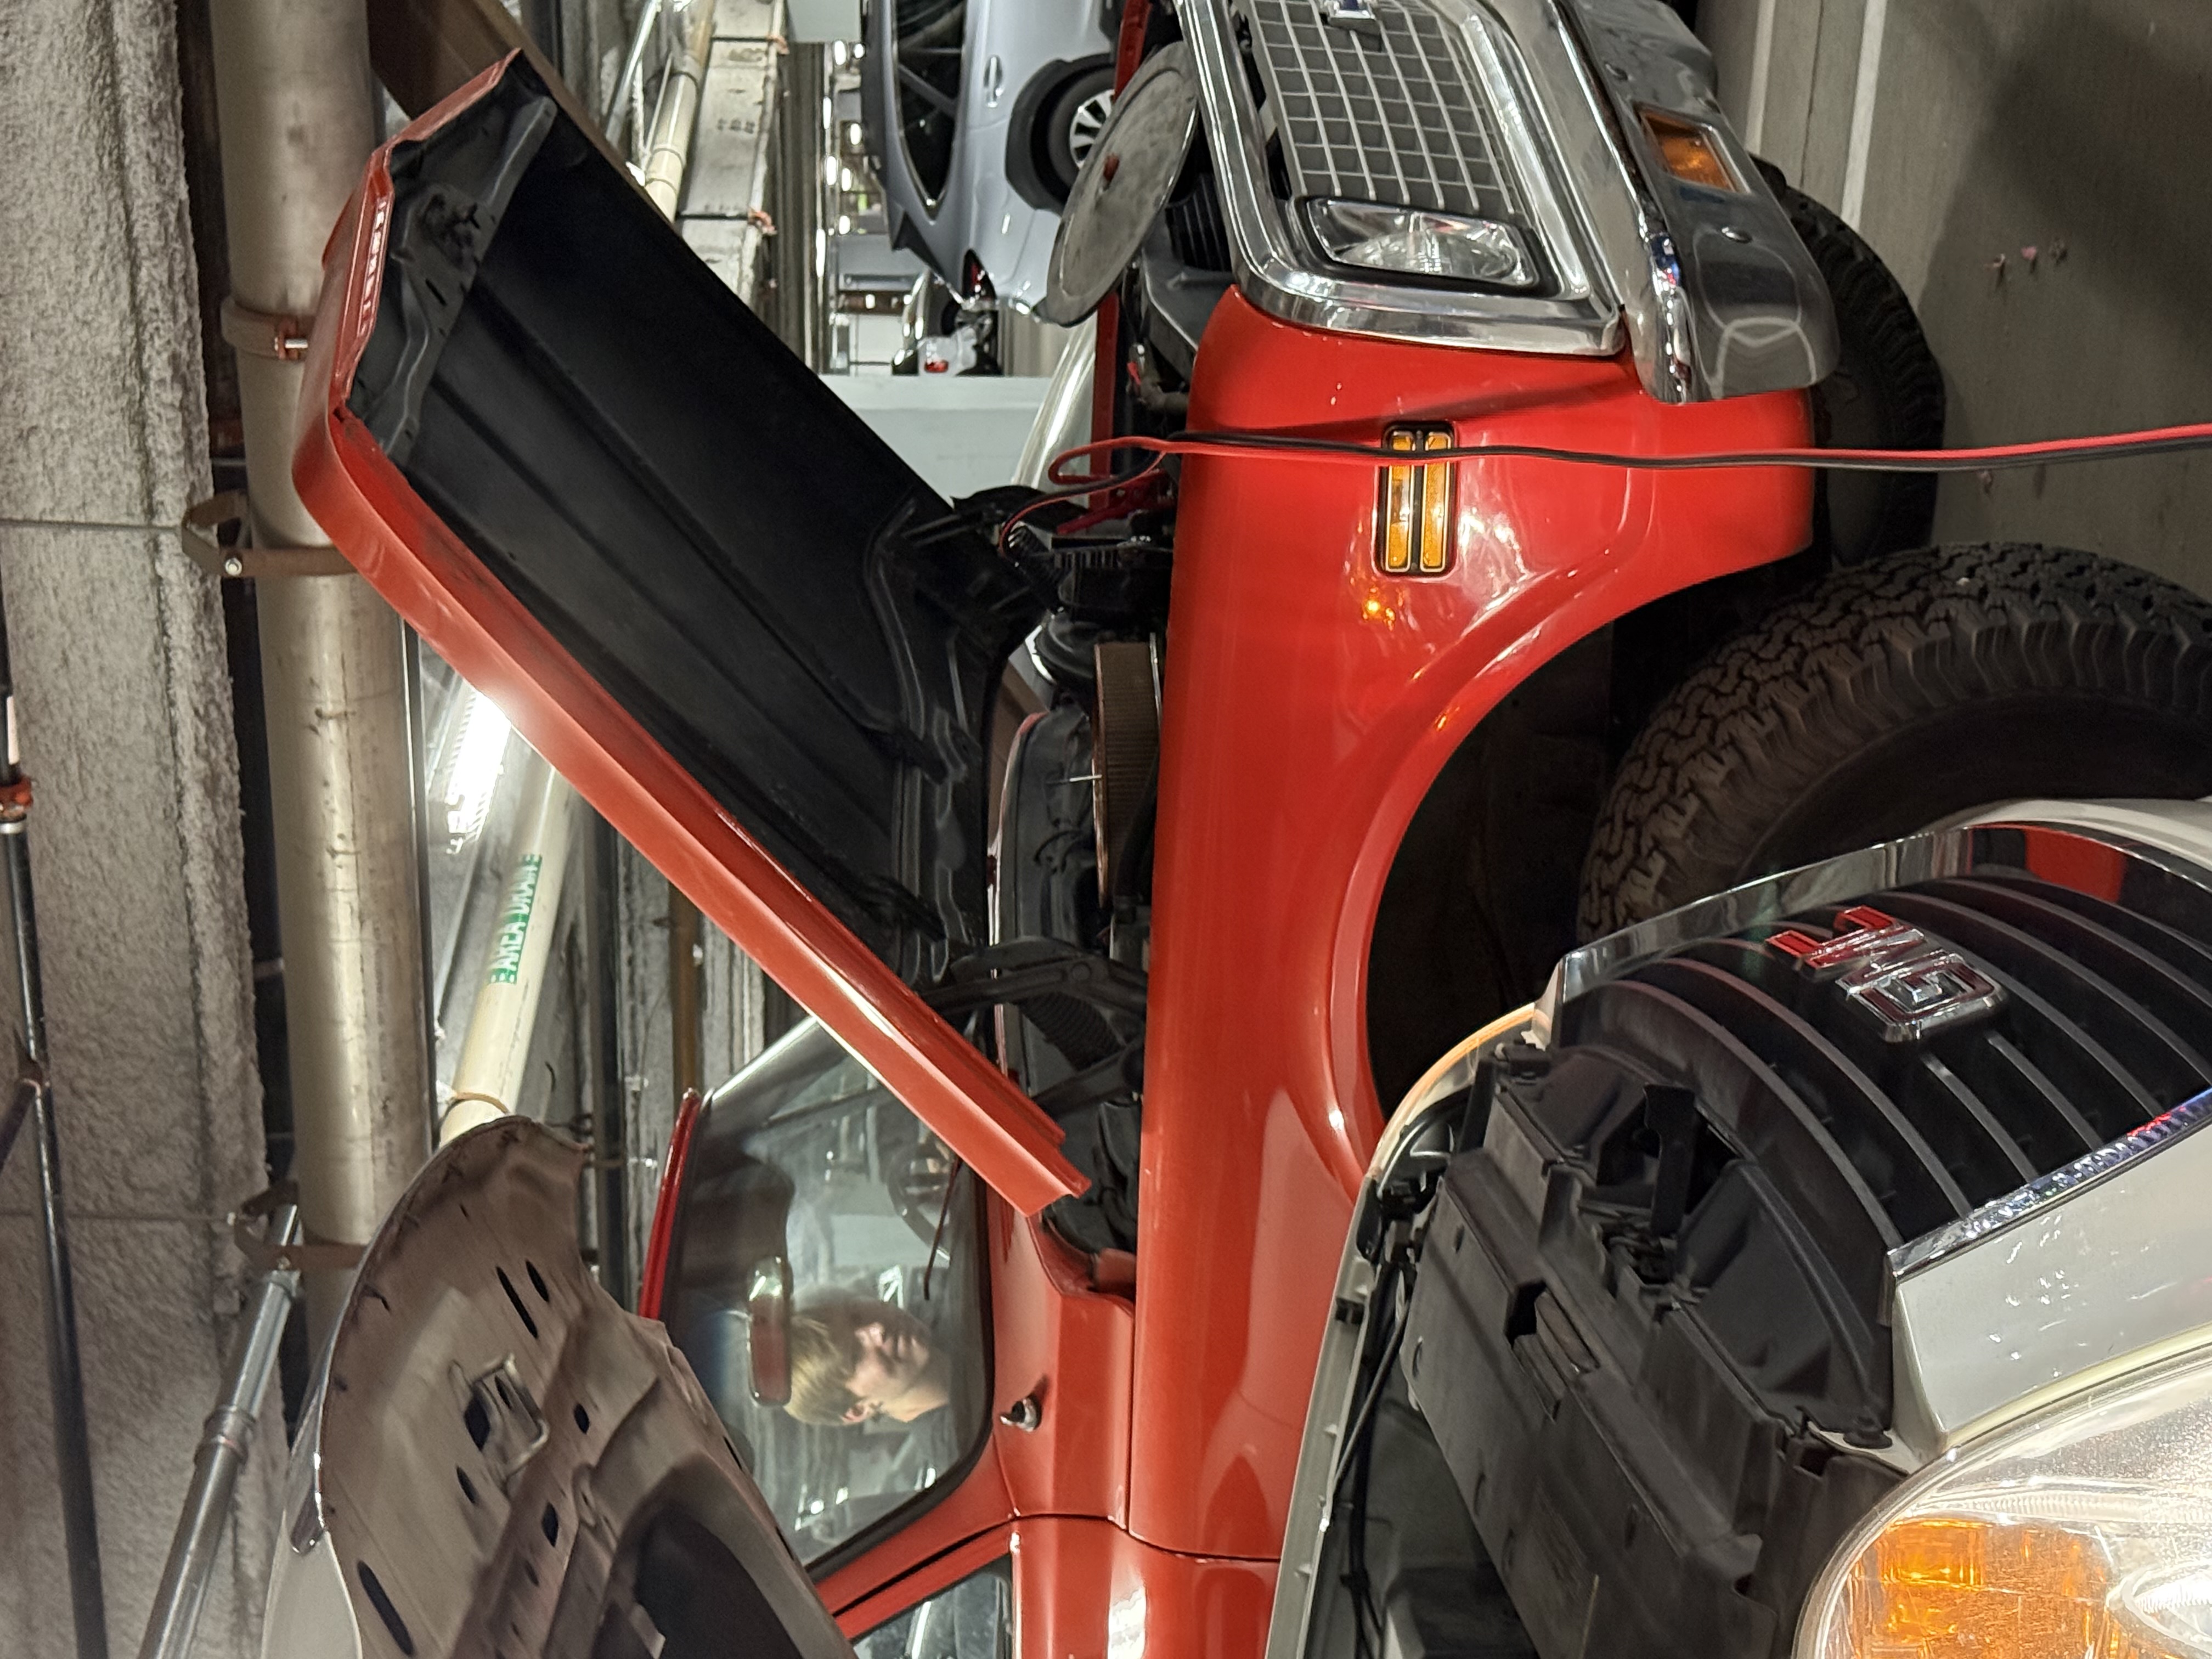
After a lot of diagnostics, my next step was to try jump-starting it. Unfortunately, it still did not start. I then checked whether the fuel pump had power, and to my misfortune, it did not. I had found one source of the problem.

1971 Chevy Blazer Restoration progress photo 3

Step 3

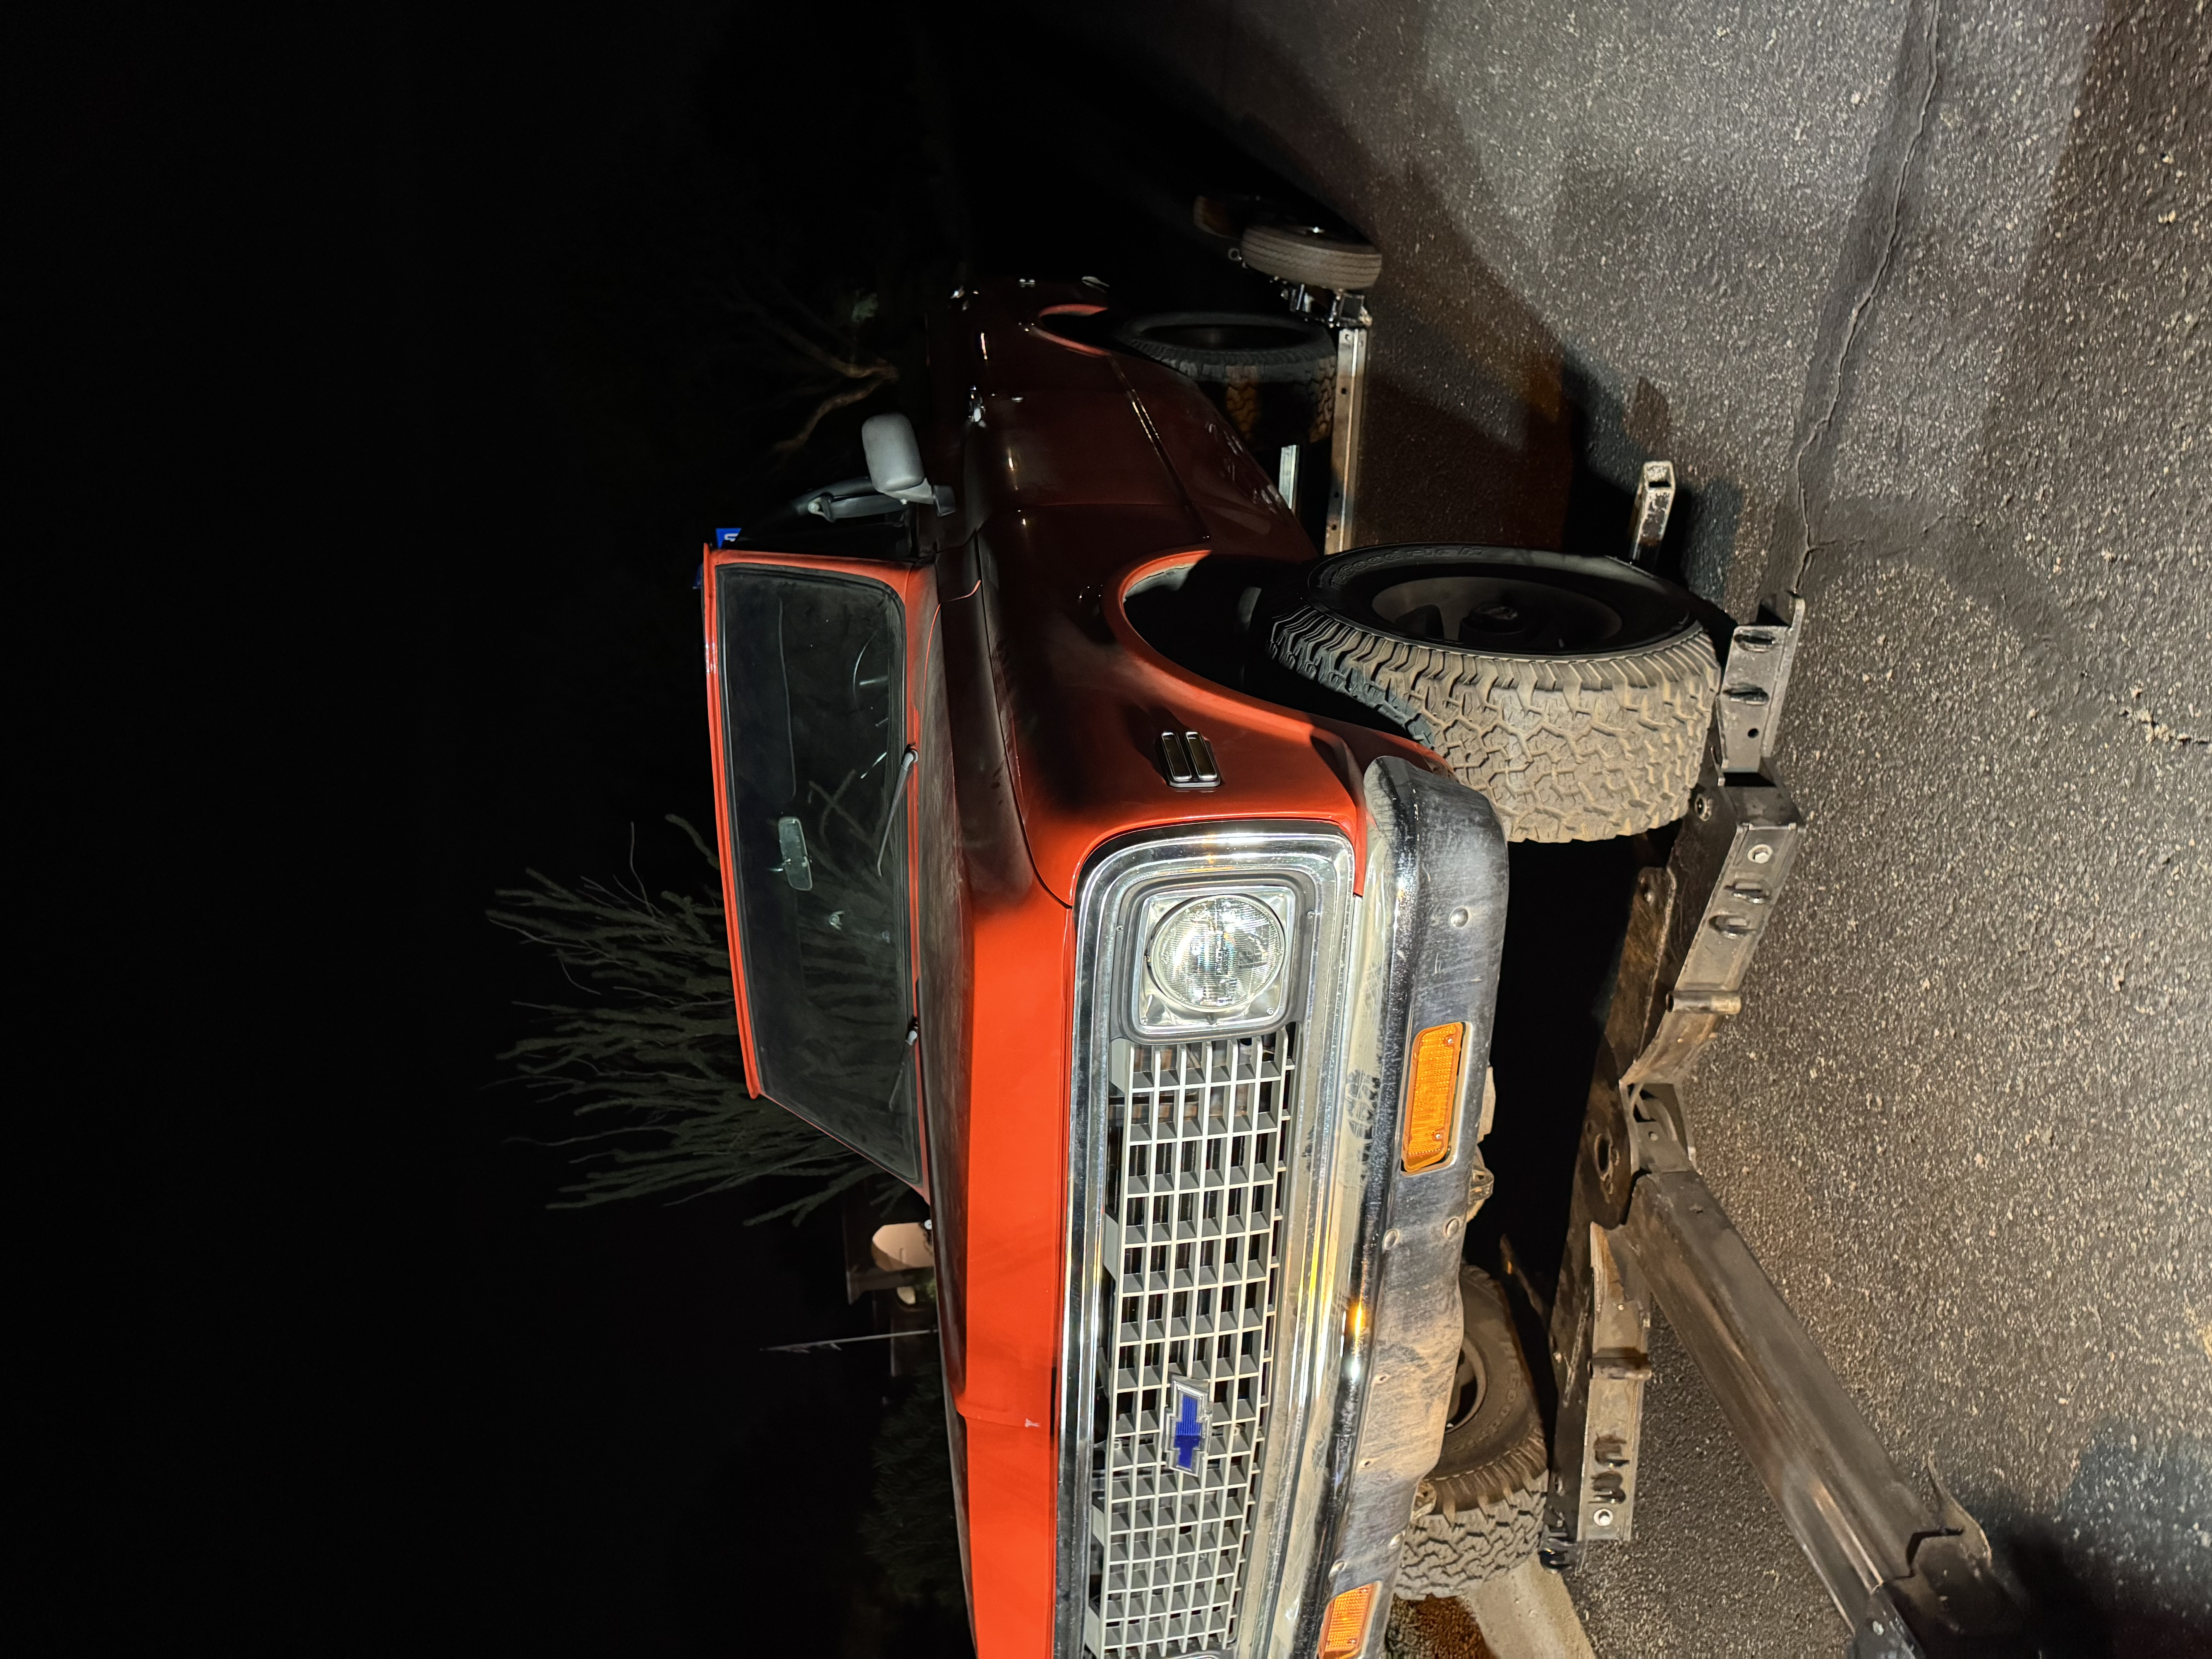
After not being able to get it started, I unfortunately had to tow it. Getting it out of the parking garage was not easy, but eventually I was able to make it work.

1971 Chevy Blazer Restoration progress photo 4

Step 4

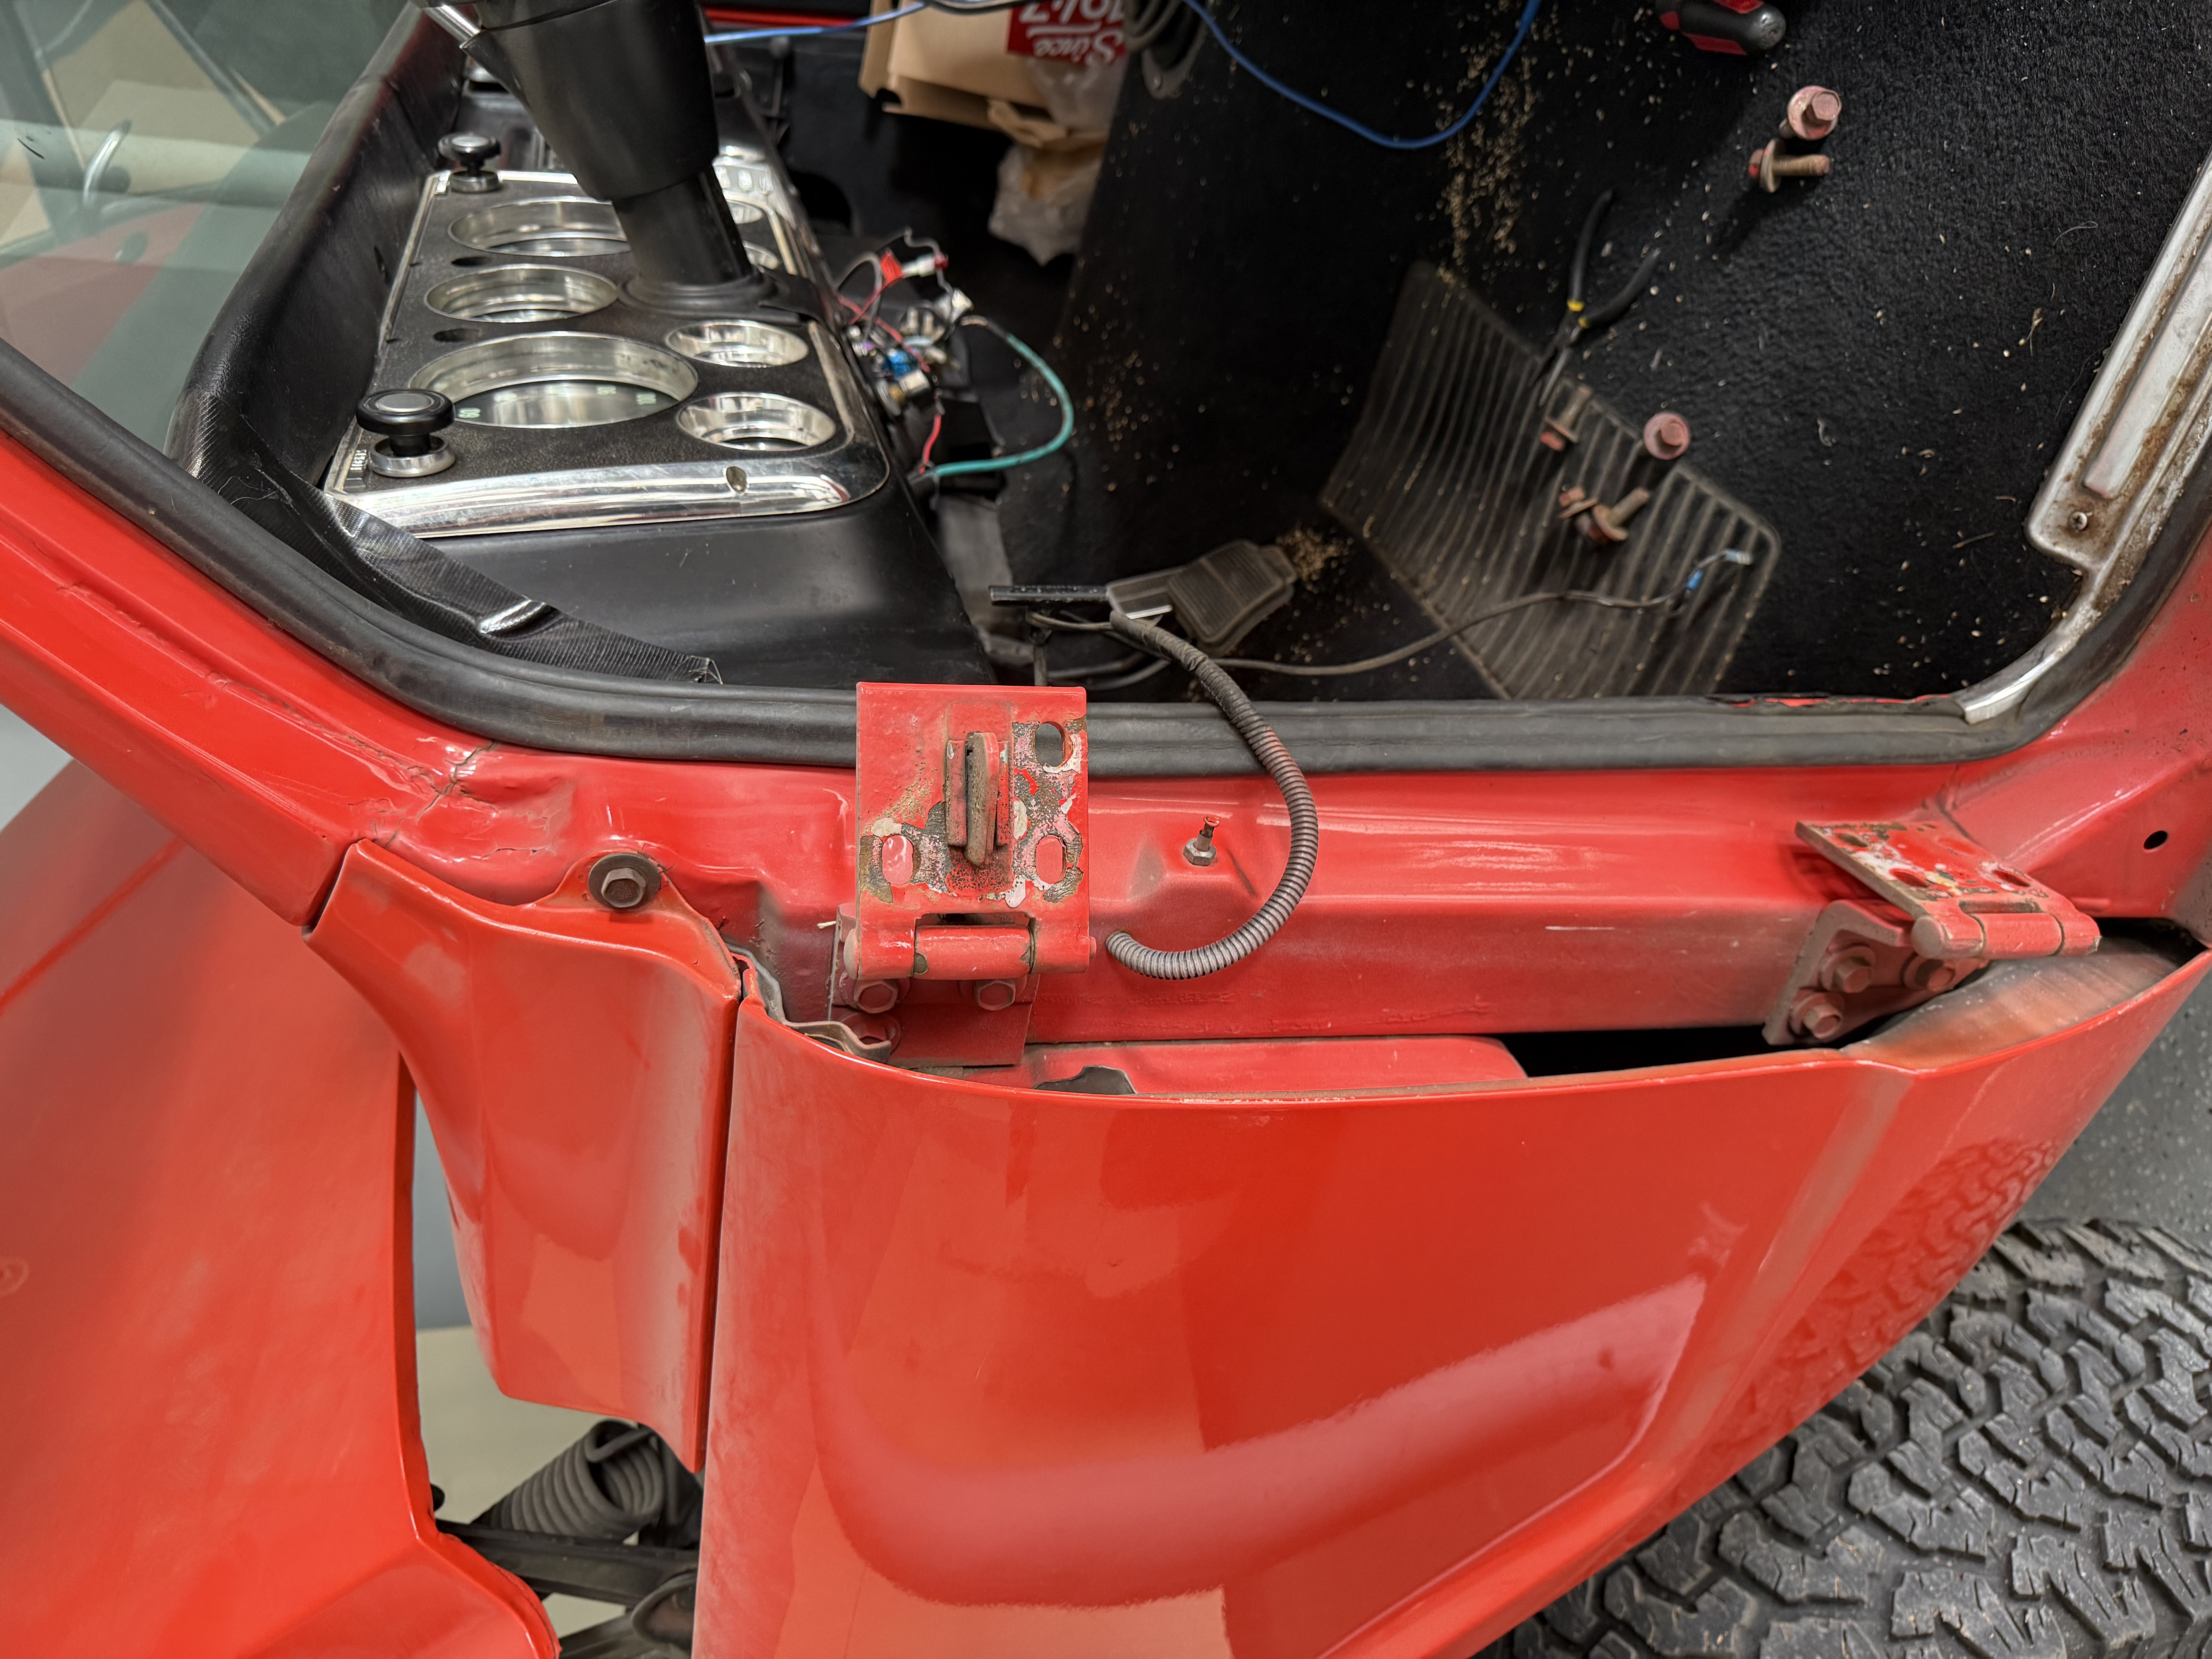
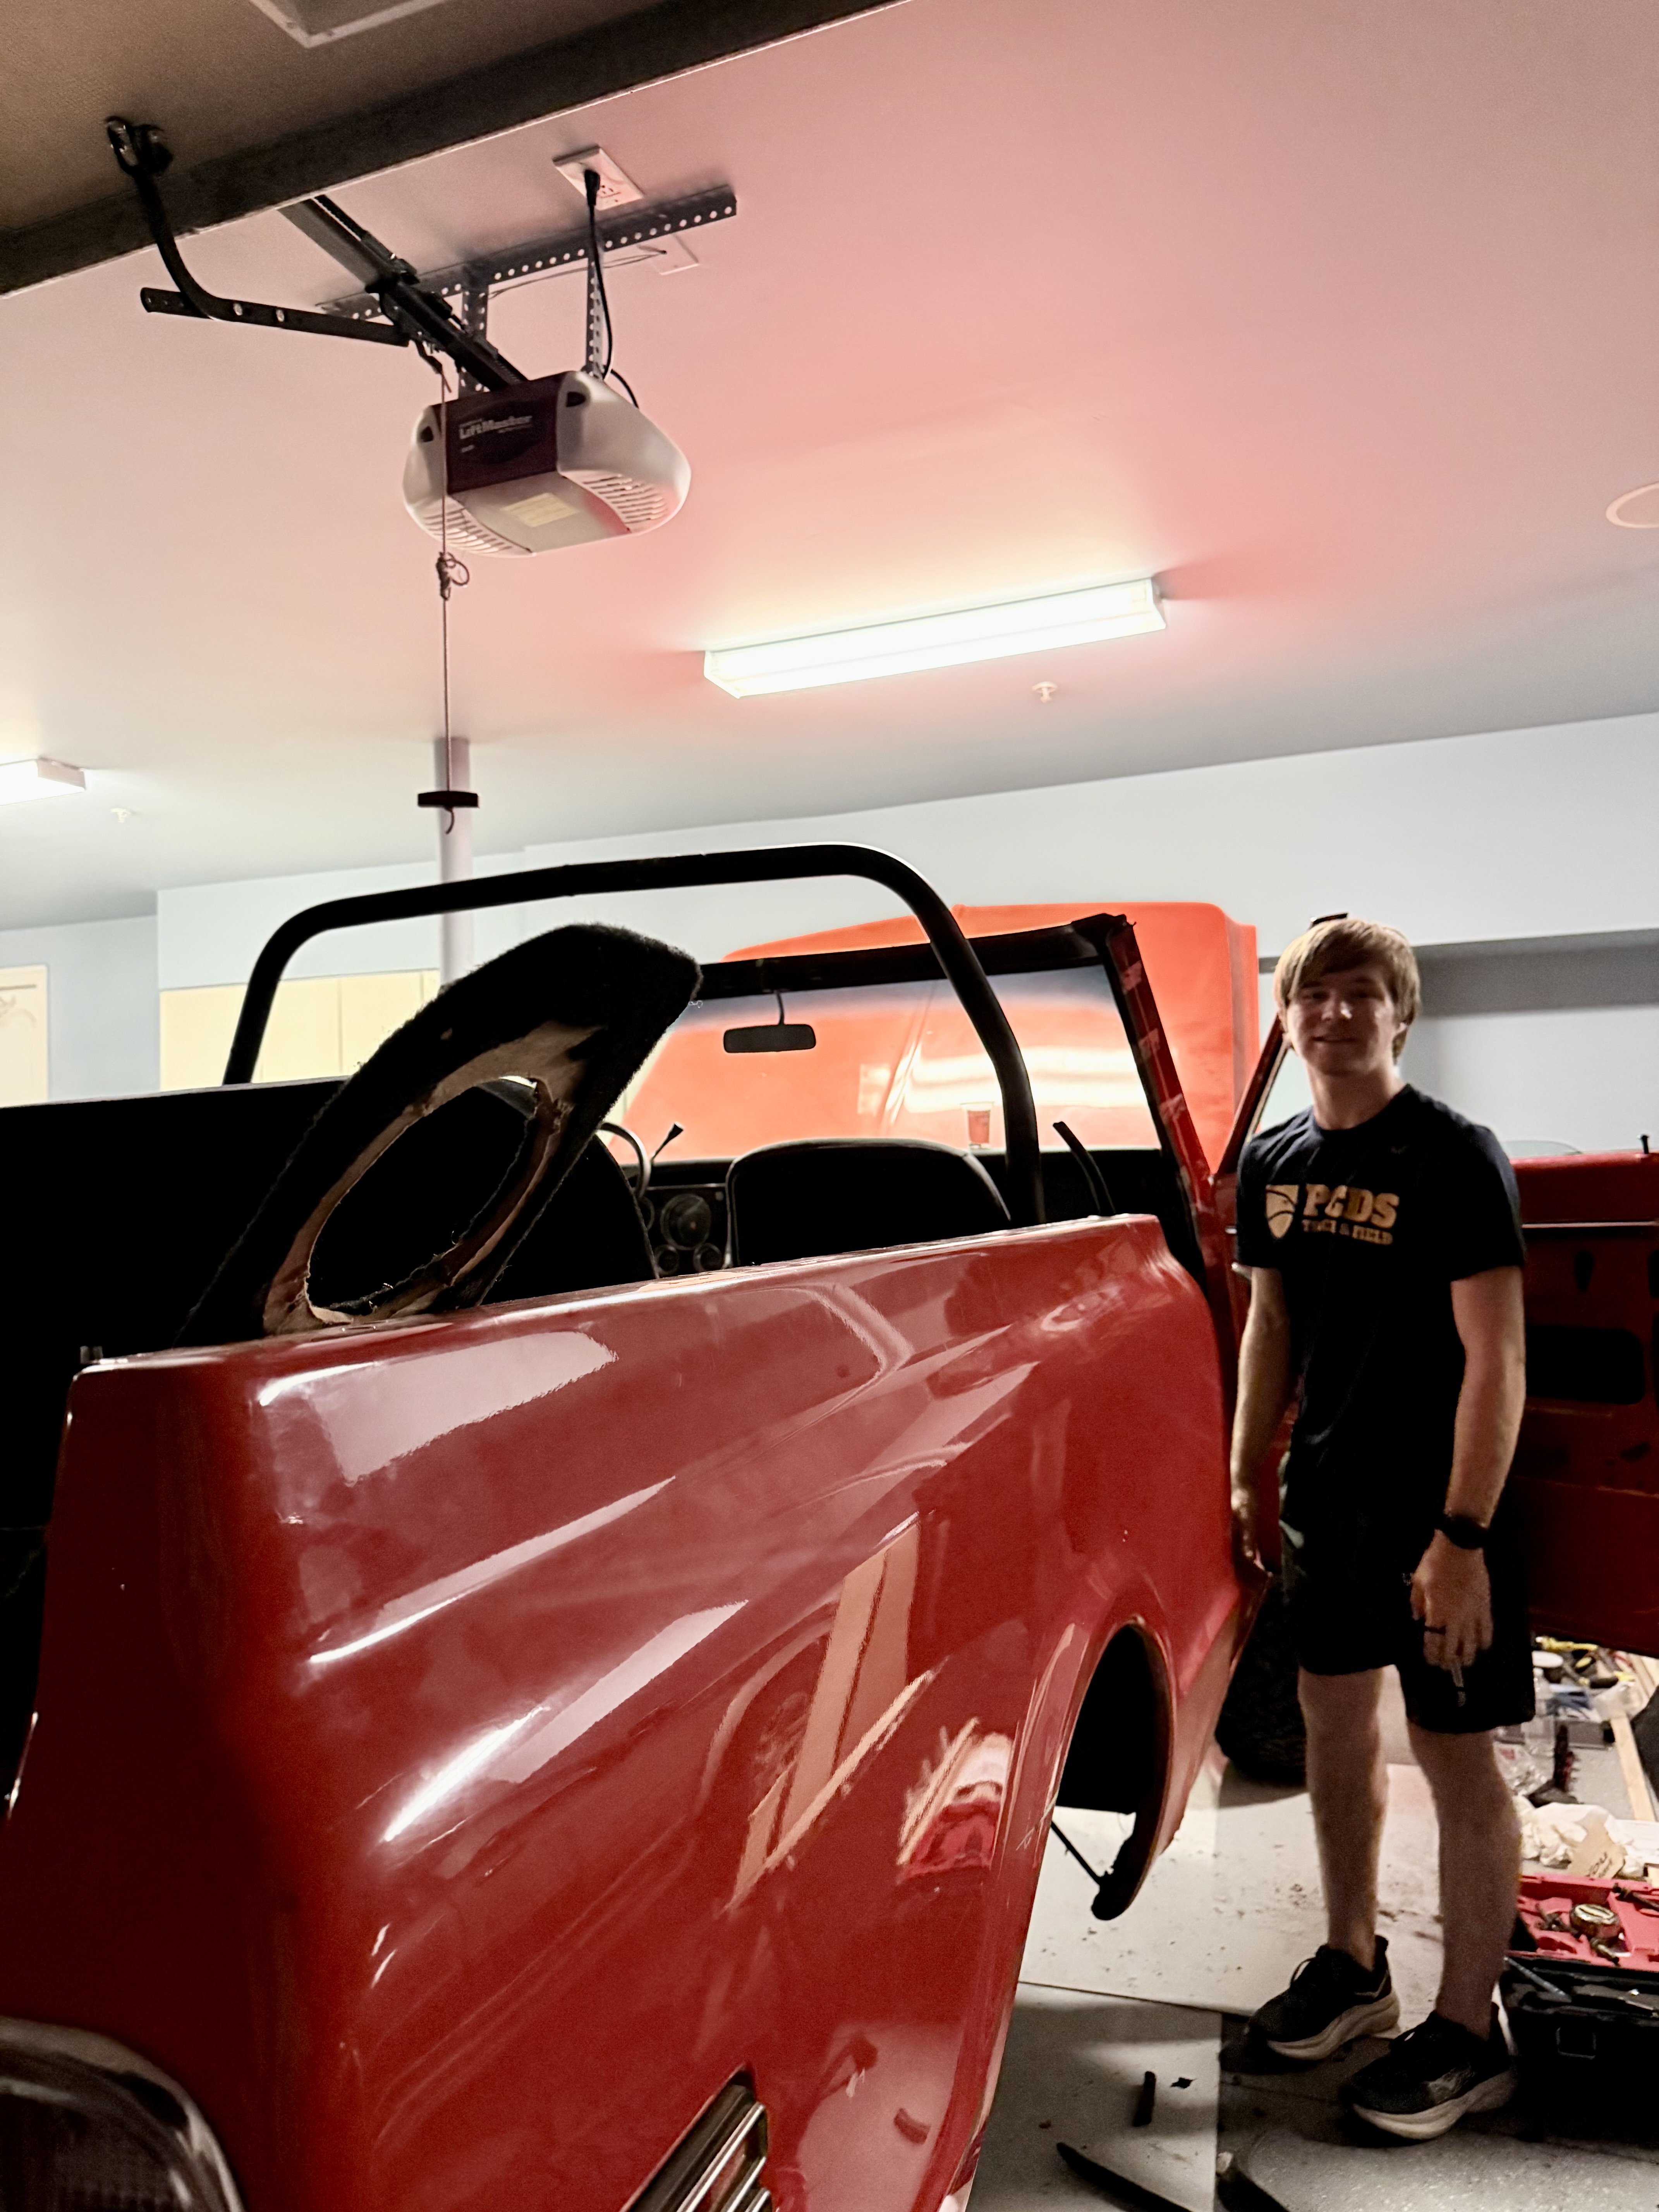
After the car arrived in my garage, I immediately and eagerly got to work. My first order of business was to run some final diagnostics and clear a better path so it would be easier to work on the vehicle. I started by taking off the driver-side door and removing the seat.

1971 Chevy Blazer Restoration progress photo 5

Step 5

Next, I took off the undertray so I could get easier access to many of the fuel components and mechanical systems.

1971 Chevy Blazer Restoration progress photo 6

Step 6

After noticing that the fuel pump was broken, I immediately started fixing it, hoping it was the only problem in the system.

1971 Chevy Blazer Restoration progress photo 7

Step 7

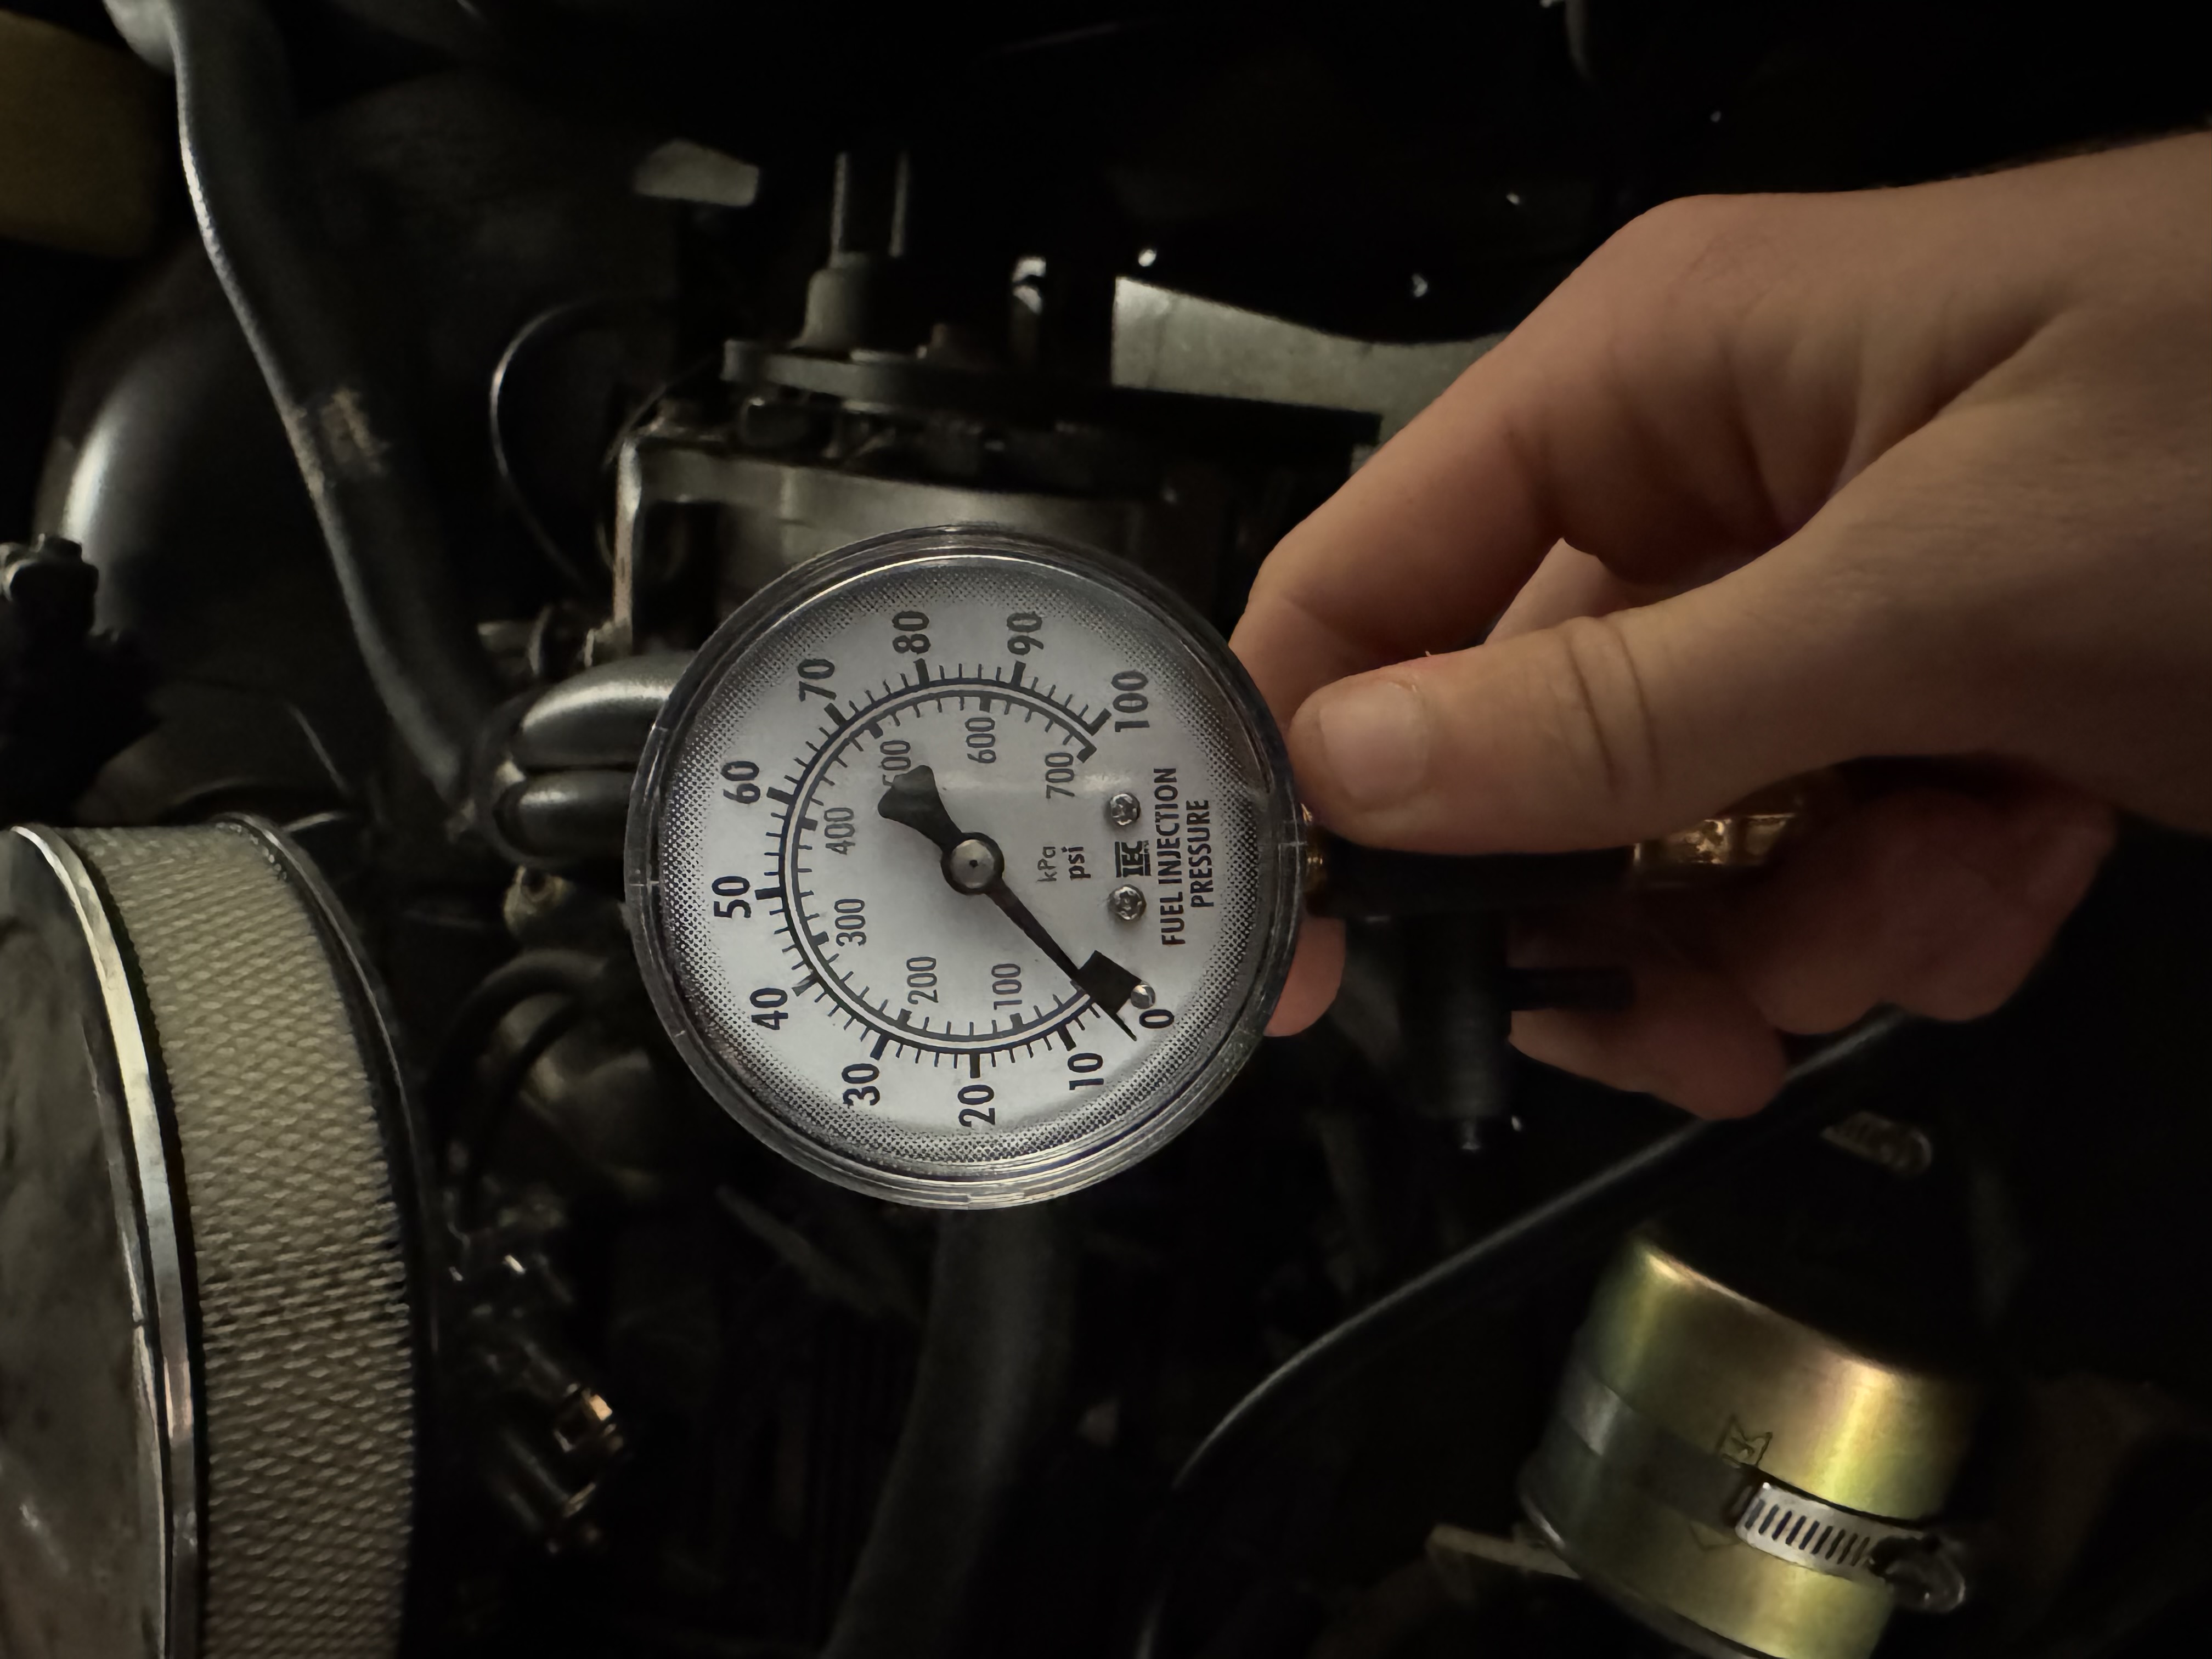
After getting and replacing the new fuel pump, I checked the pressure to make sure it was correct, and it was. The pressure was perfectly between 5 and 7 PSI.

1971 Chevy Blazer Restoration progress photo 8

Step 8

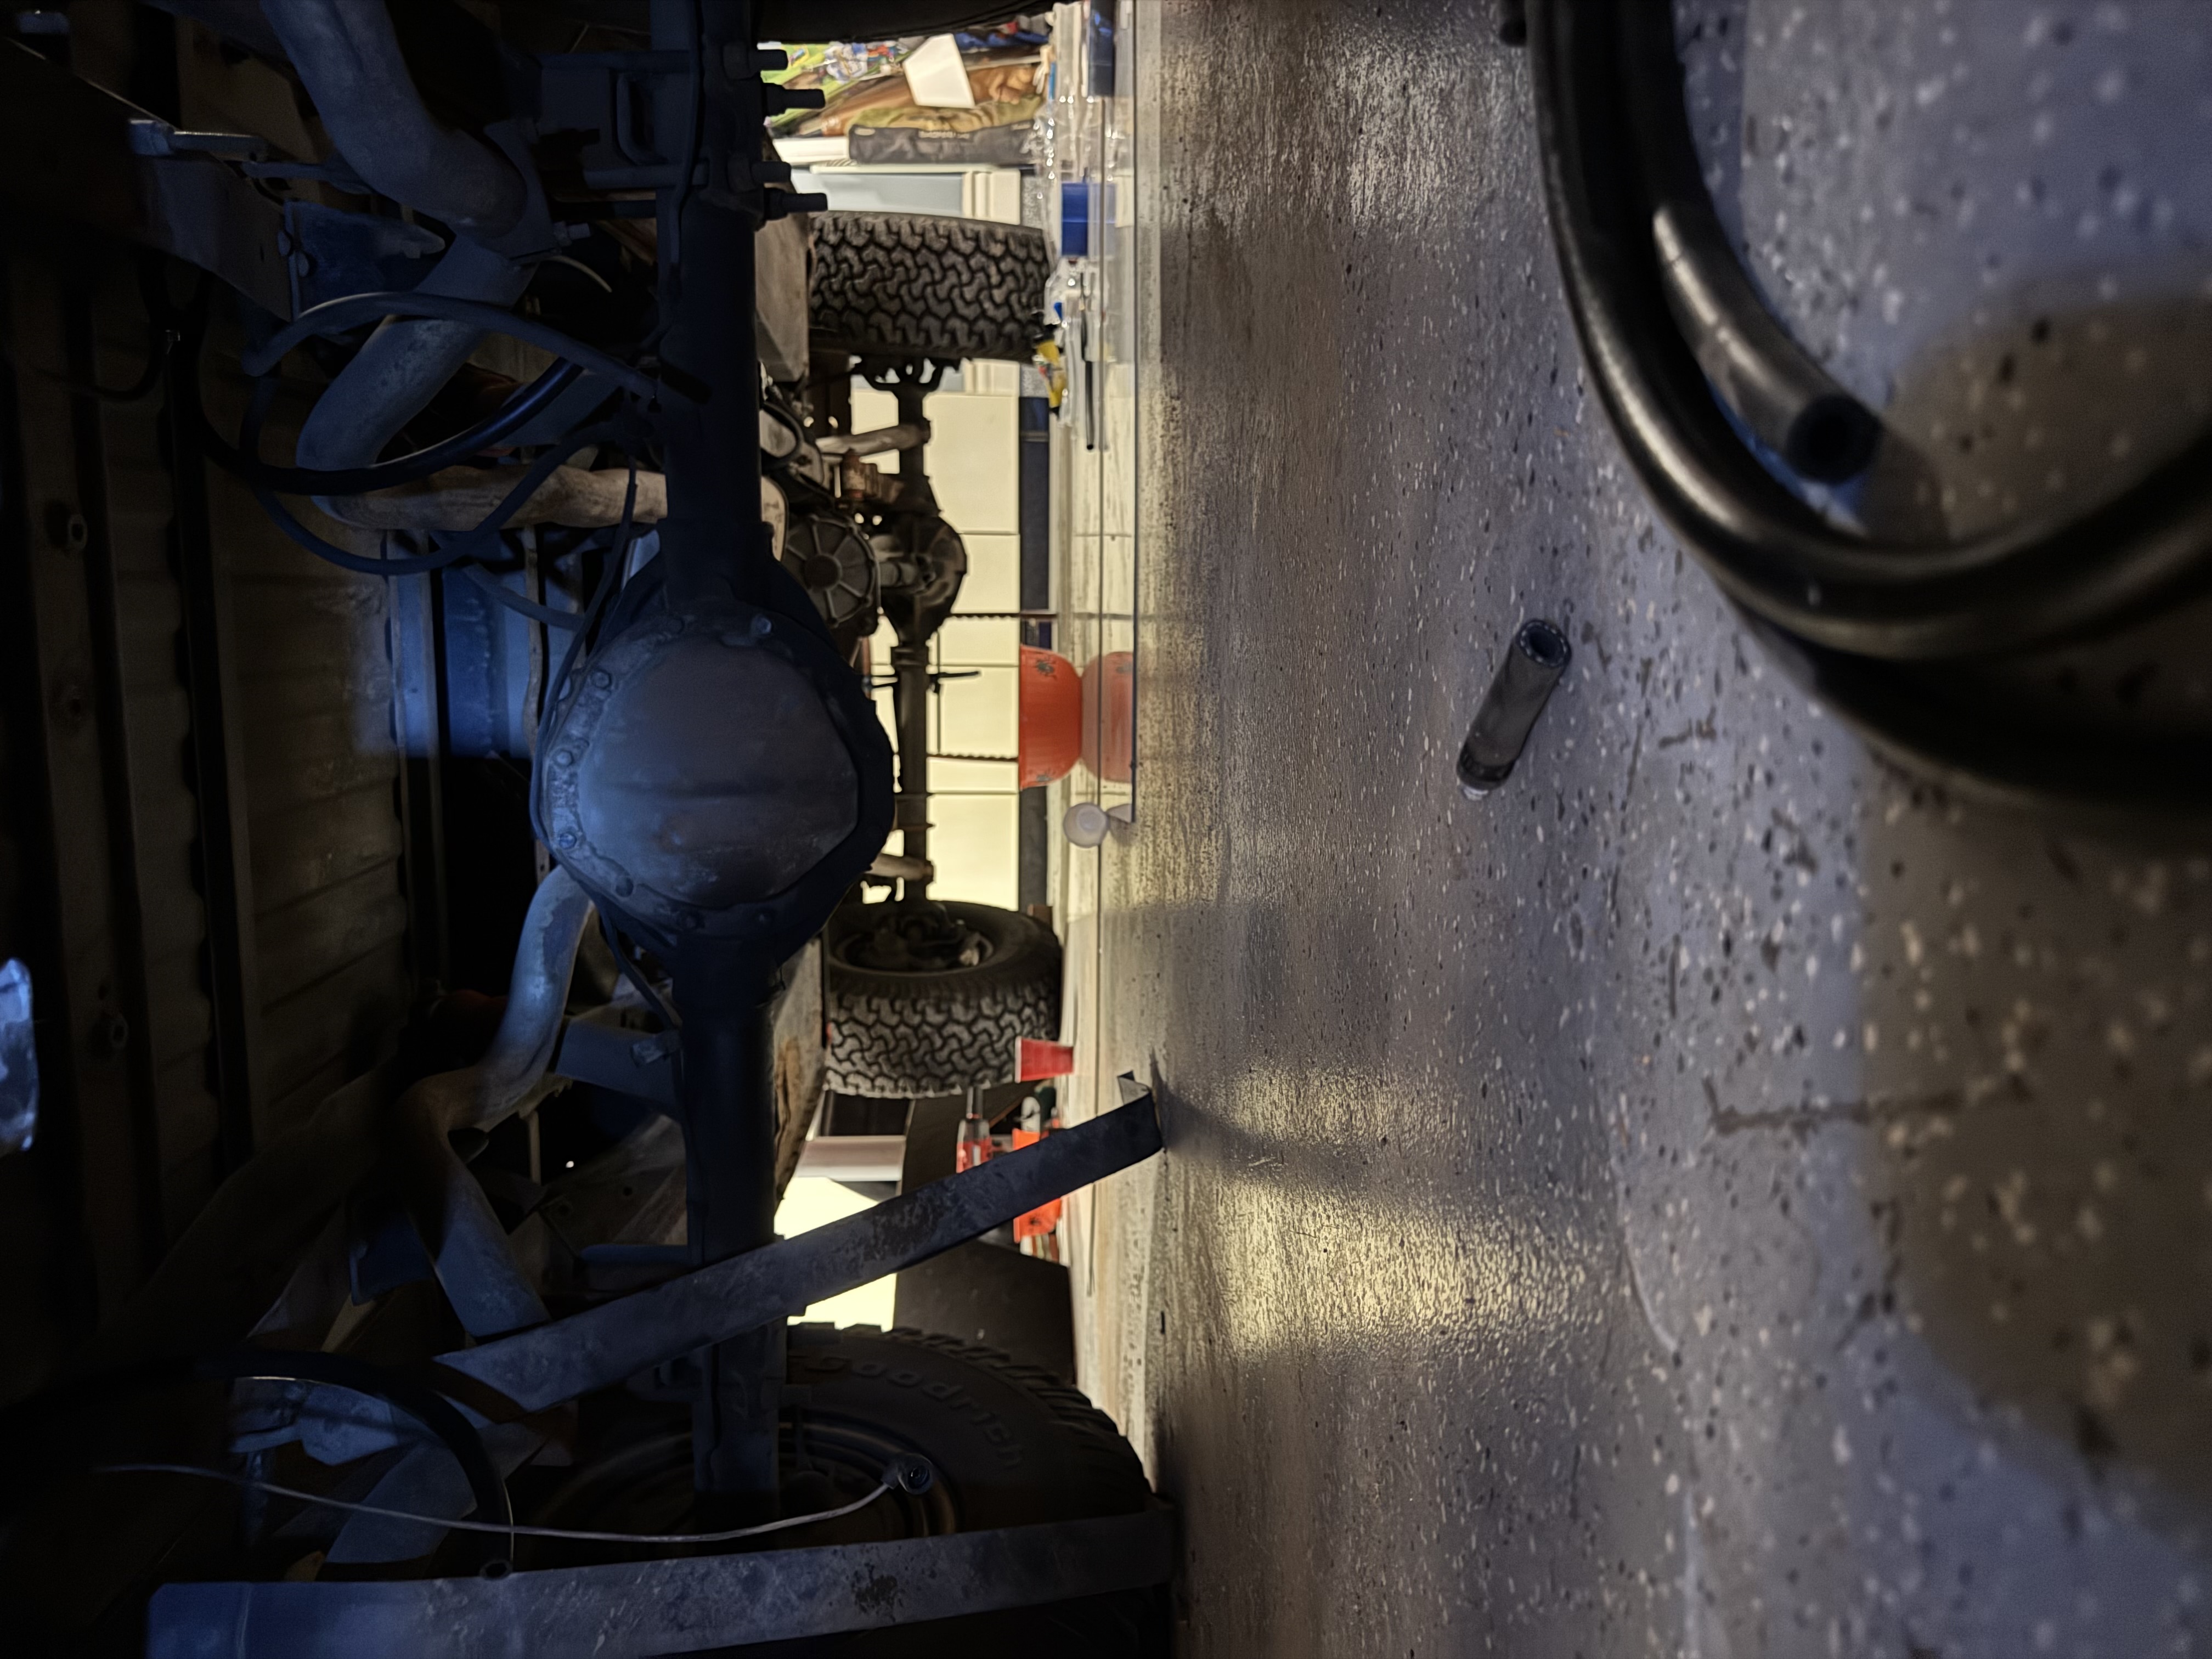
Knowing there would be old fuel in the system, I began replacing some of the fuel components on the vehicle. I started by taking out the old fuel tank, especially because it had a very large fracture in it.

1971 Chevy Blazer Restoration progress photo 9

Step 9

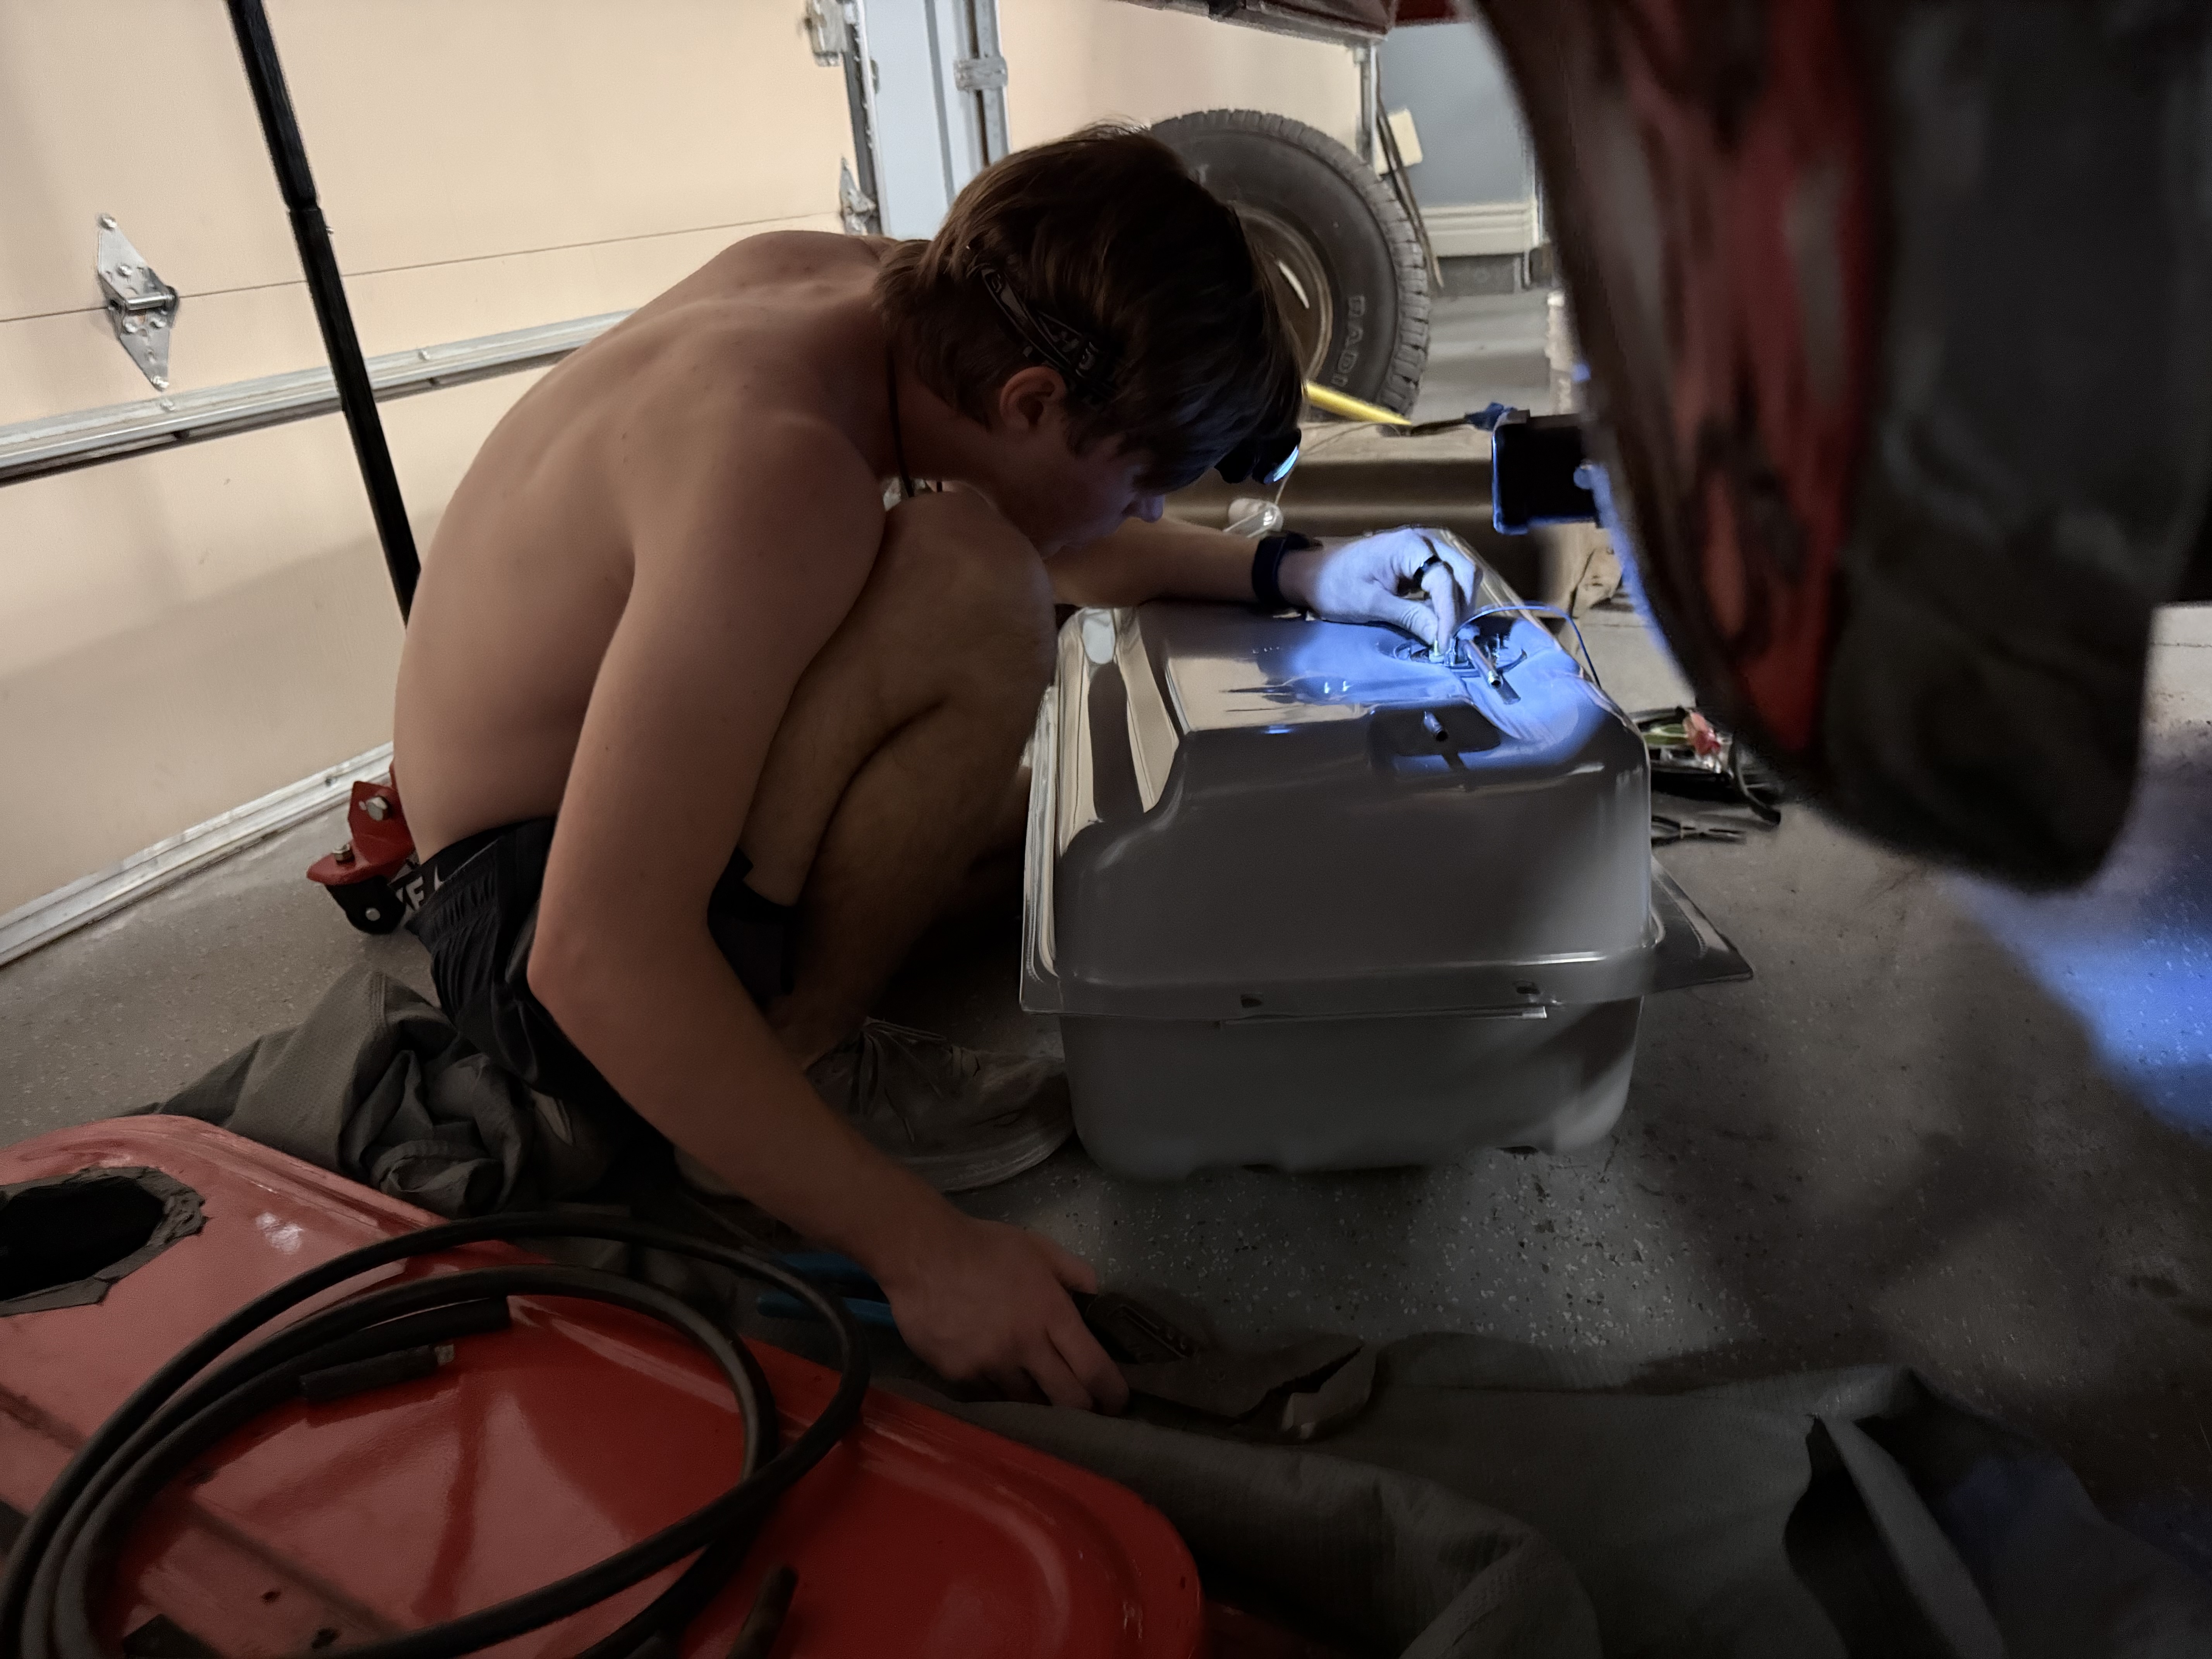
I prepared the new fuel tank for installation. Finally, I put it in, but it was not without trouble. It took a very long time because I did not have the proper tools to work with.

1971 Chevy Blazer Restoration progress photo 10

Step 10

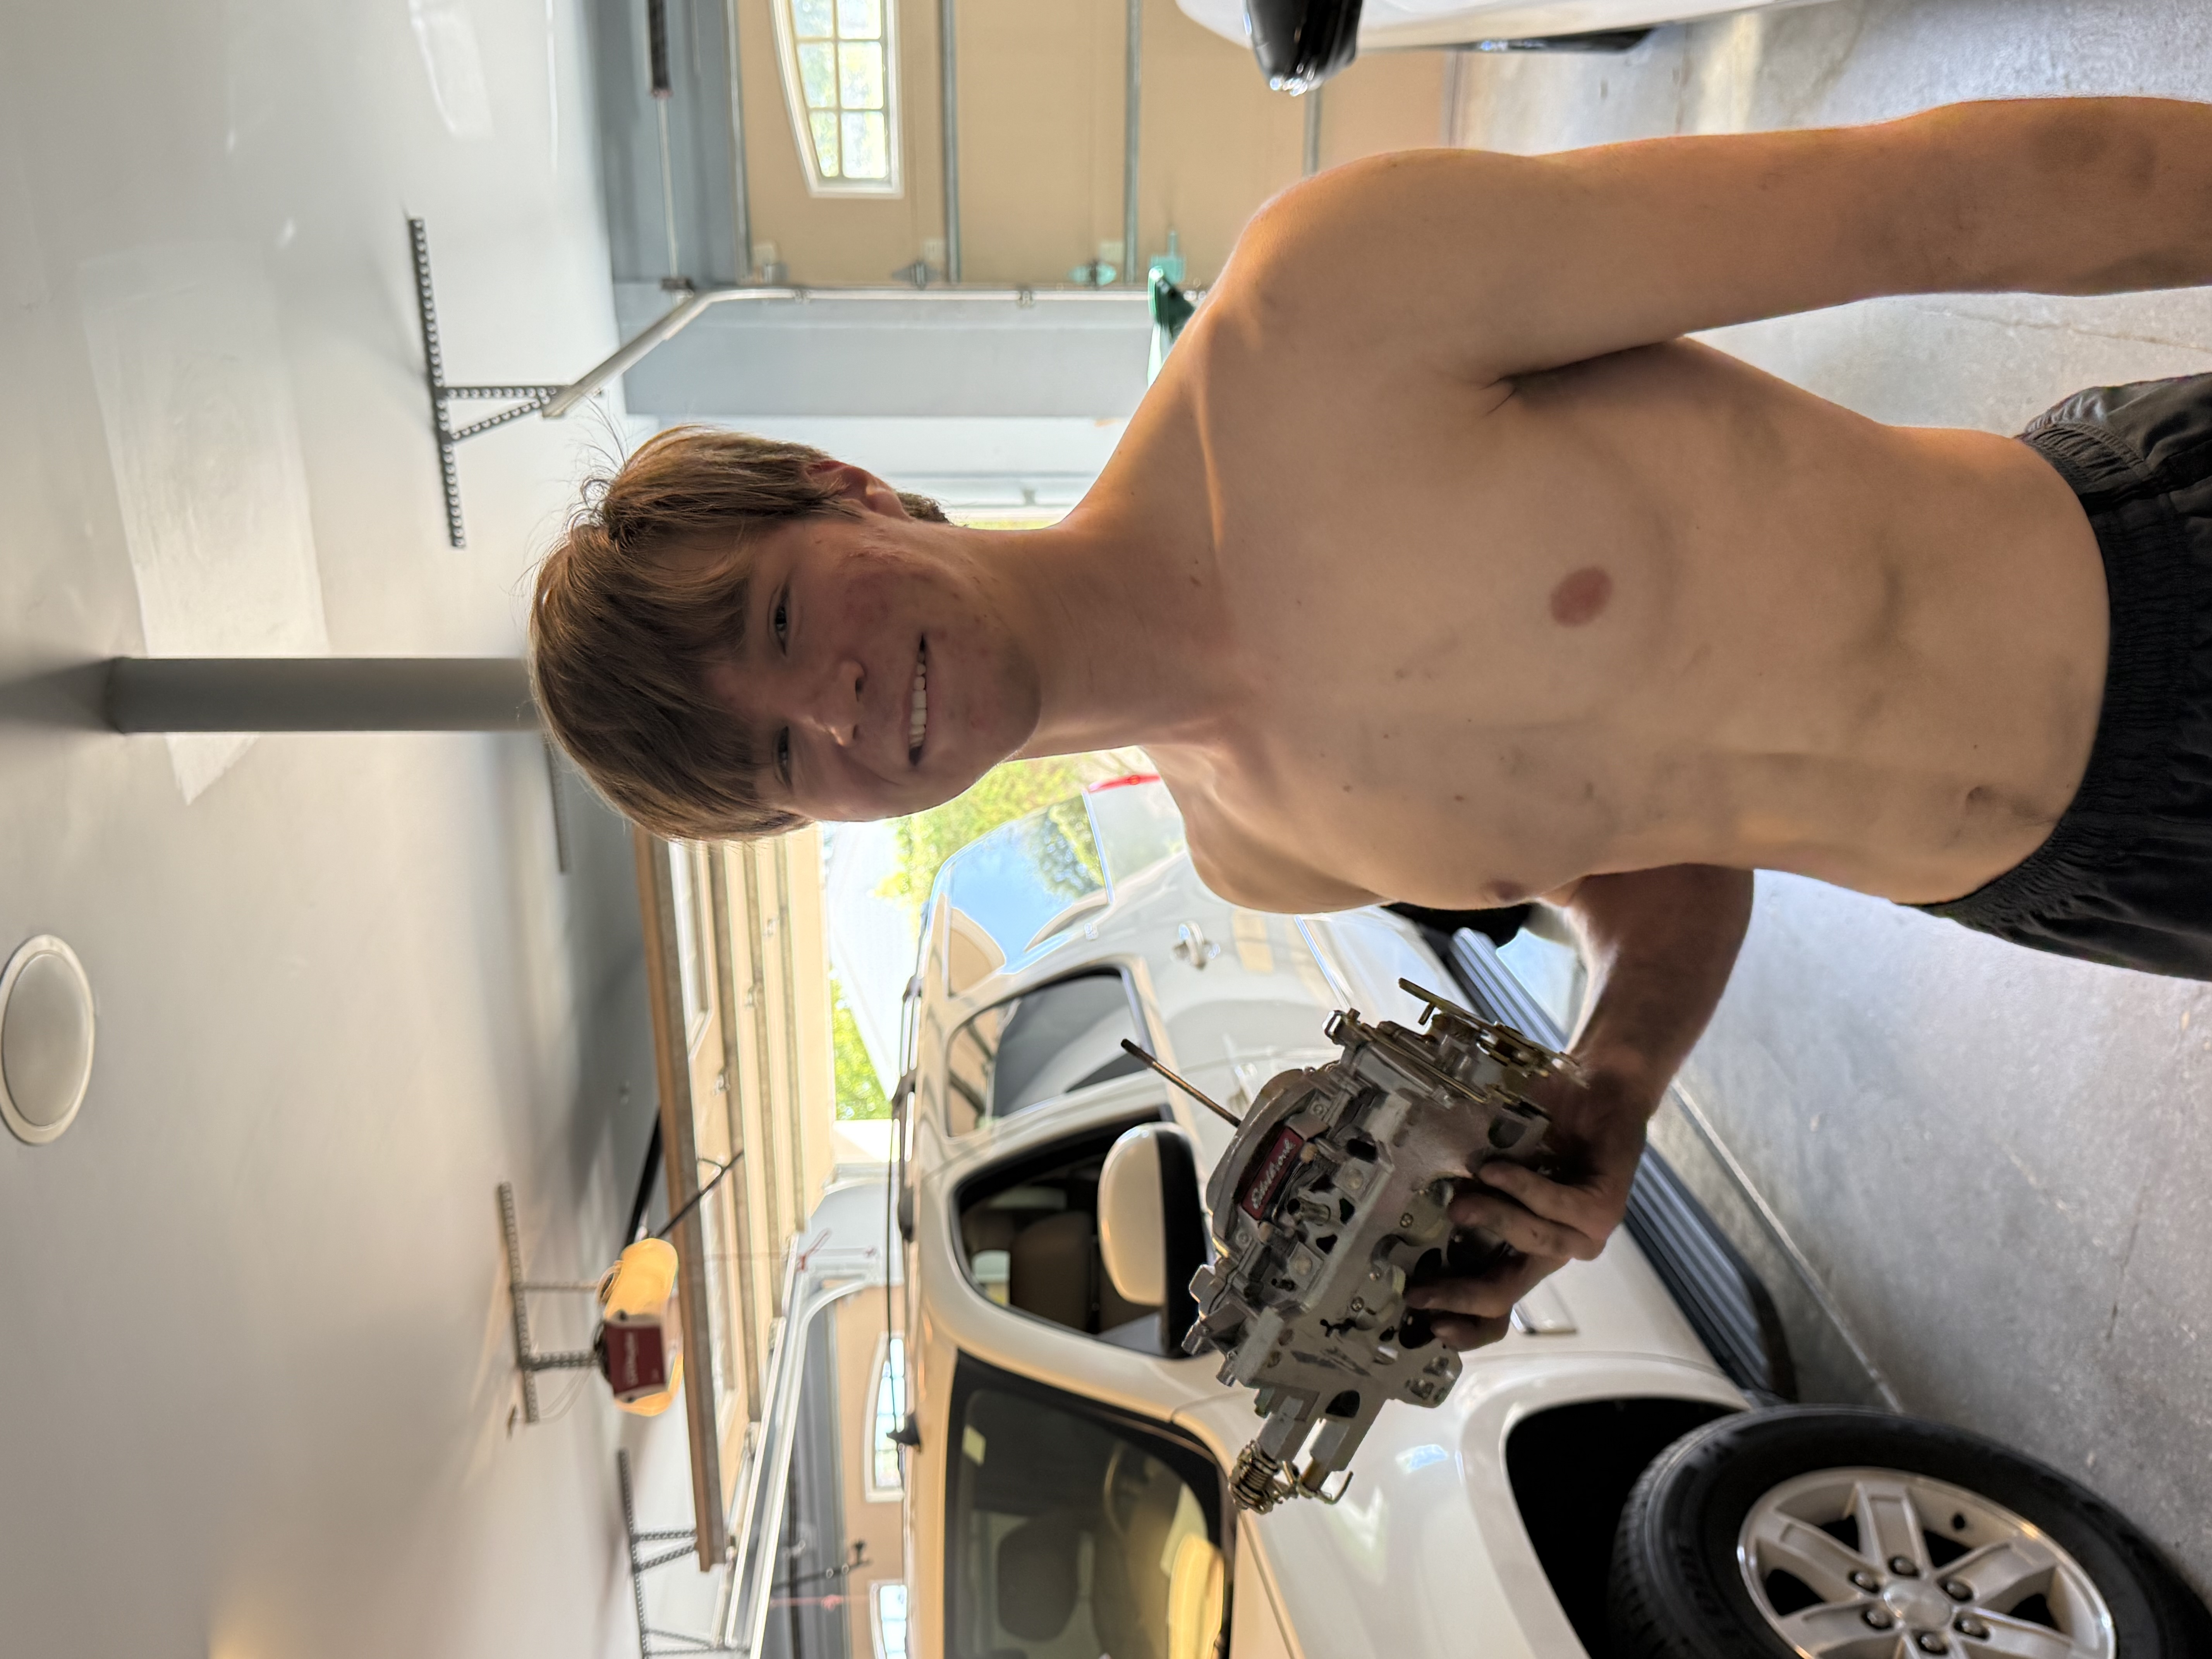
I then noticed that the carburetor may have been clogged and may not have been pushing fuel into the engine system, so I started by removing the carburetor.

1971 Chevy Blazer Restoration progress photo 11

Step 11

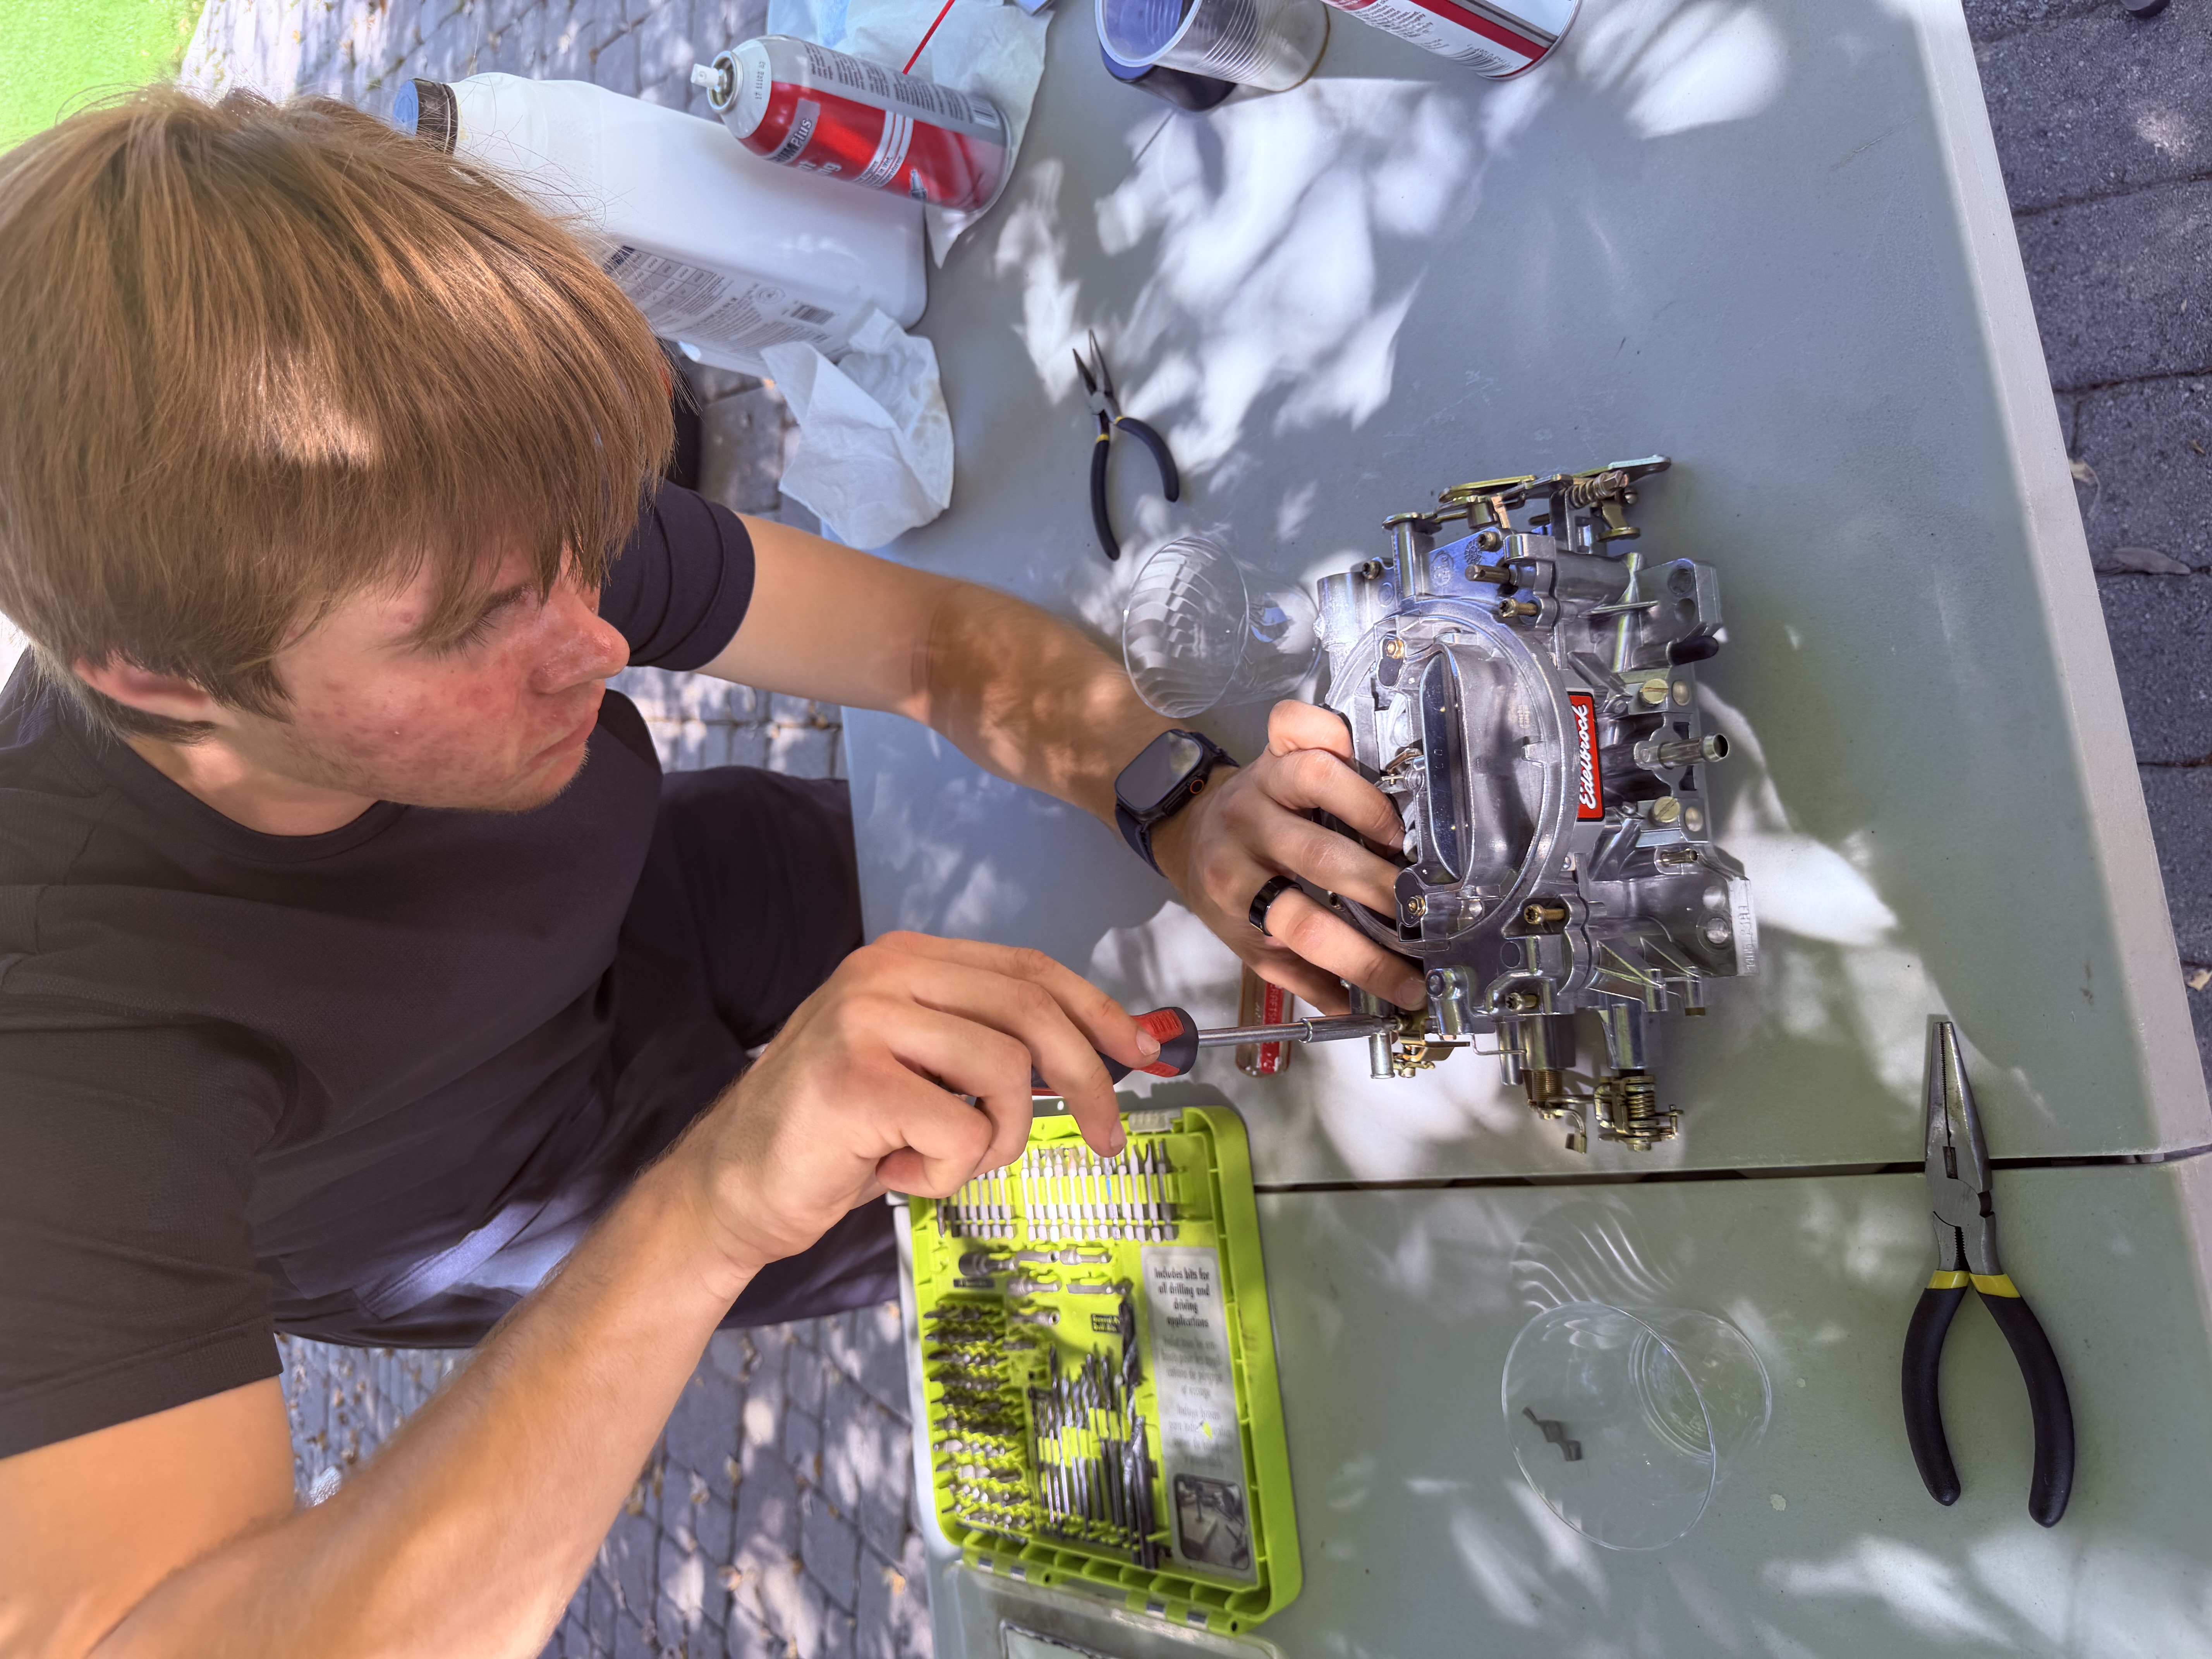
I then took apart, replaced, and cleaned all the pieces of the carburetor in order to get the vehicle running.

1971 Chevy Blazer Restoration progress photo 12

Step 12

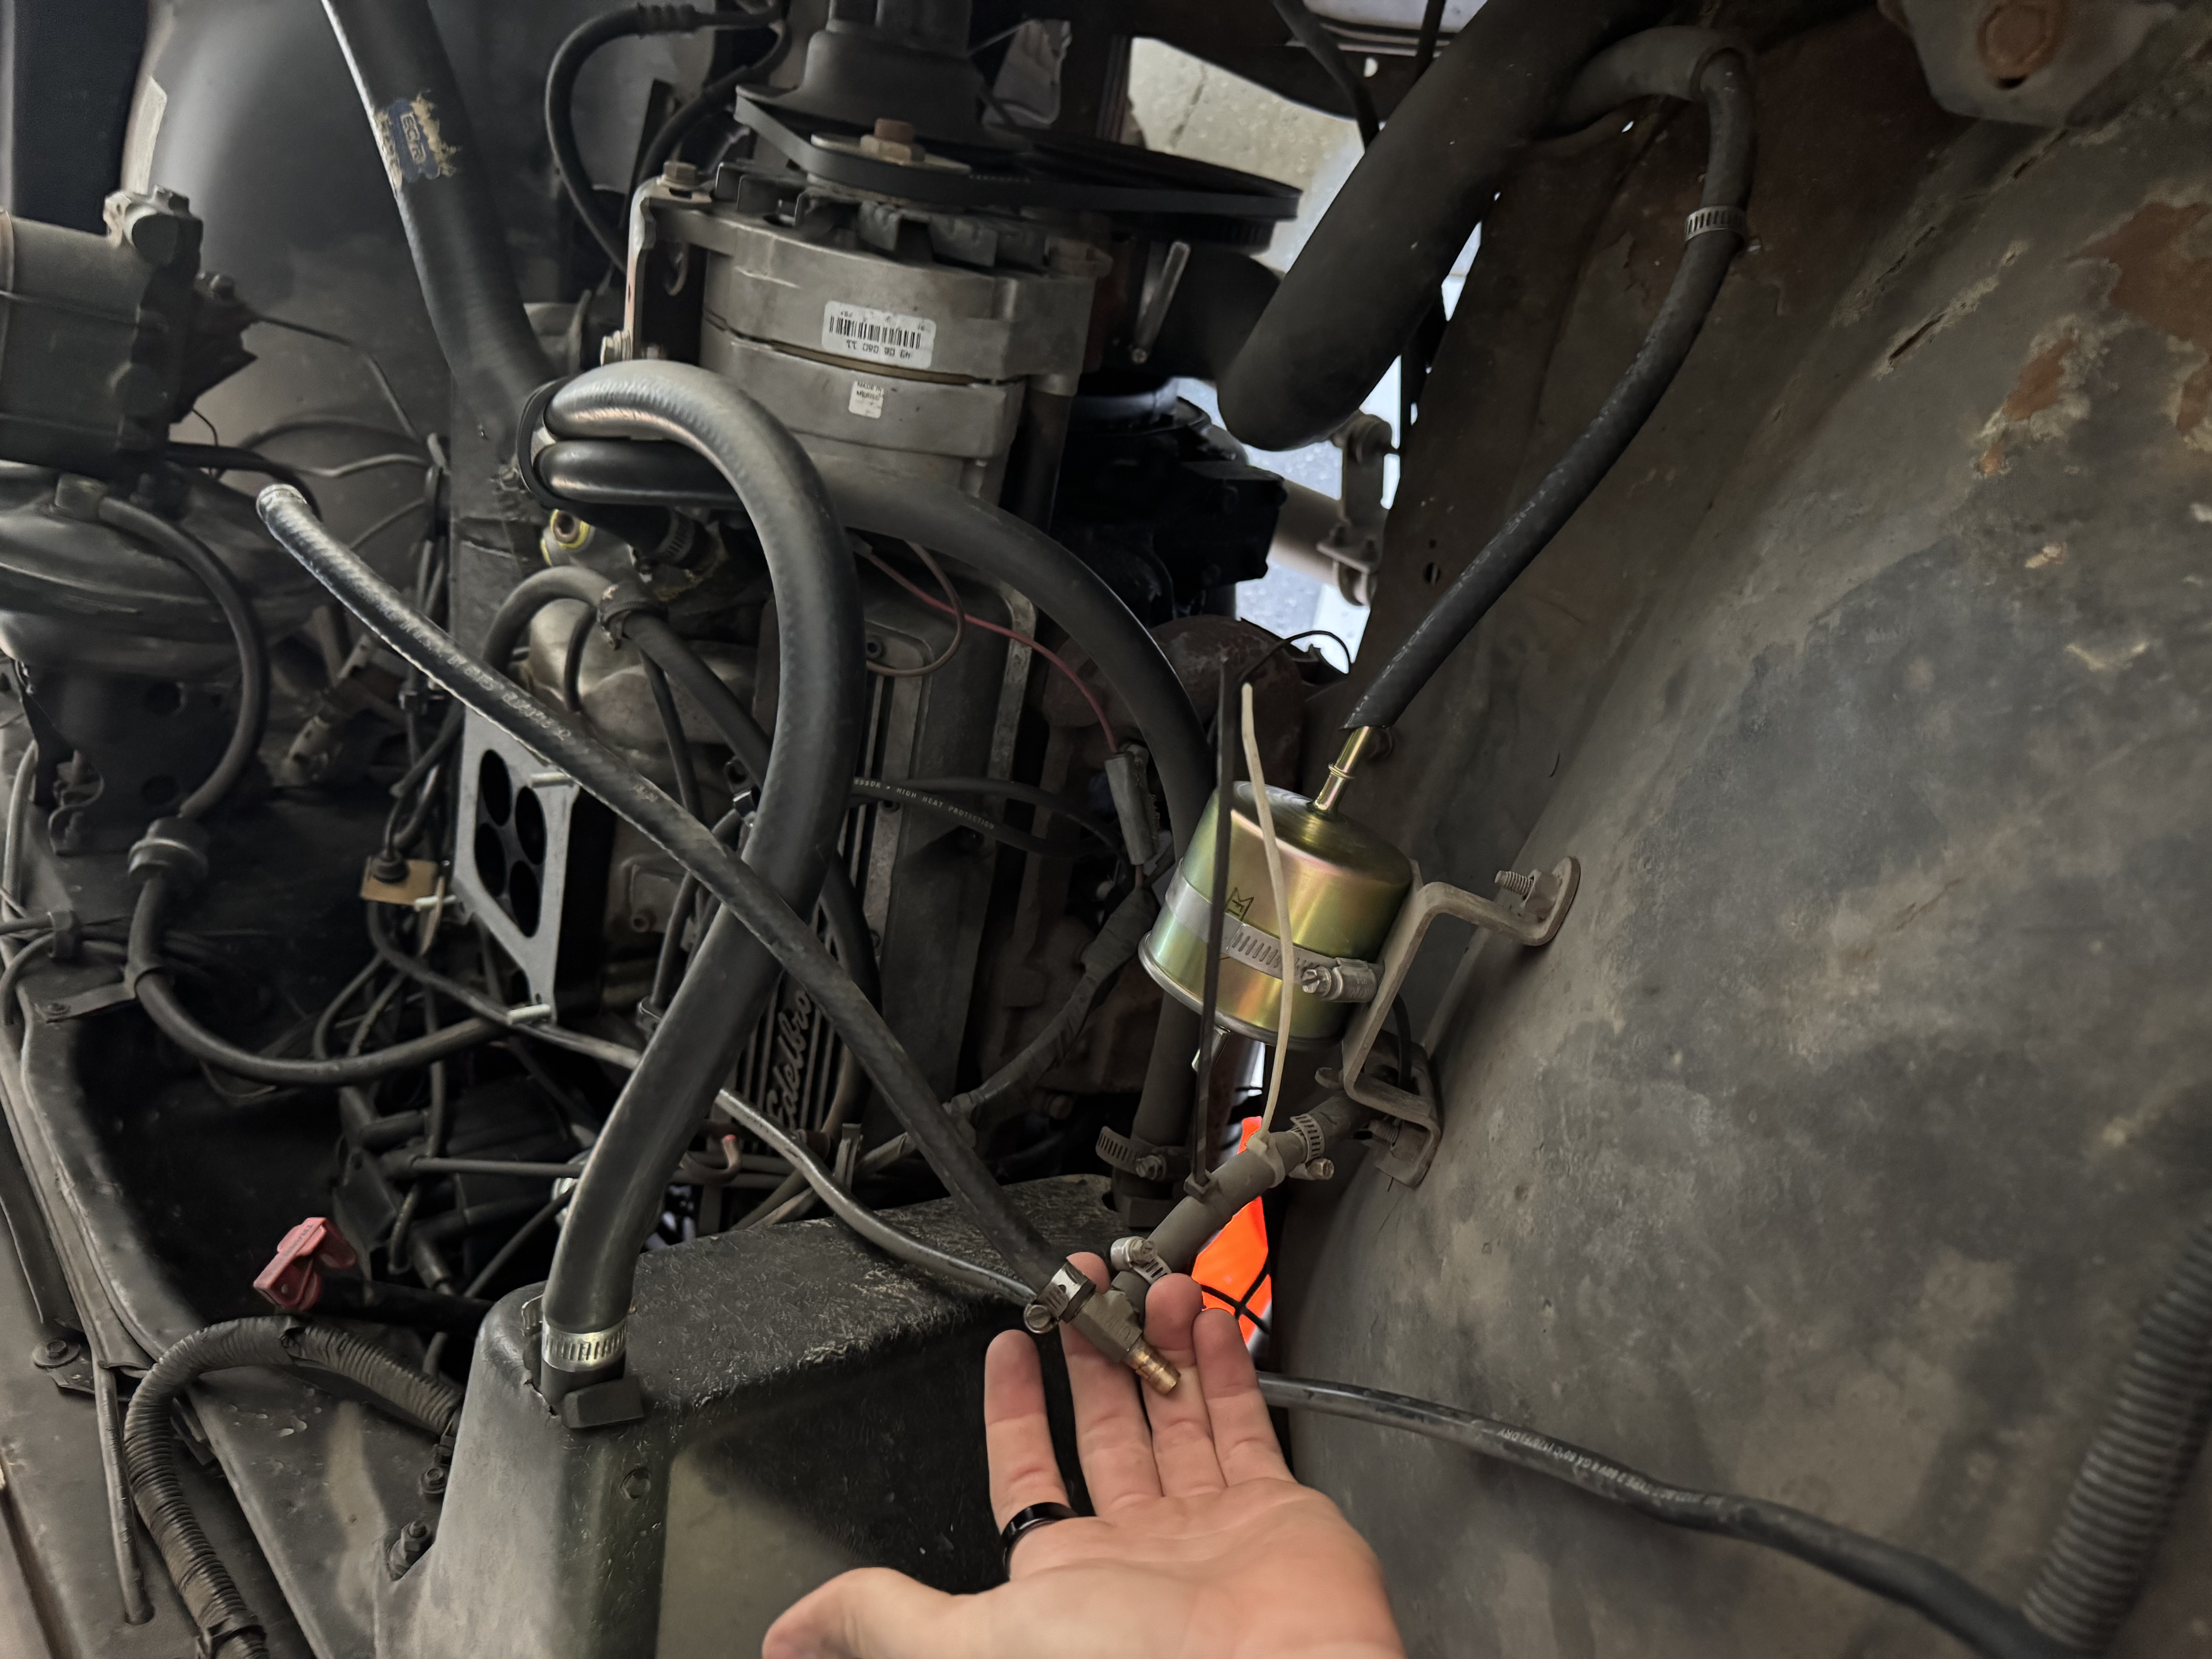
After hooking up a new fuel filter and hose, I connected the cleaned carburetor, and it ran perfectly.

1971 Chevy Blazer Restoration progress photo 13

Step 13

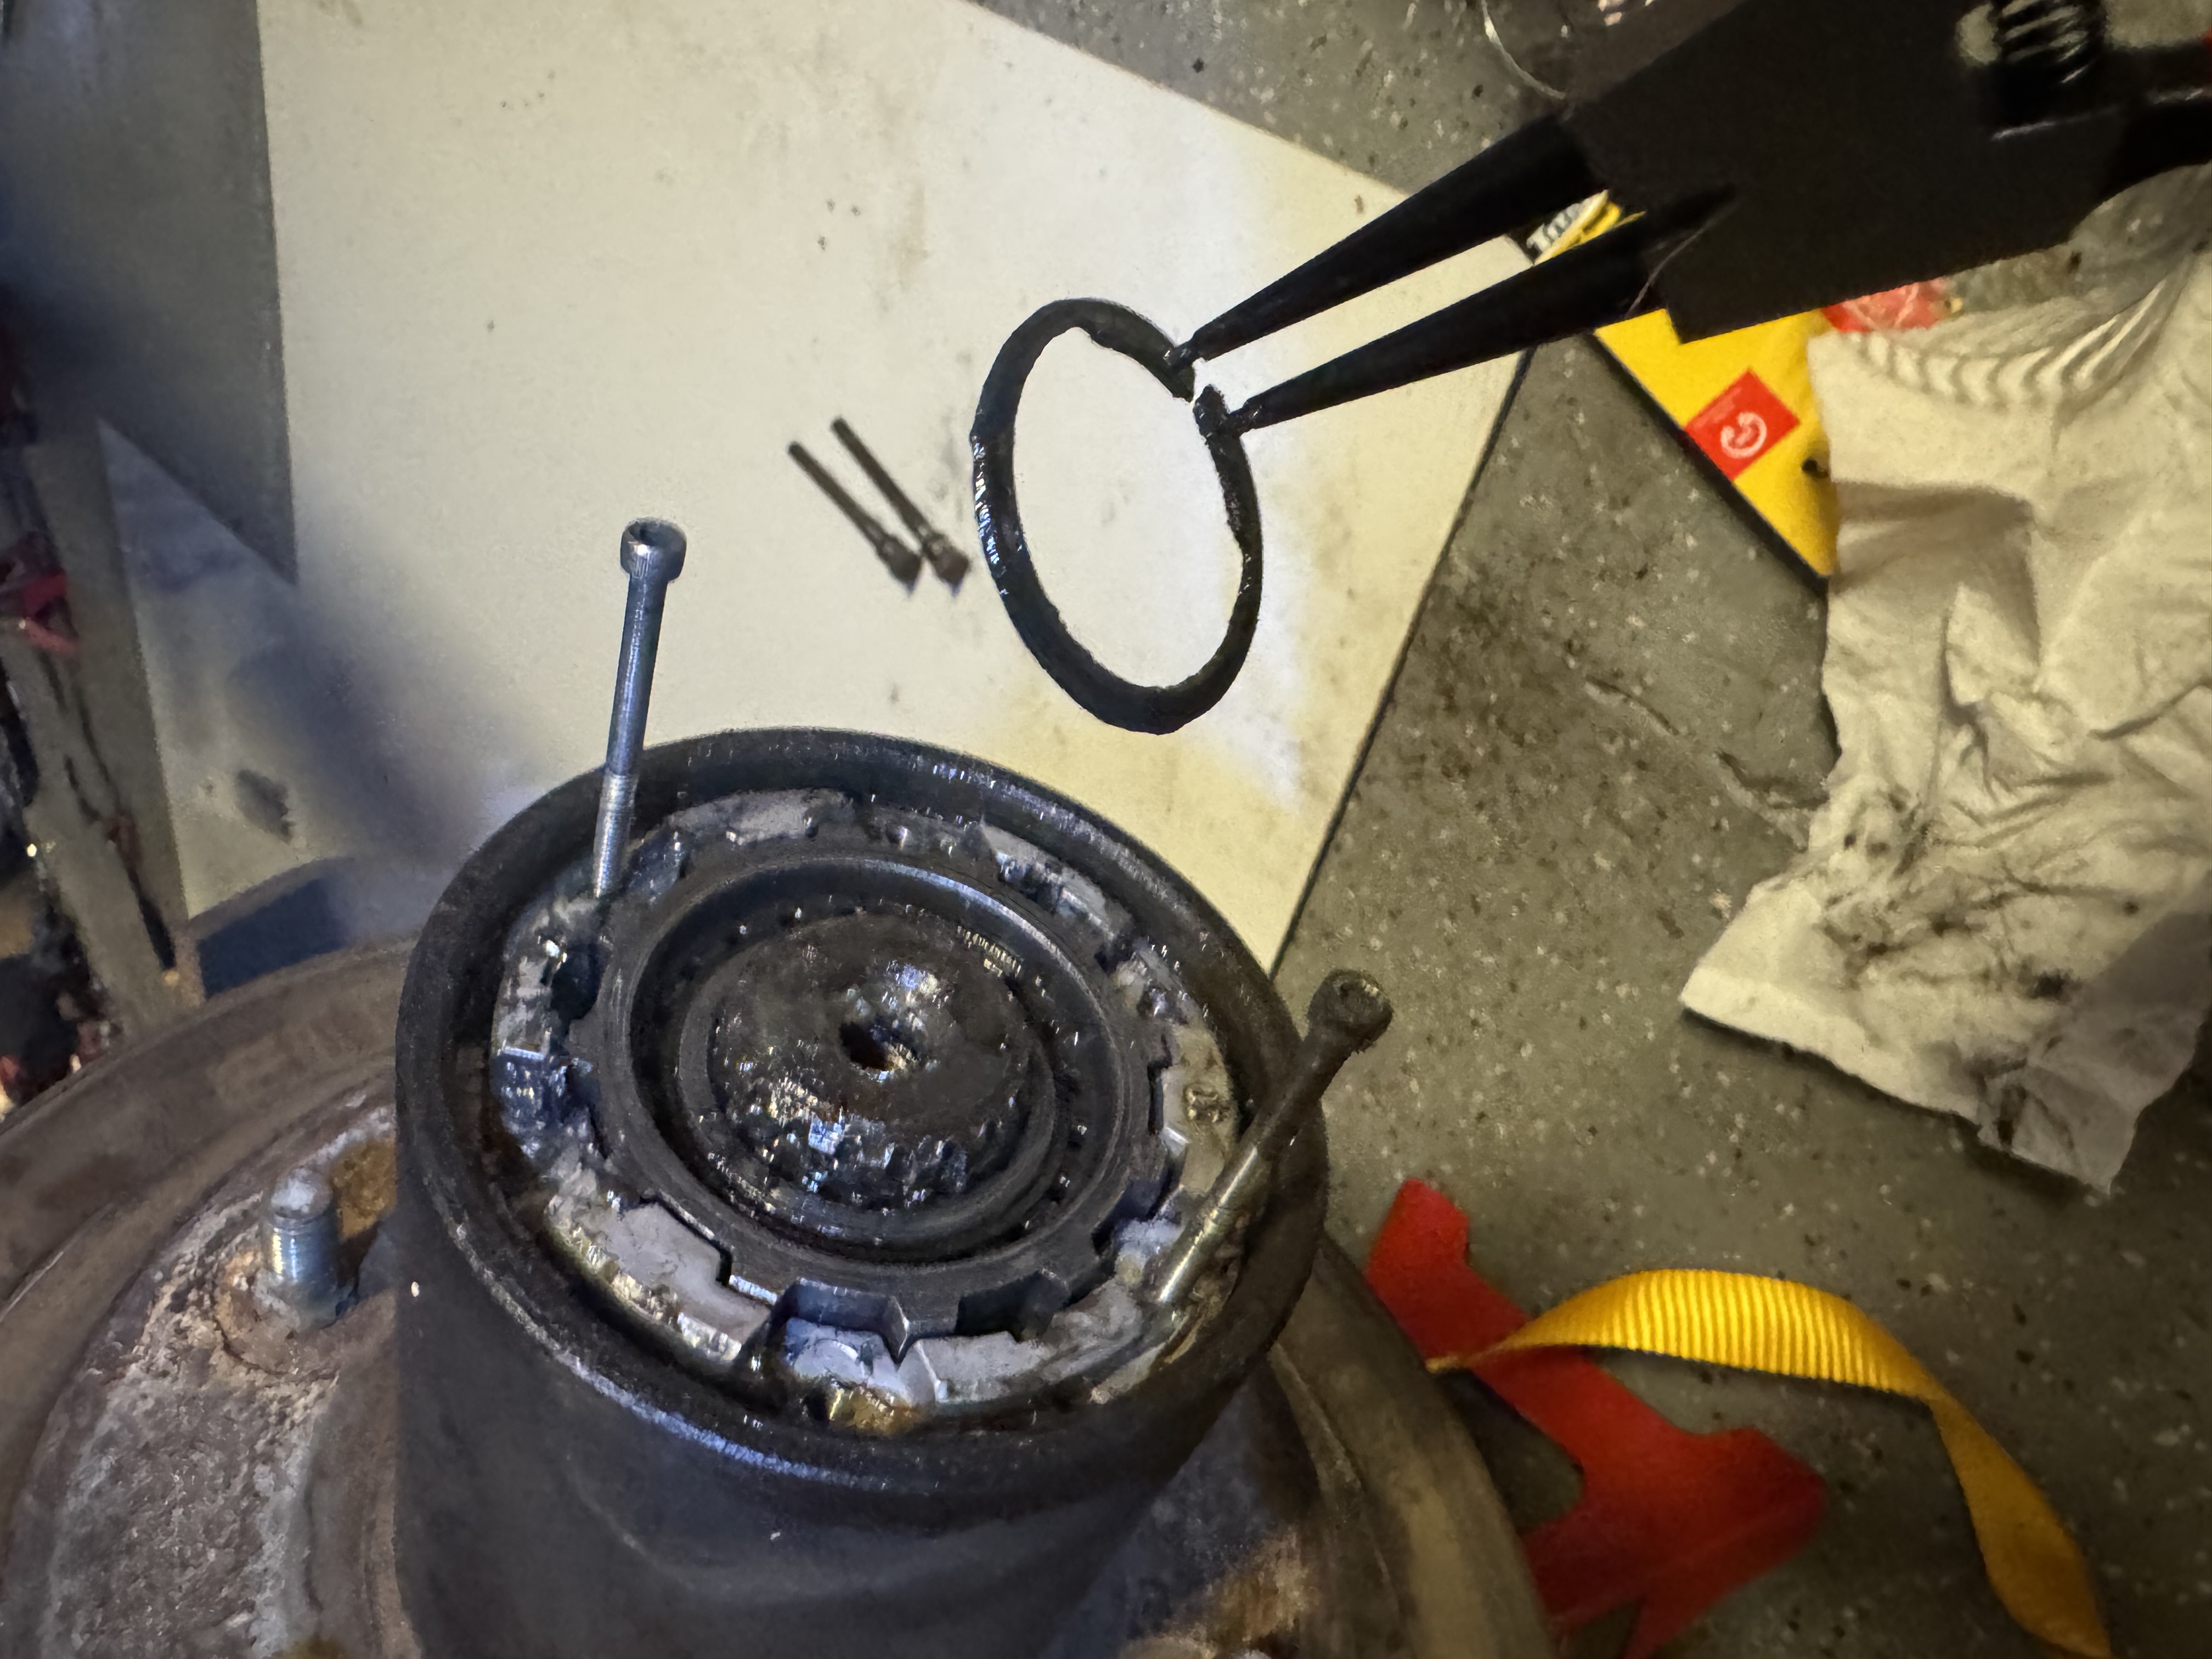
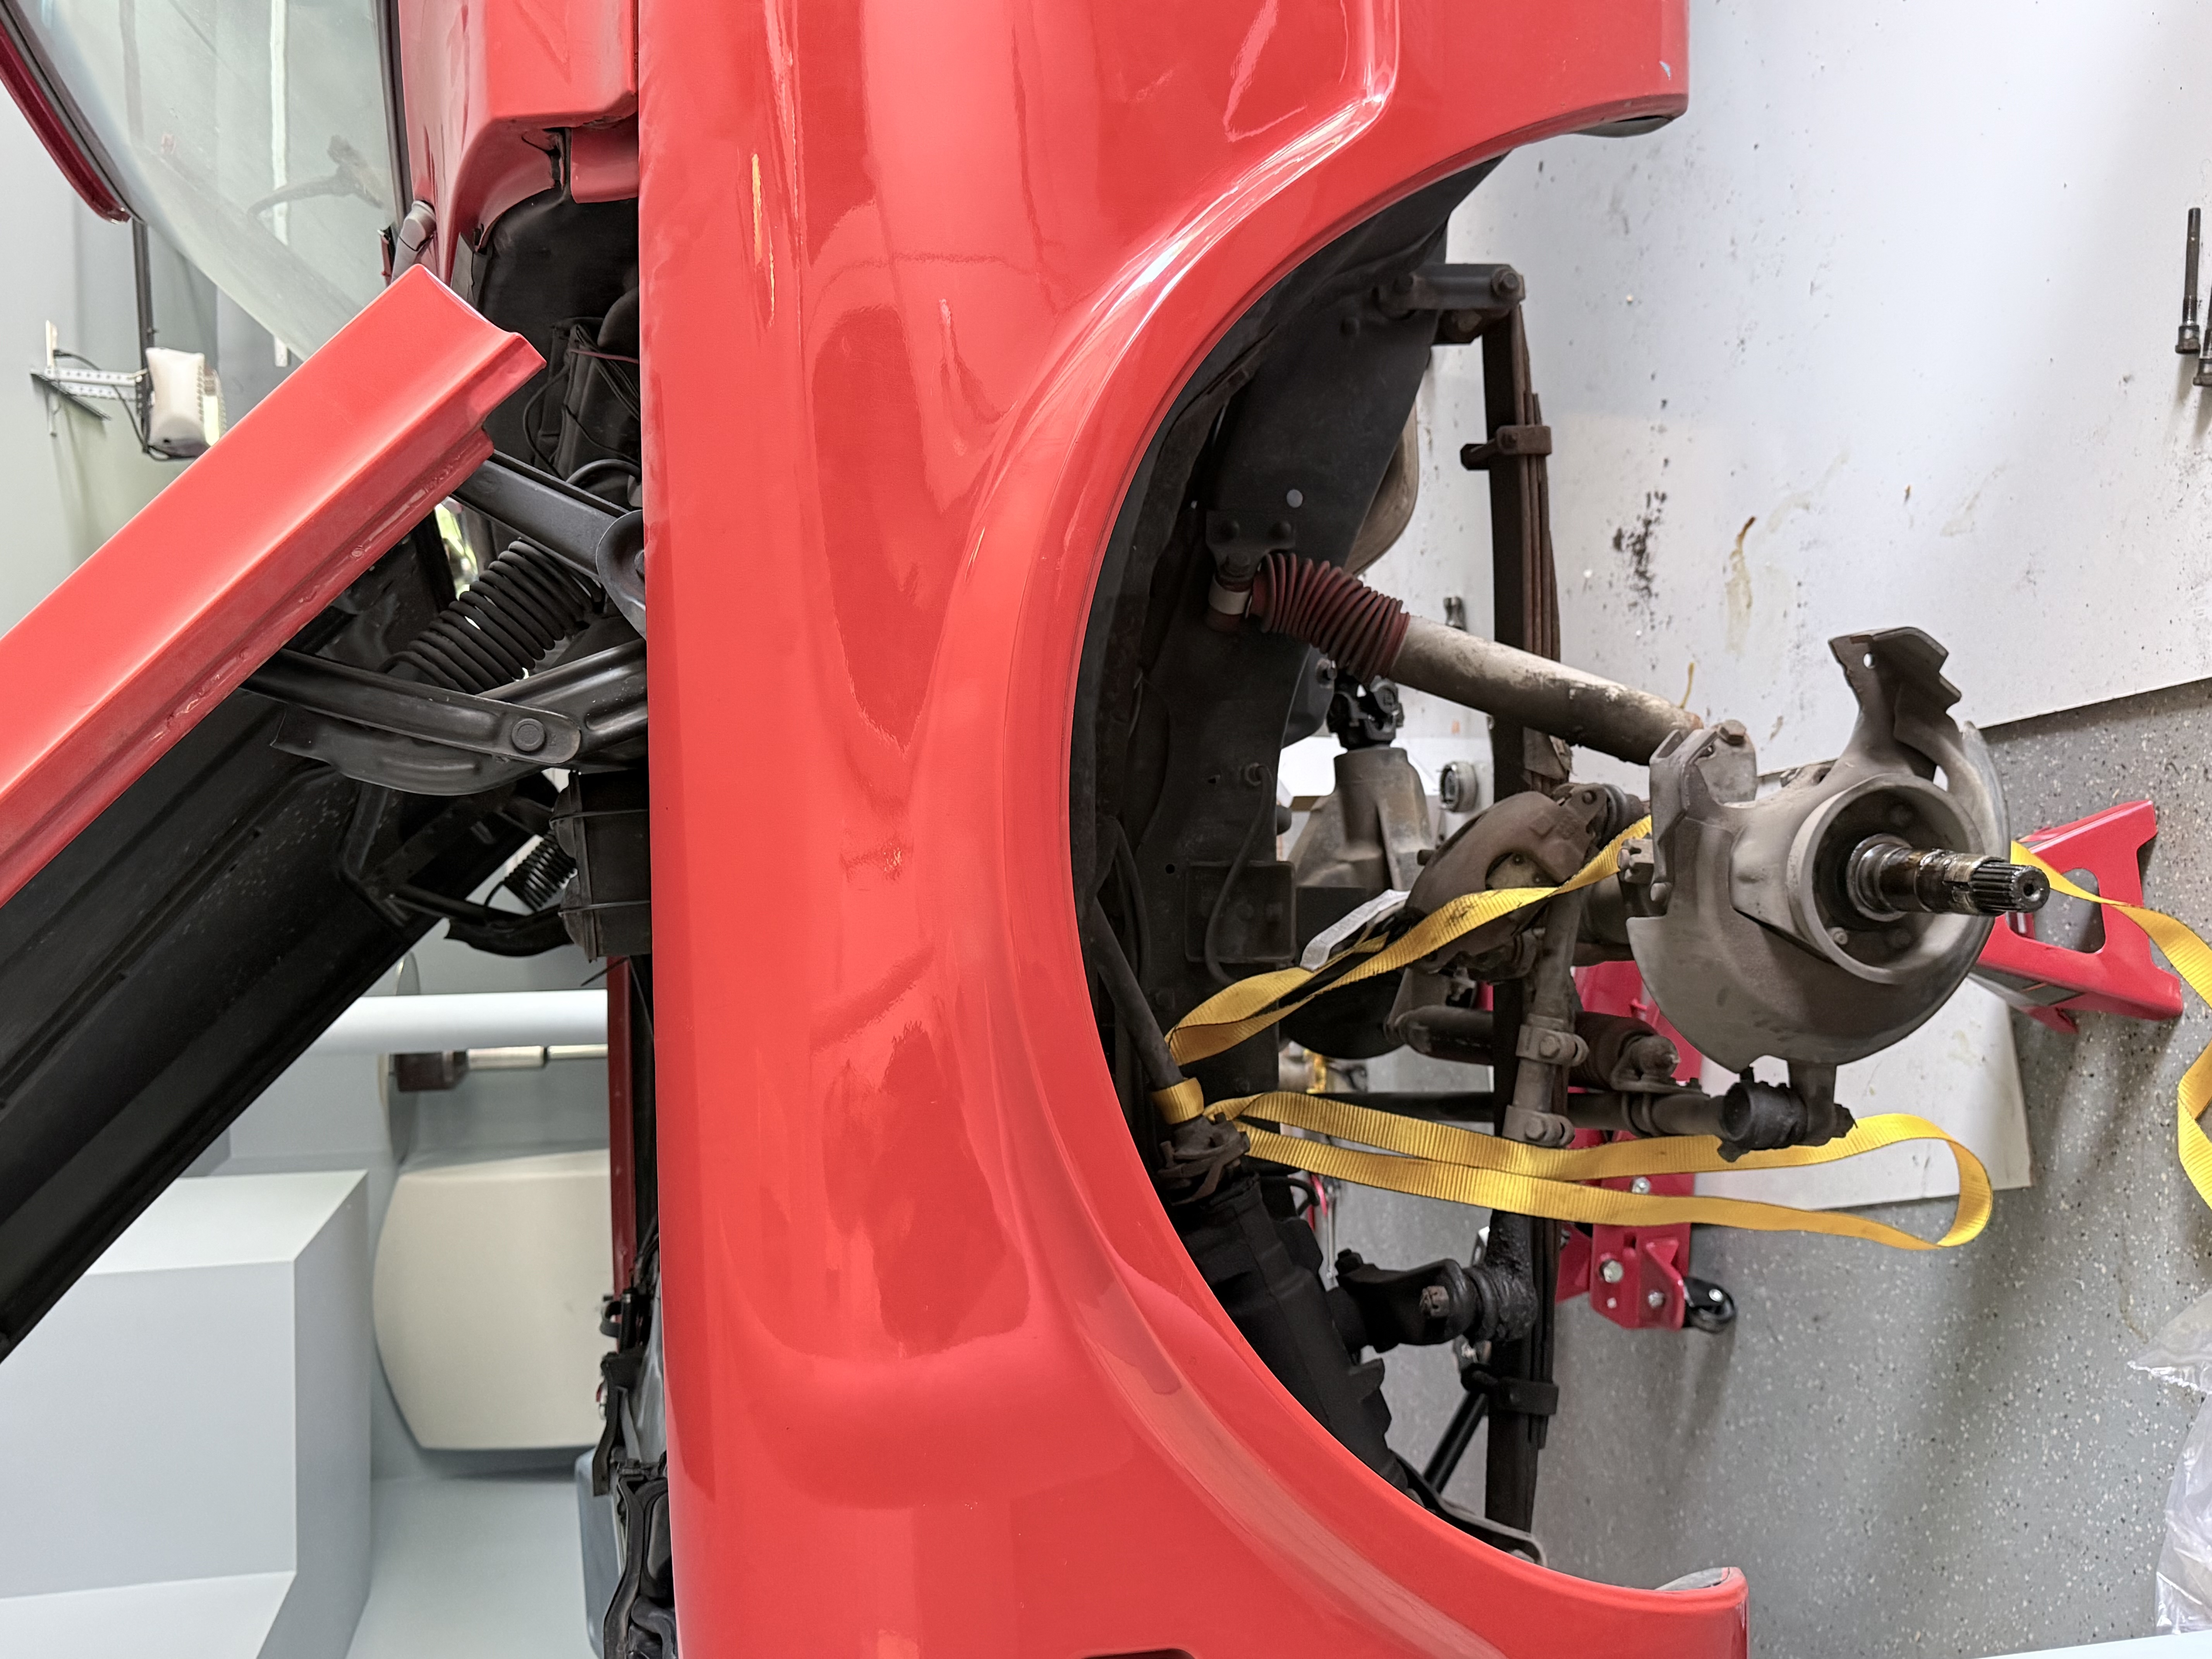
The next step was to get the wheels and brakes in proper condition. I started with the front wheel hub, taking it apart piece by piece so I could remove the physical disc.

1971 Chevy Blazer Restoration progress photo 14

Step 14

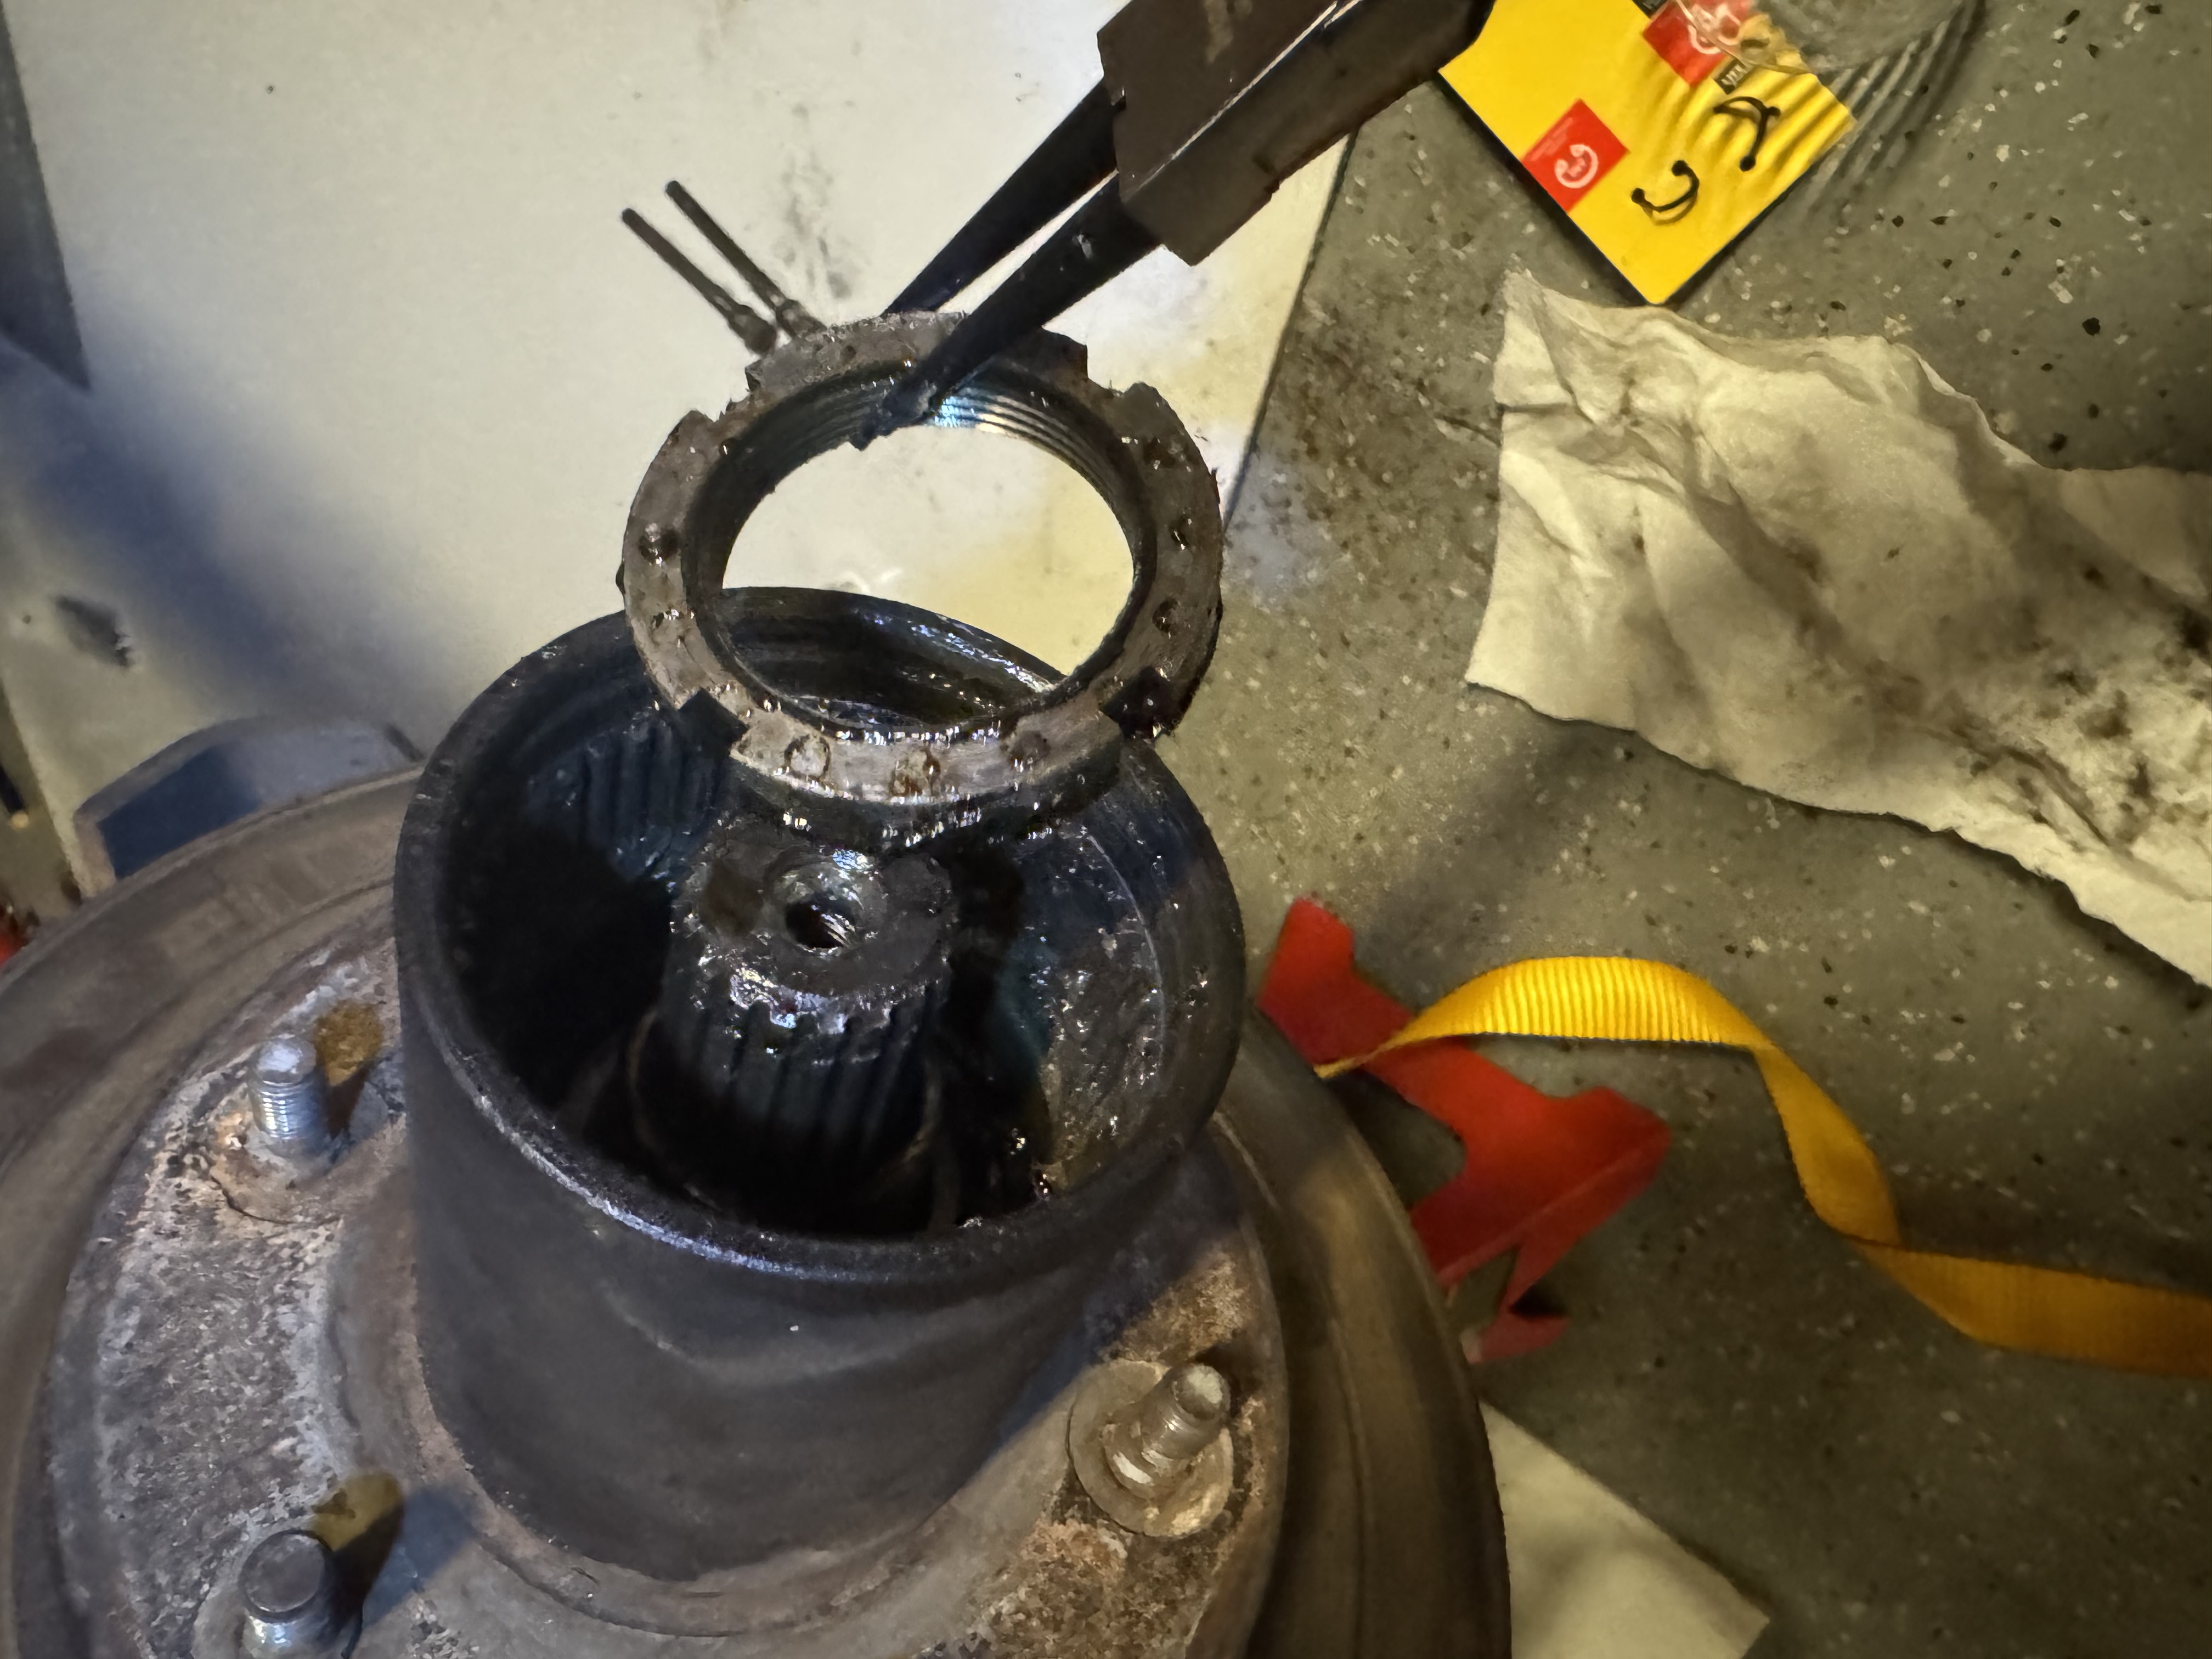
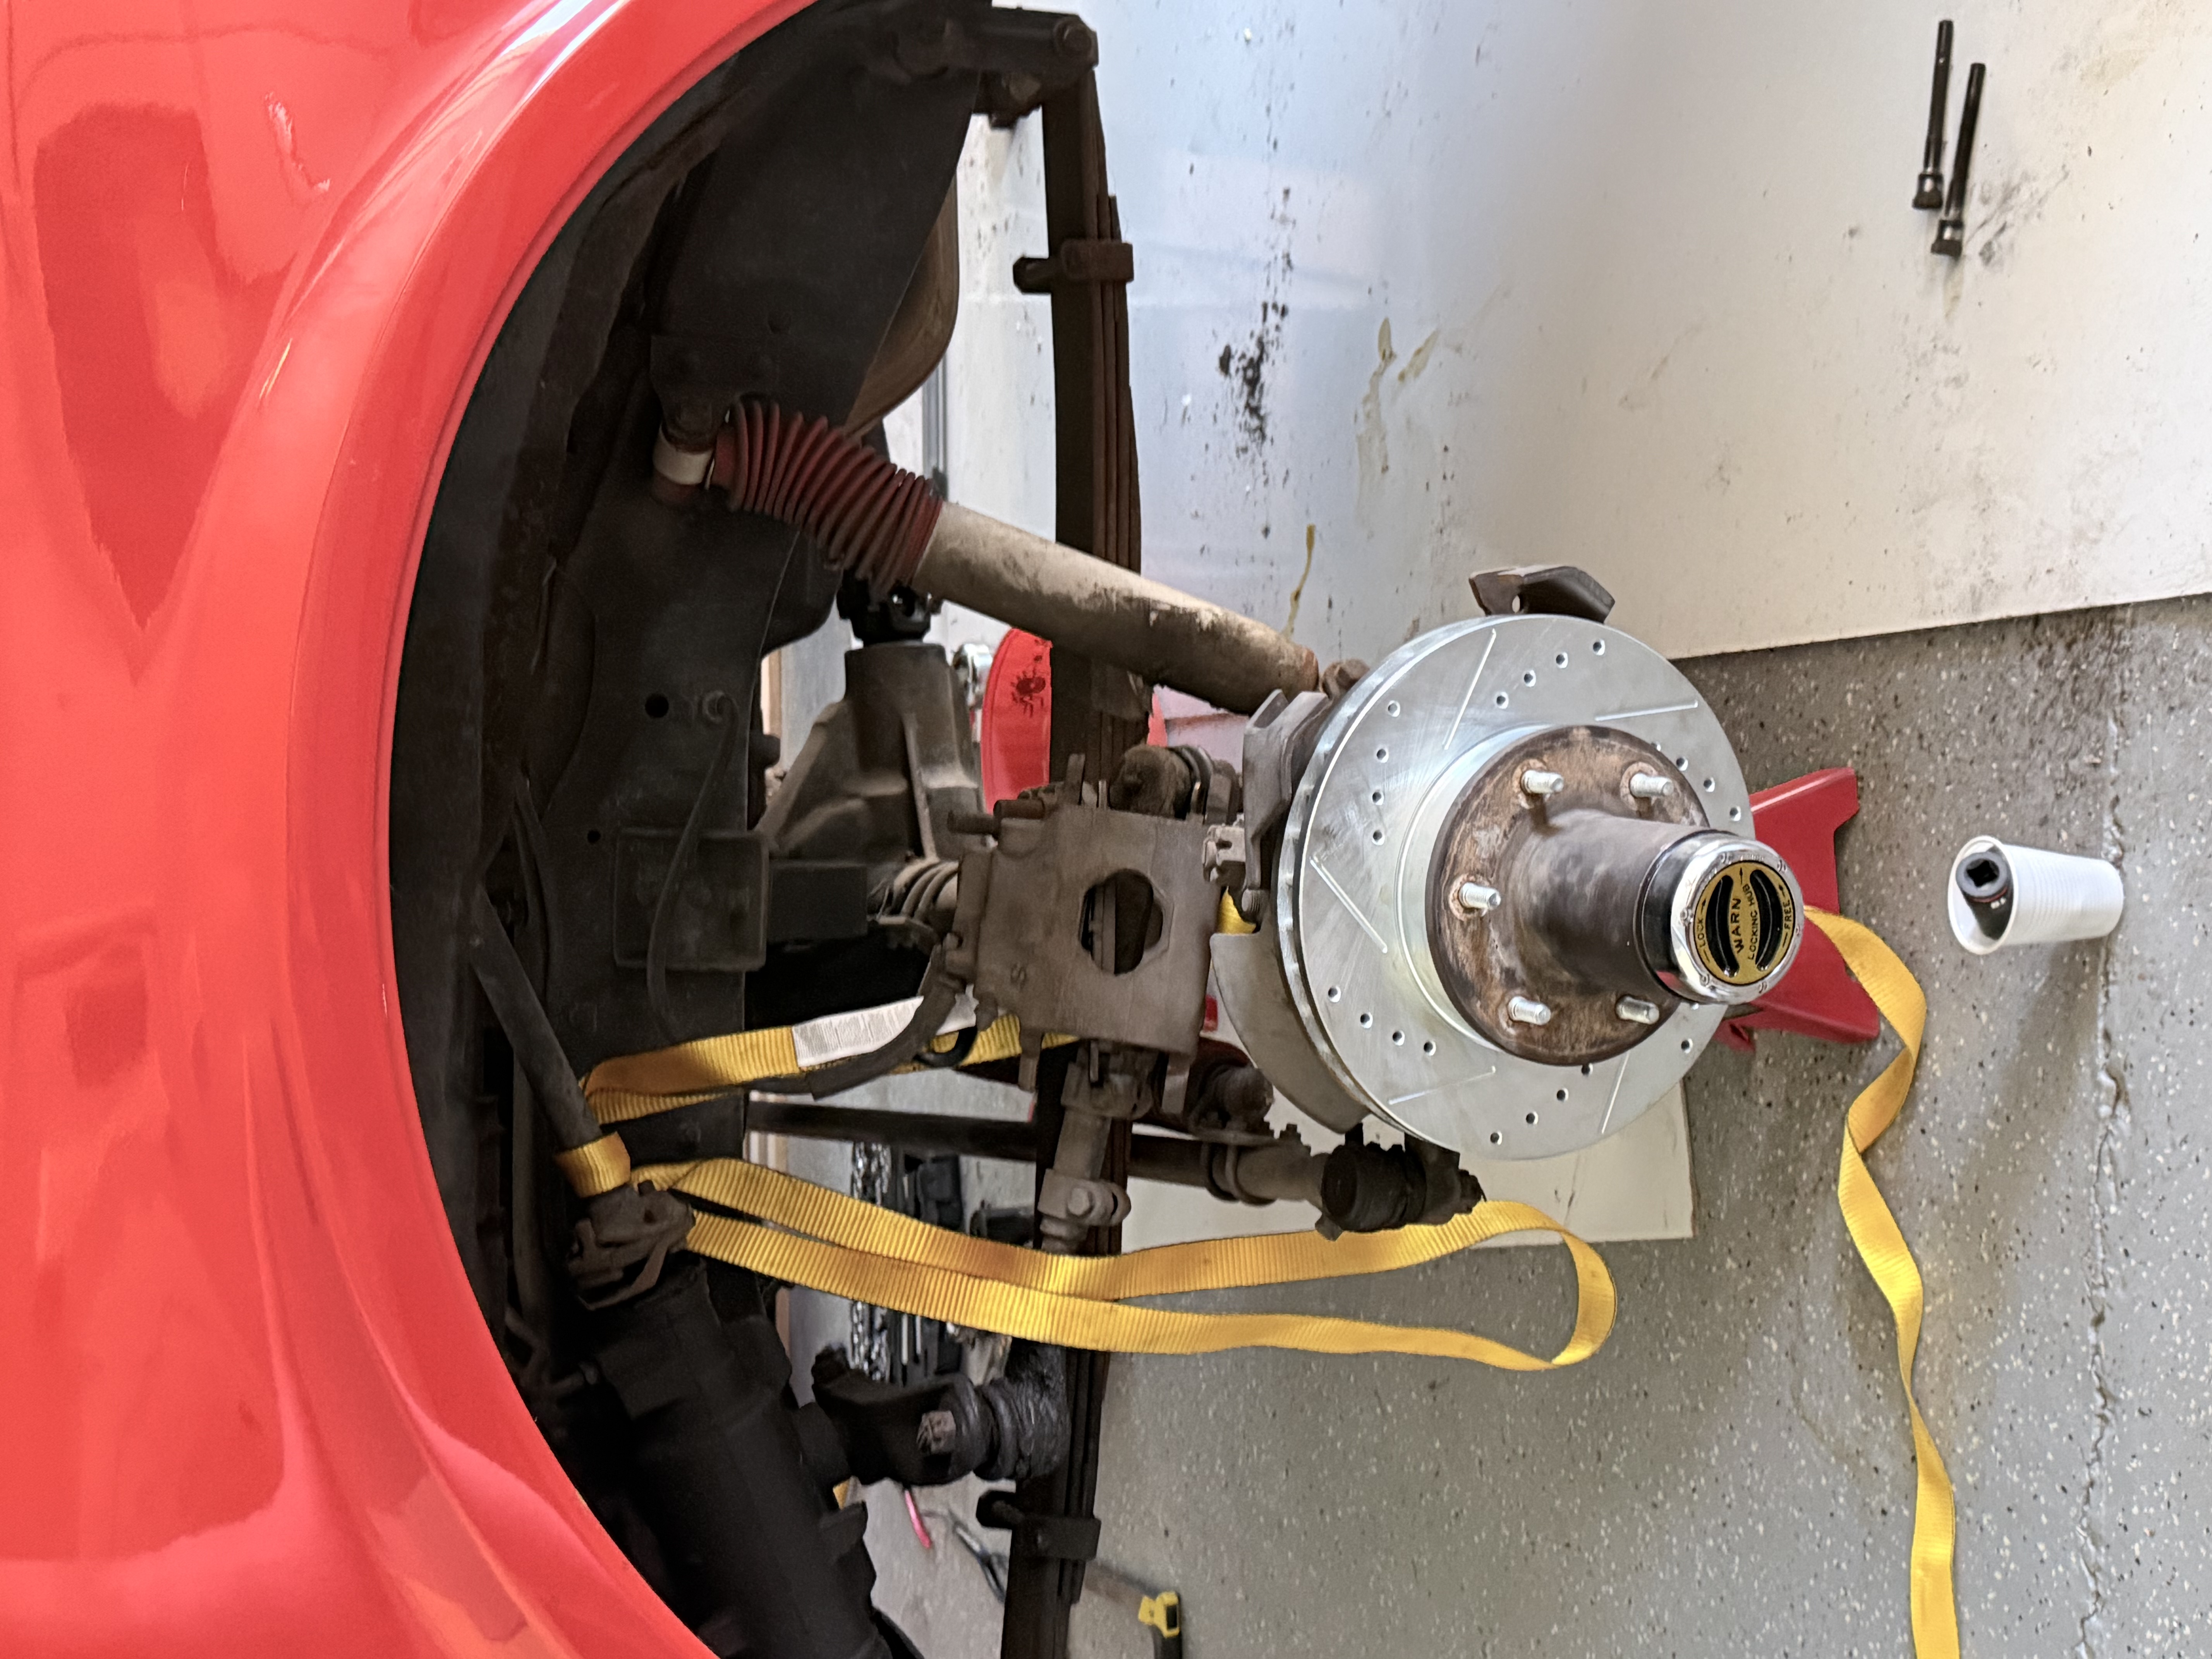
Finally, the last nut came out, and I could take the hub off after disconnecting and hanging the brake caliper.

1971 Chevy Blazer Restoration progress photo 15

Step 15

This is what the final, very naked wheel hub looked like. I then took the wheel hub to press out the old wheel studs, install a new disc, and press in new wheel studs.

1971 Chevy Blazer Restoration progress photo 16

Step 16

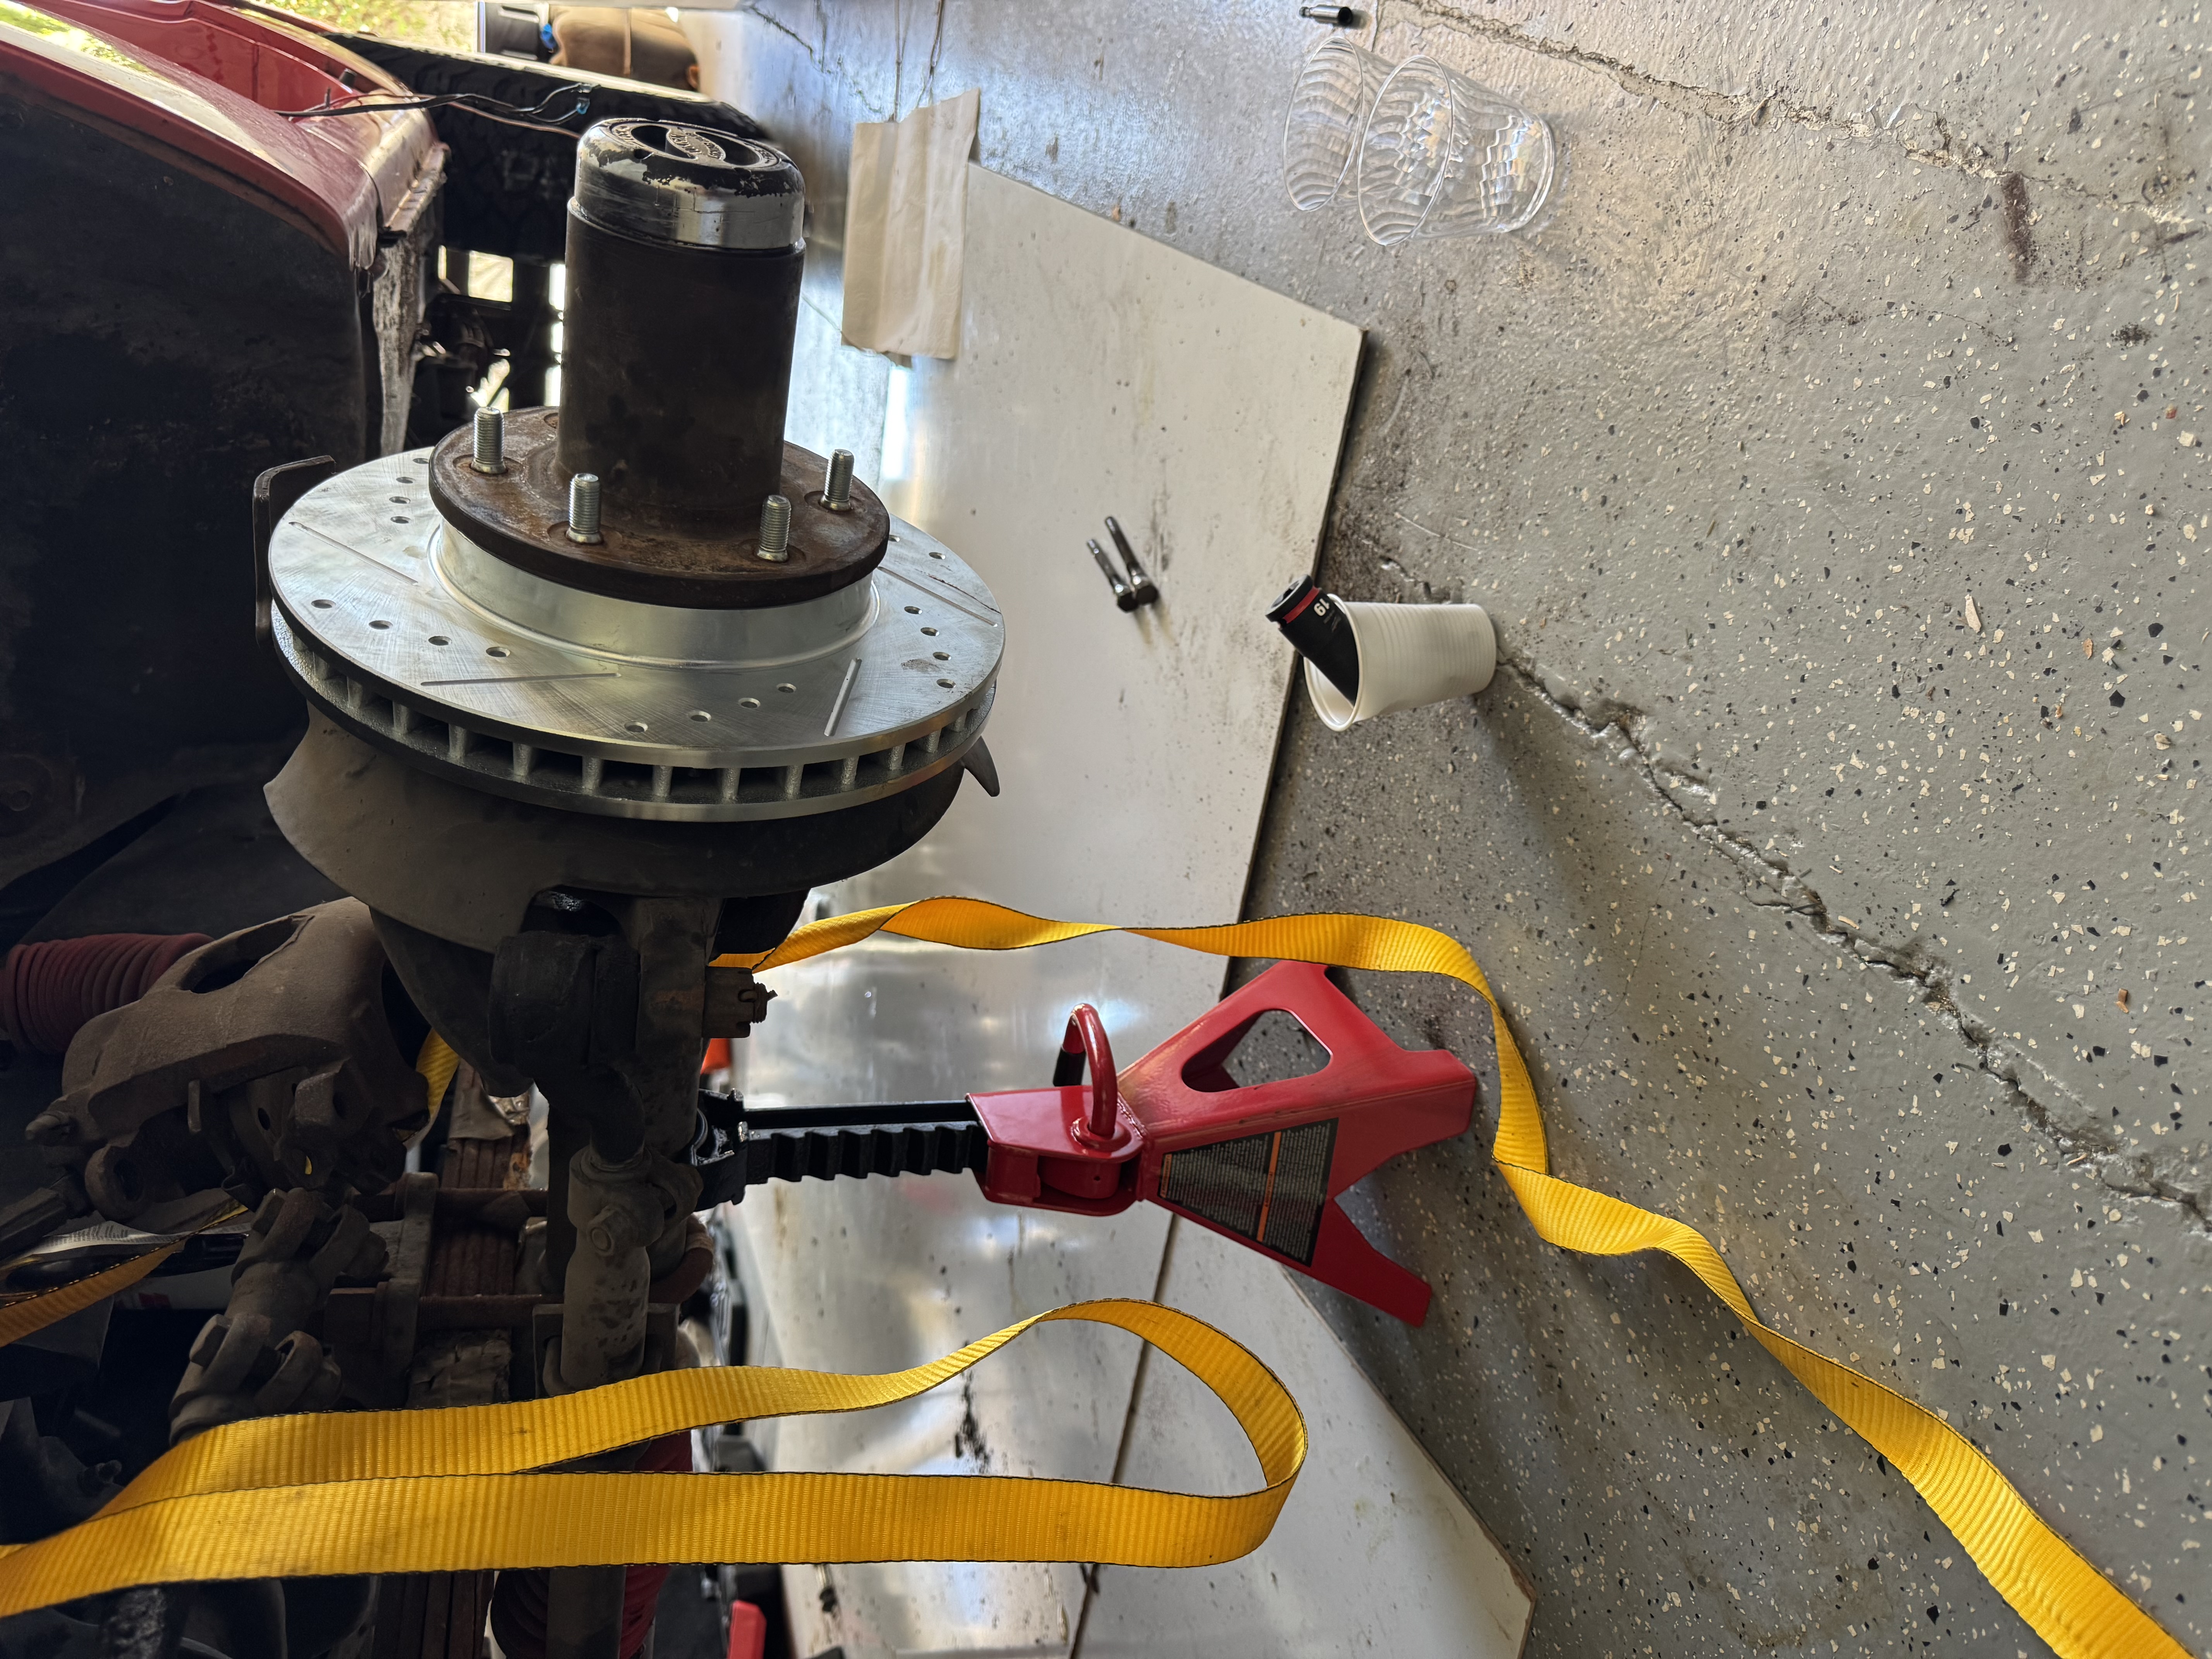
I finally put the full hub back on and reassembled the whole wheel base.

1971 Chevy Blazer Restoration progress photo 17

Step 17

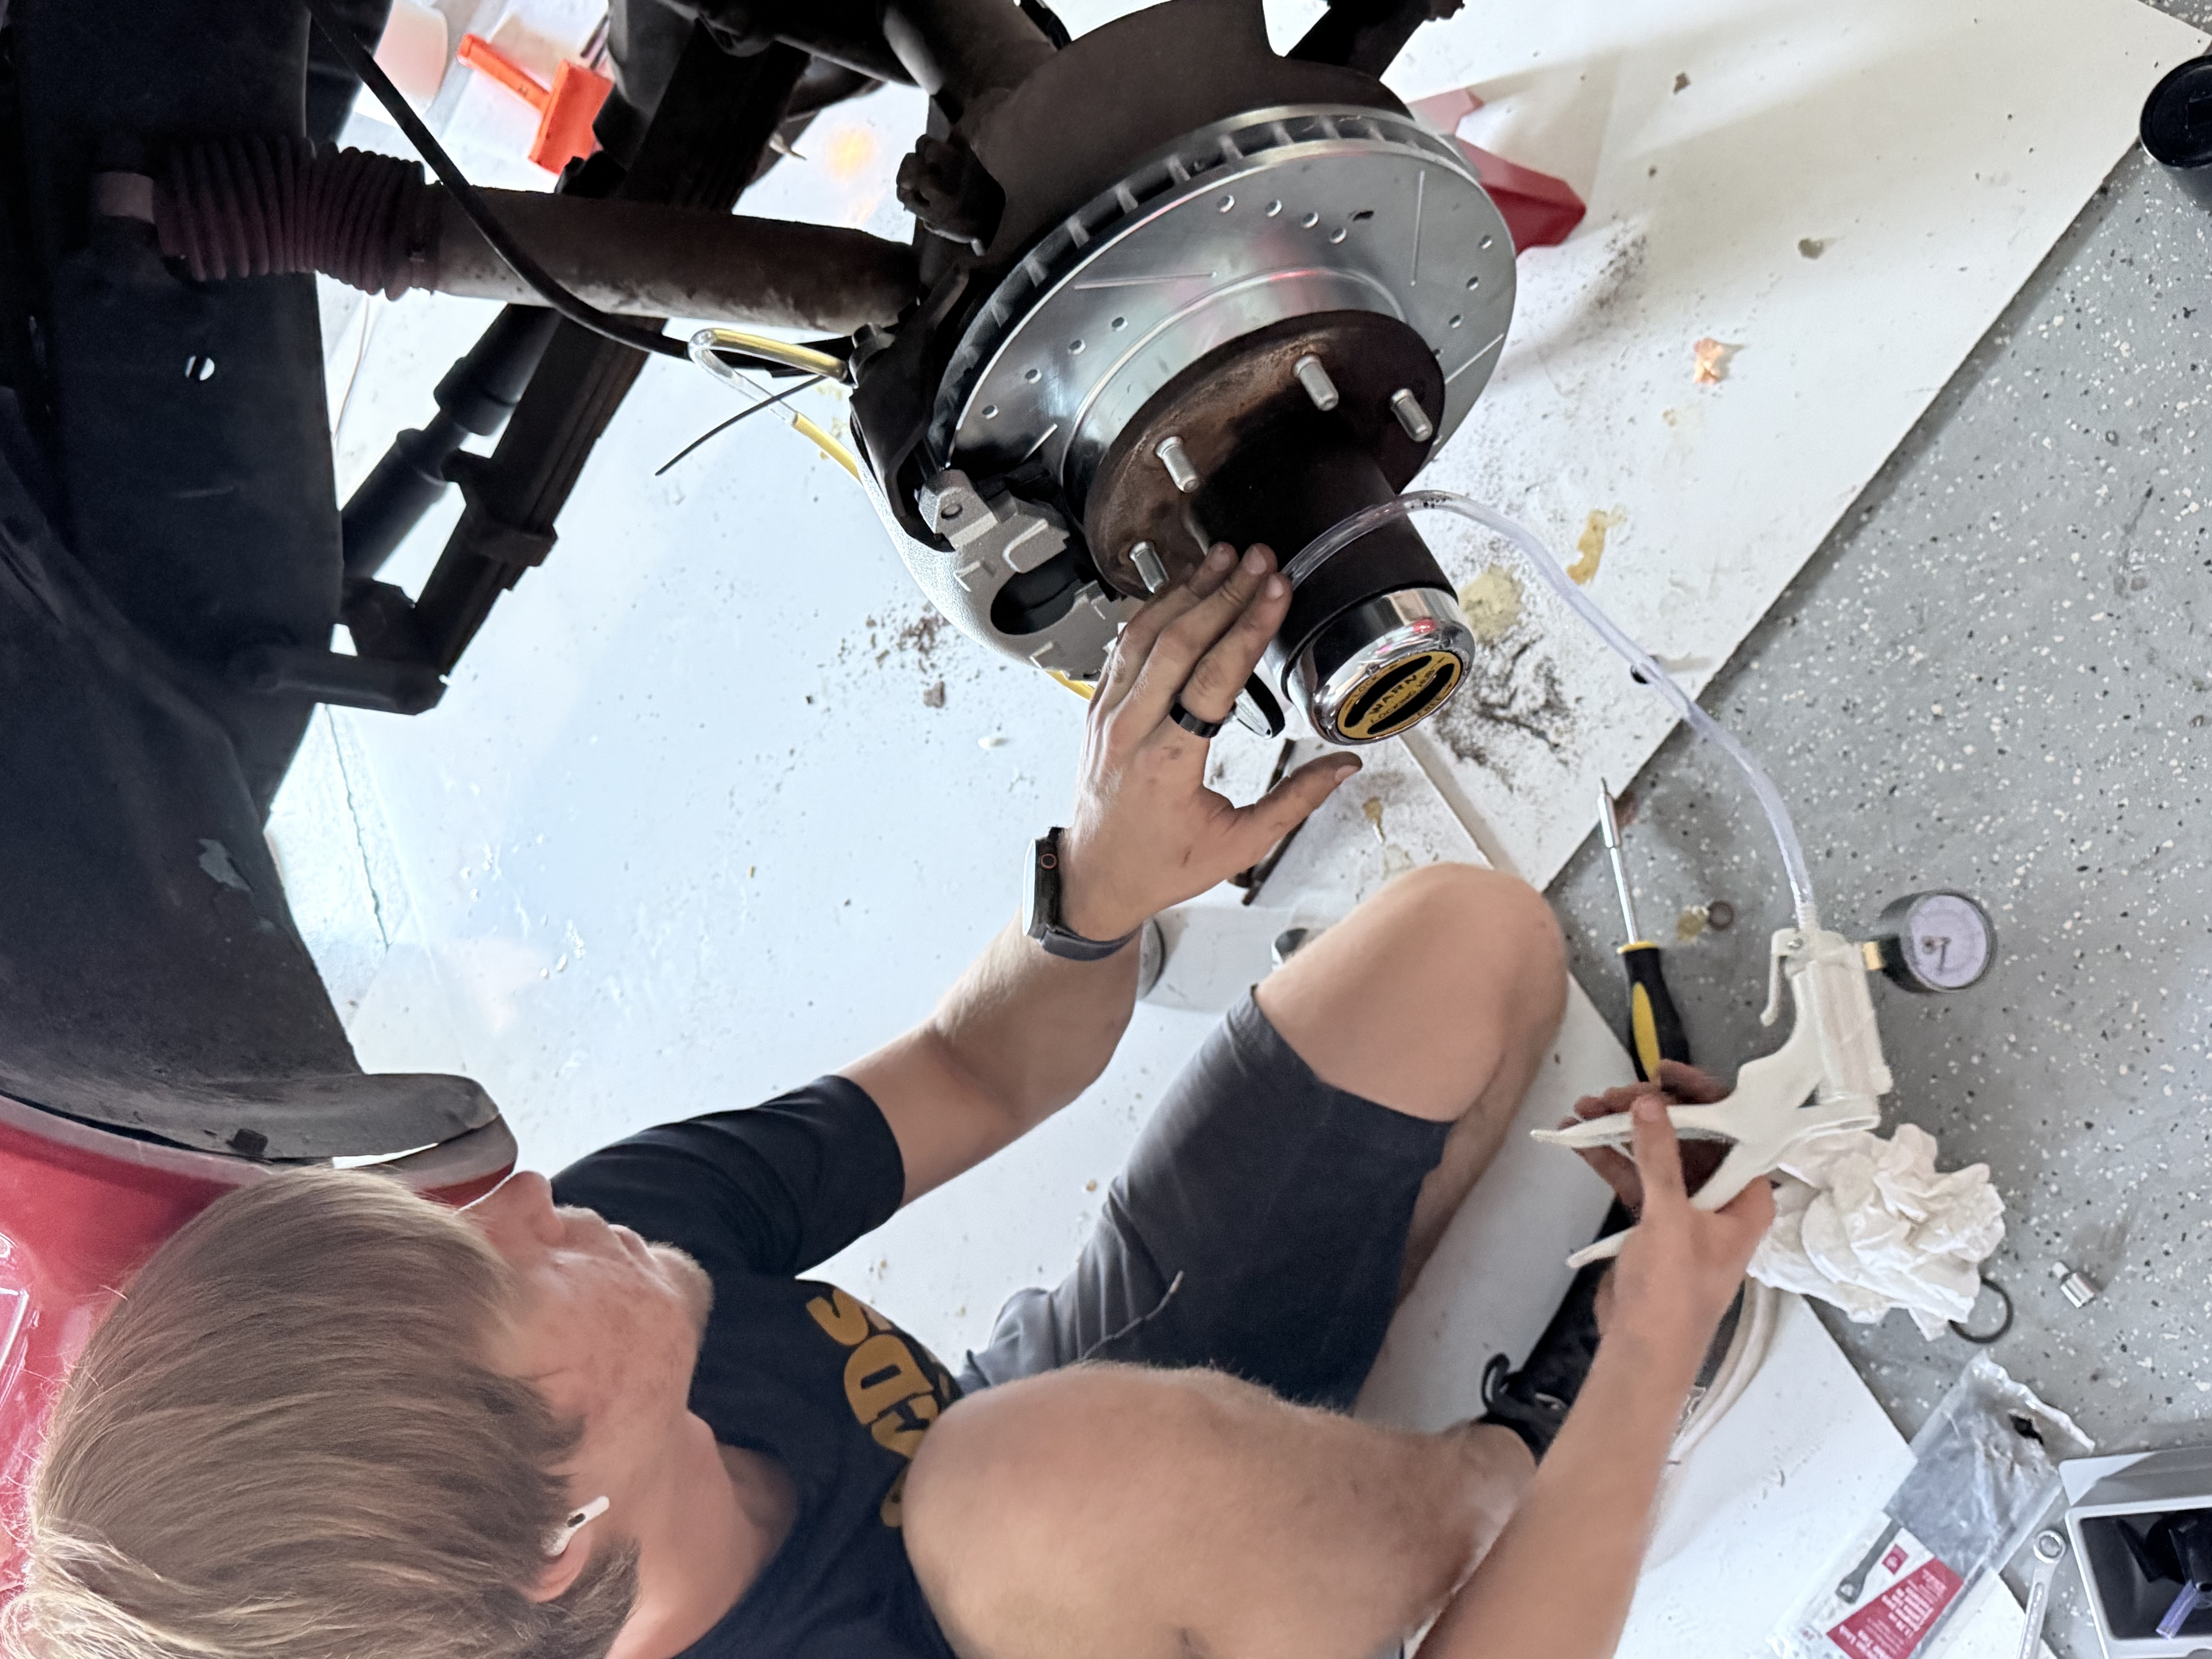
I then bled the brakes with new calipers attached to make sure there was proper braking power.

1971 Chevy Blazer Restoration progress photo 18

Step 18

Finally, I bled the other side and was finished with the front calipers and discs.

1971 Chevy Blazer Restoration progress photo 19

Step 19

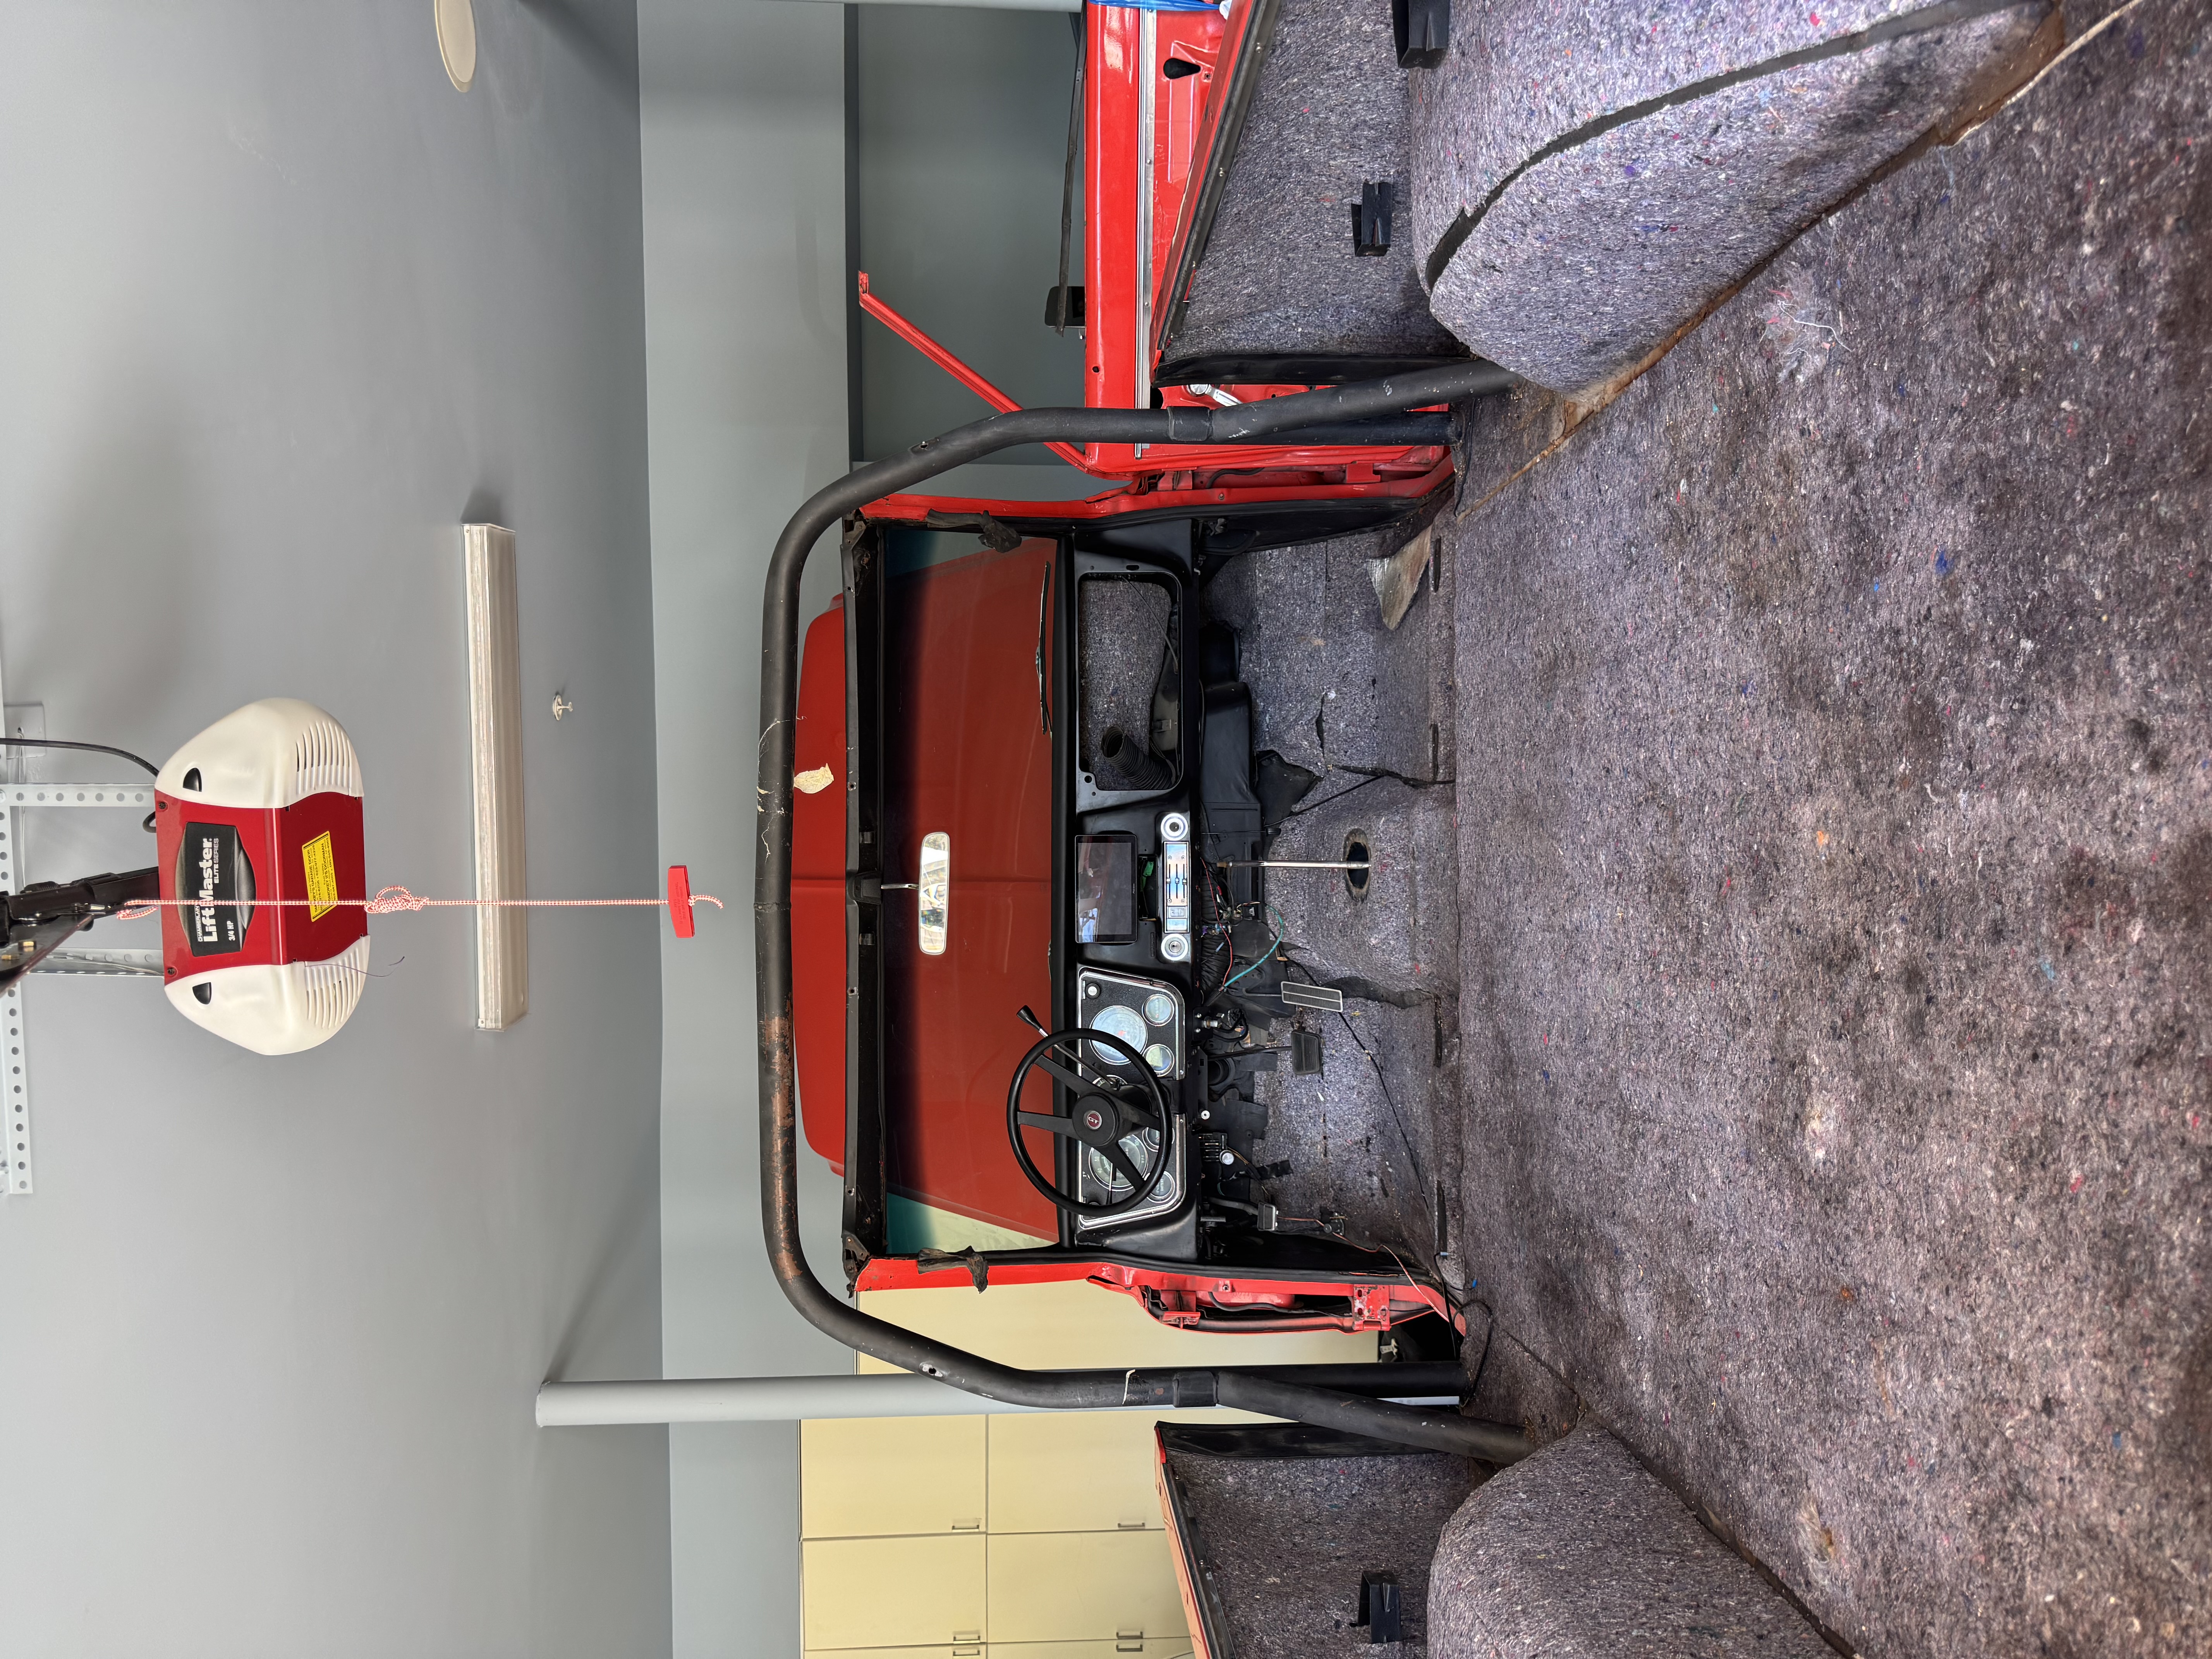
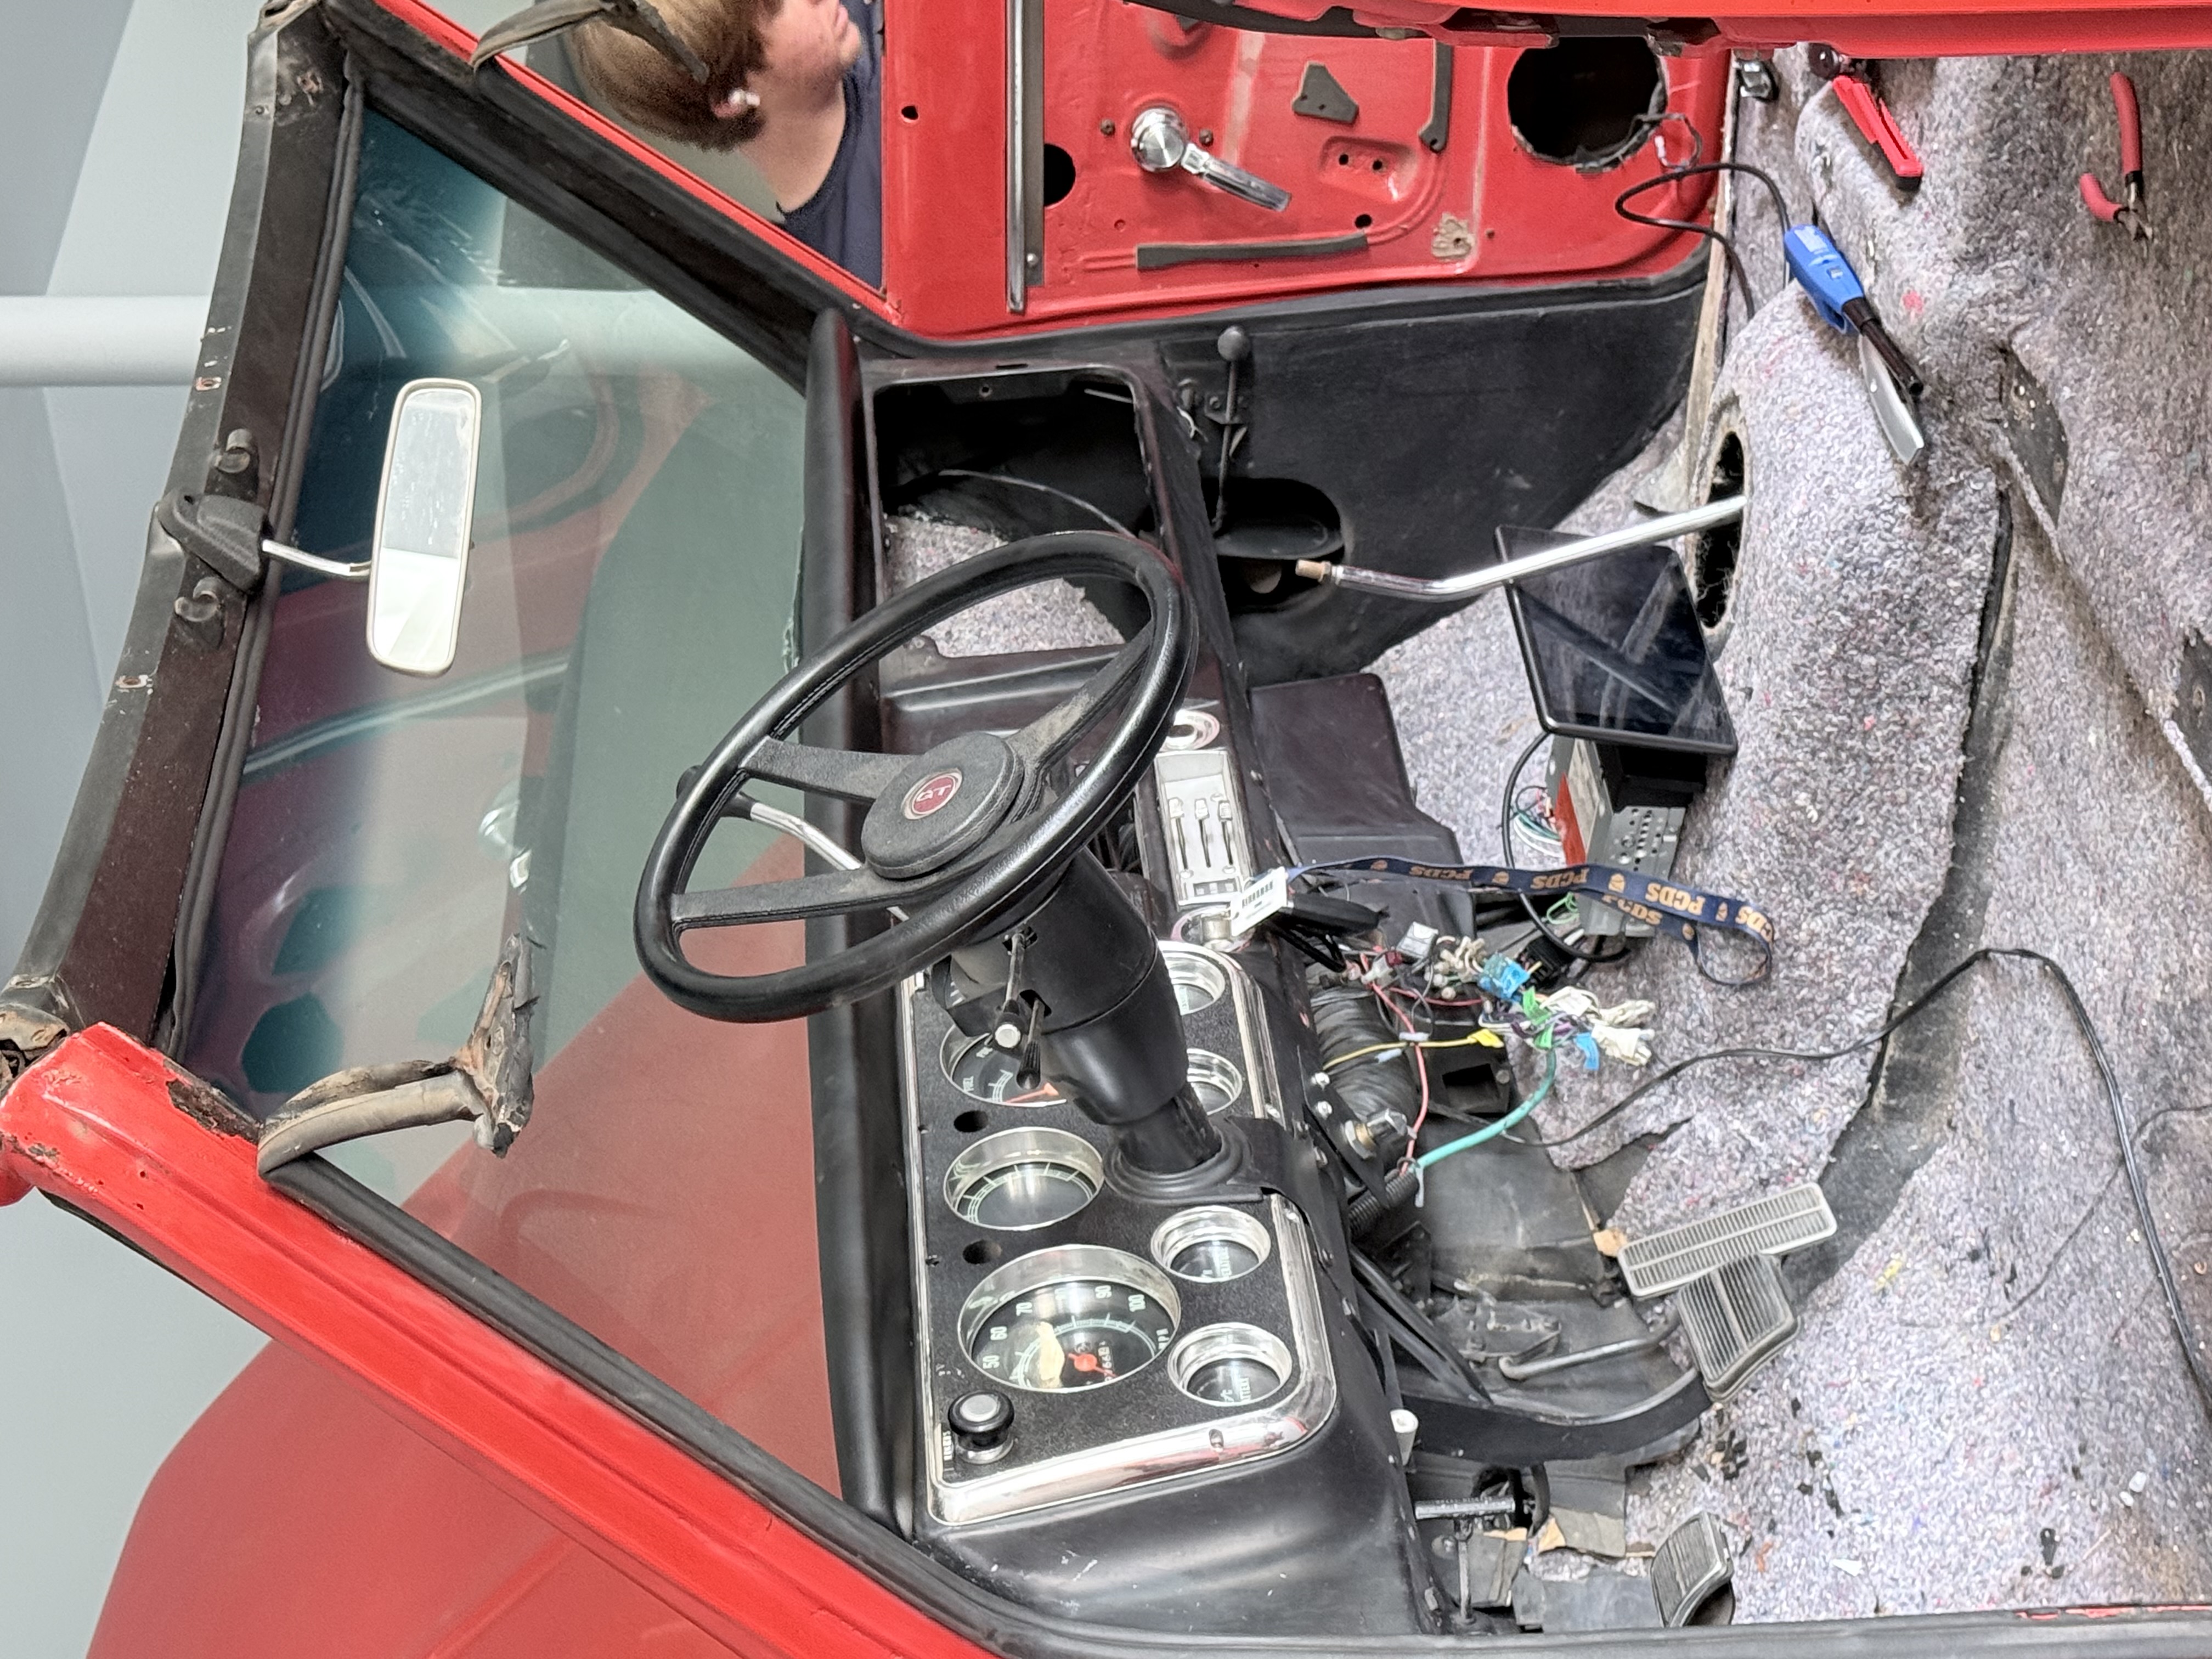
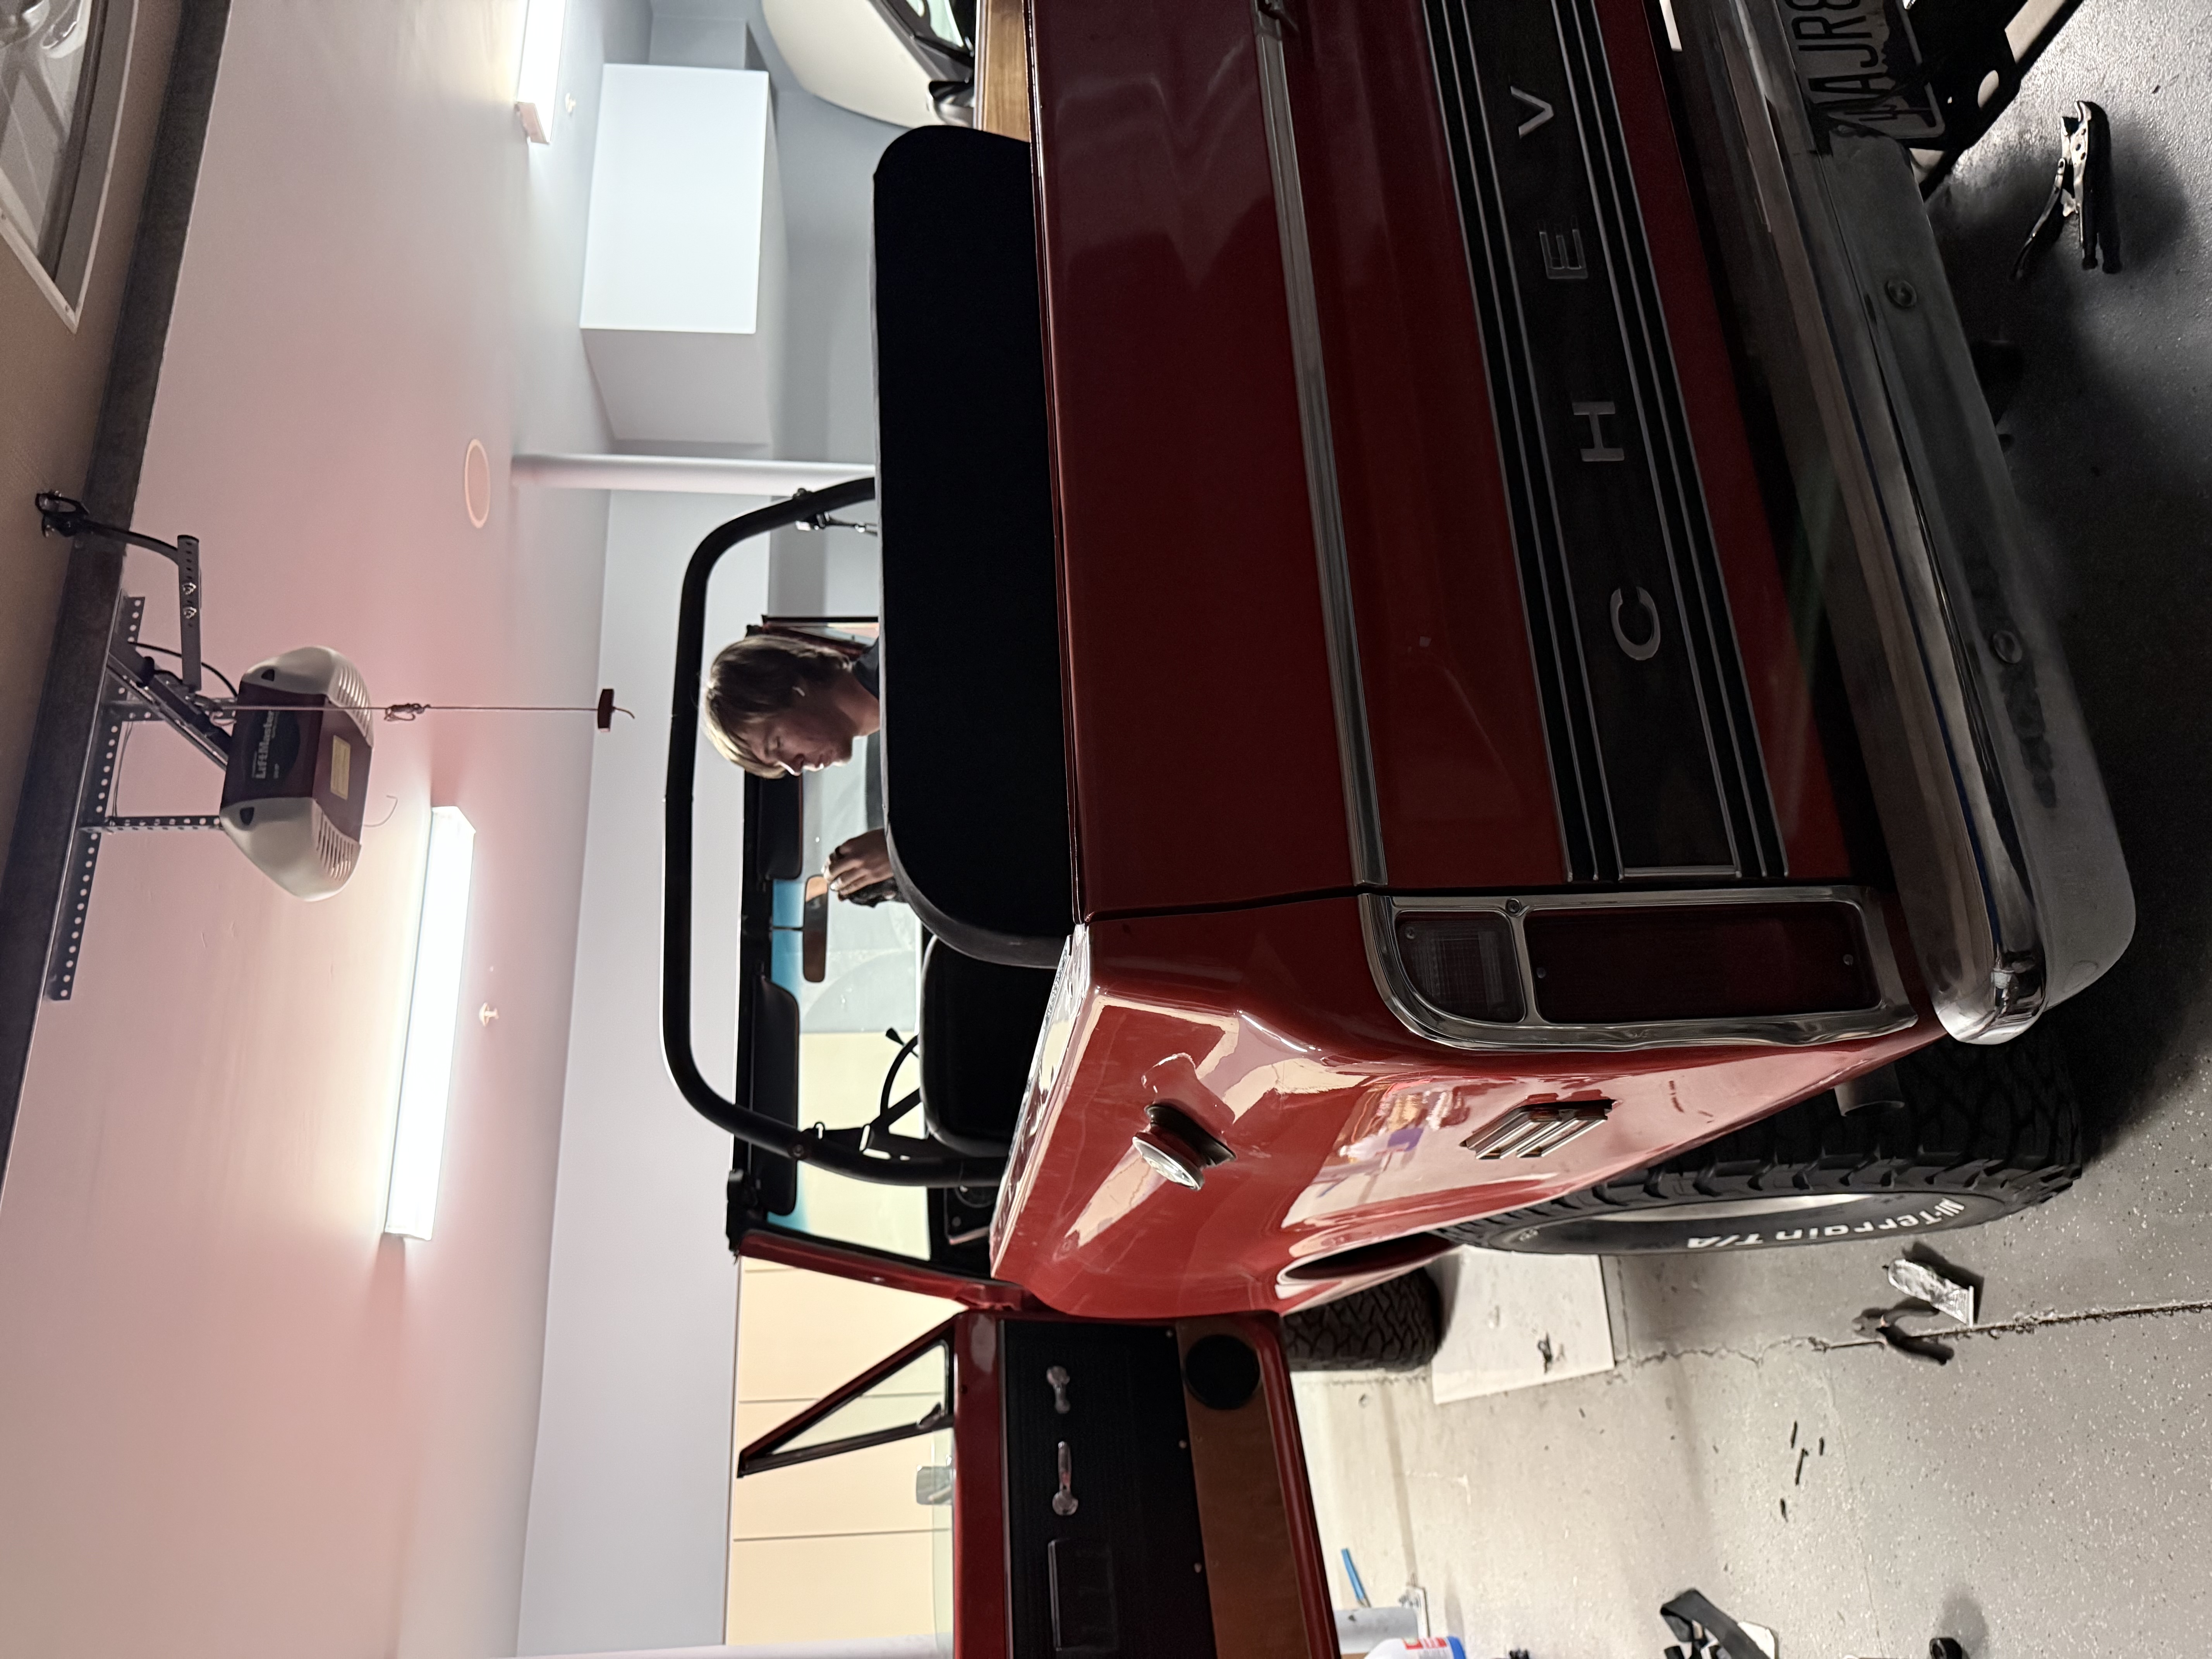
After all that, I started to dismantle the interior of the vehicle so I could do a deep clean and replace the carpets and side panels.

1971 Chevy Blazer Restoration progress photo 20

Step 20

The deep clean was finished. Next, I needed to set up and rewire the screen I decided to add to the vehicle.

1971 Chevy Blazer Restoration progress photo 21

Step 21

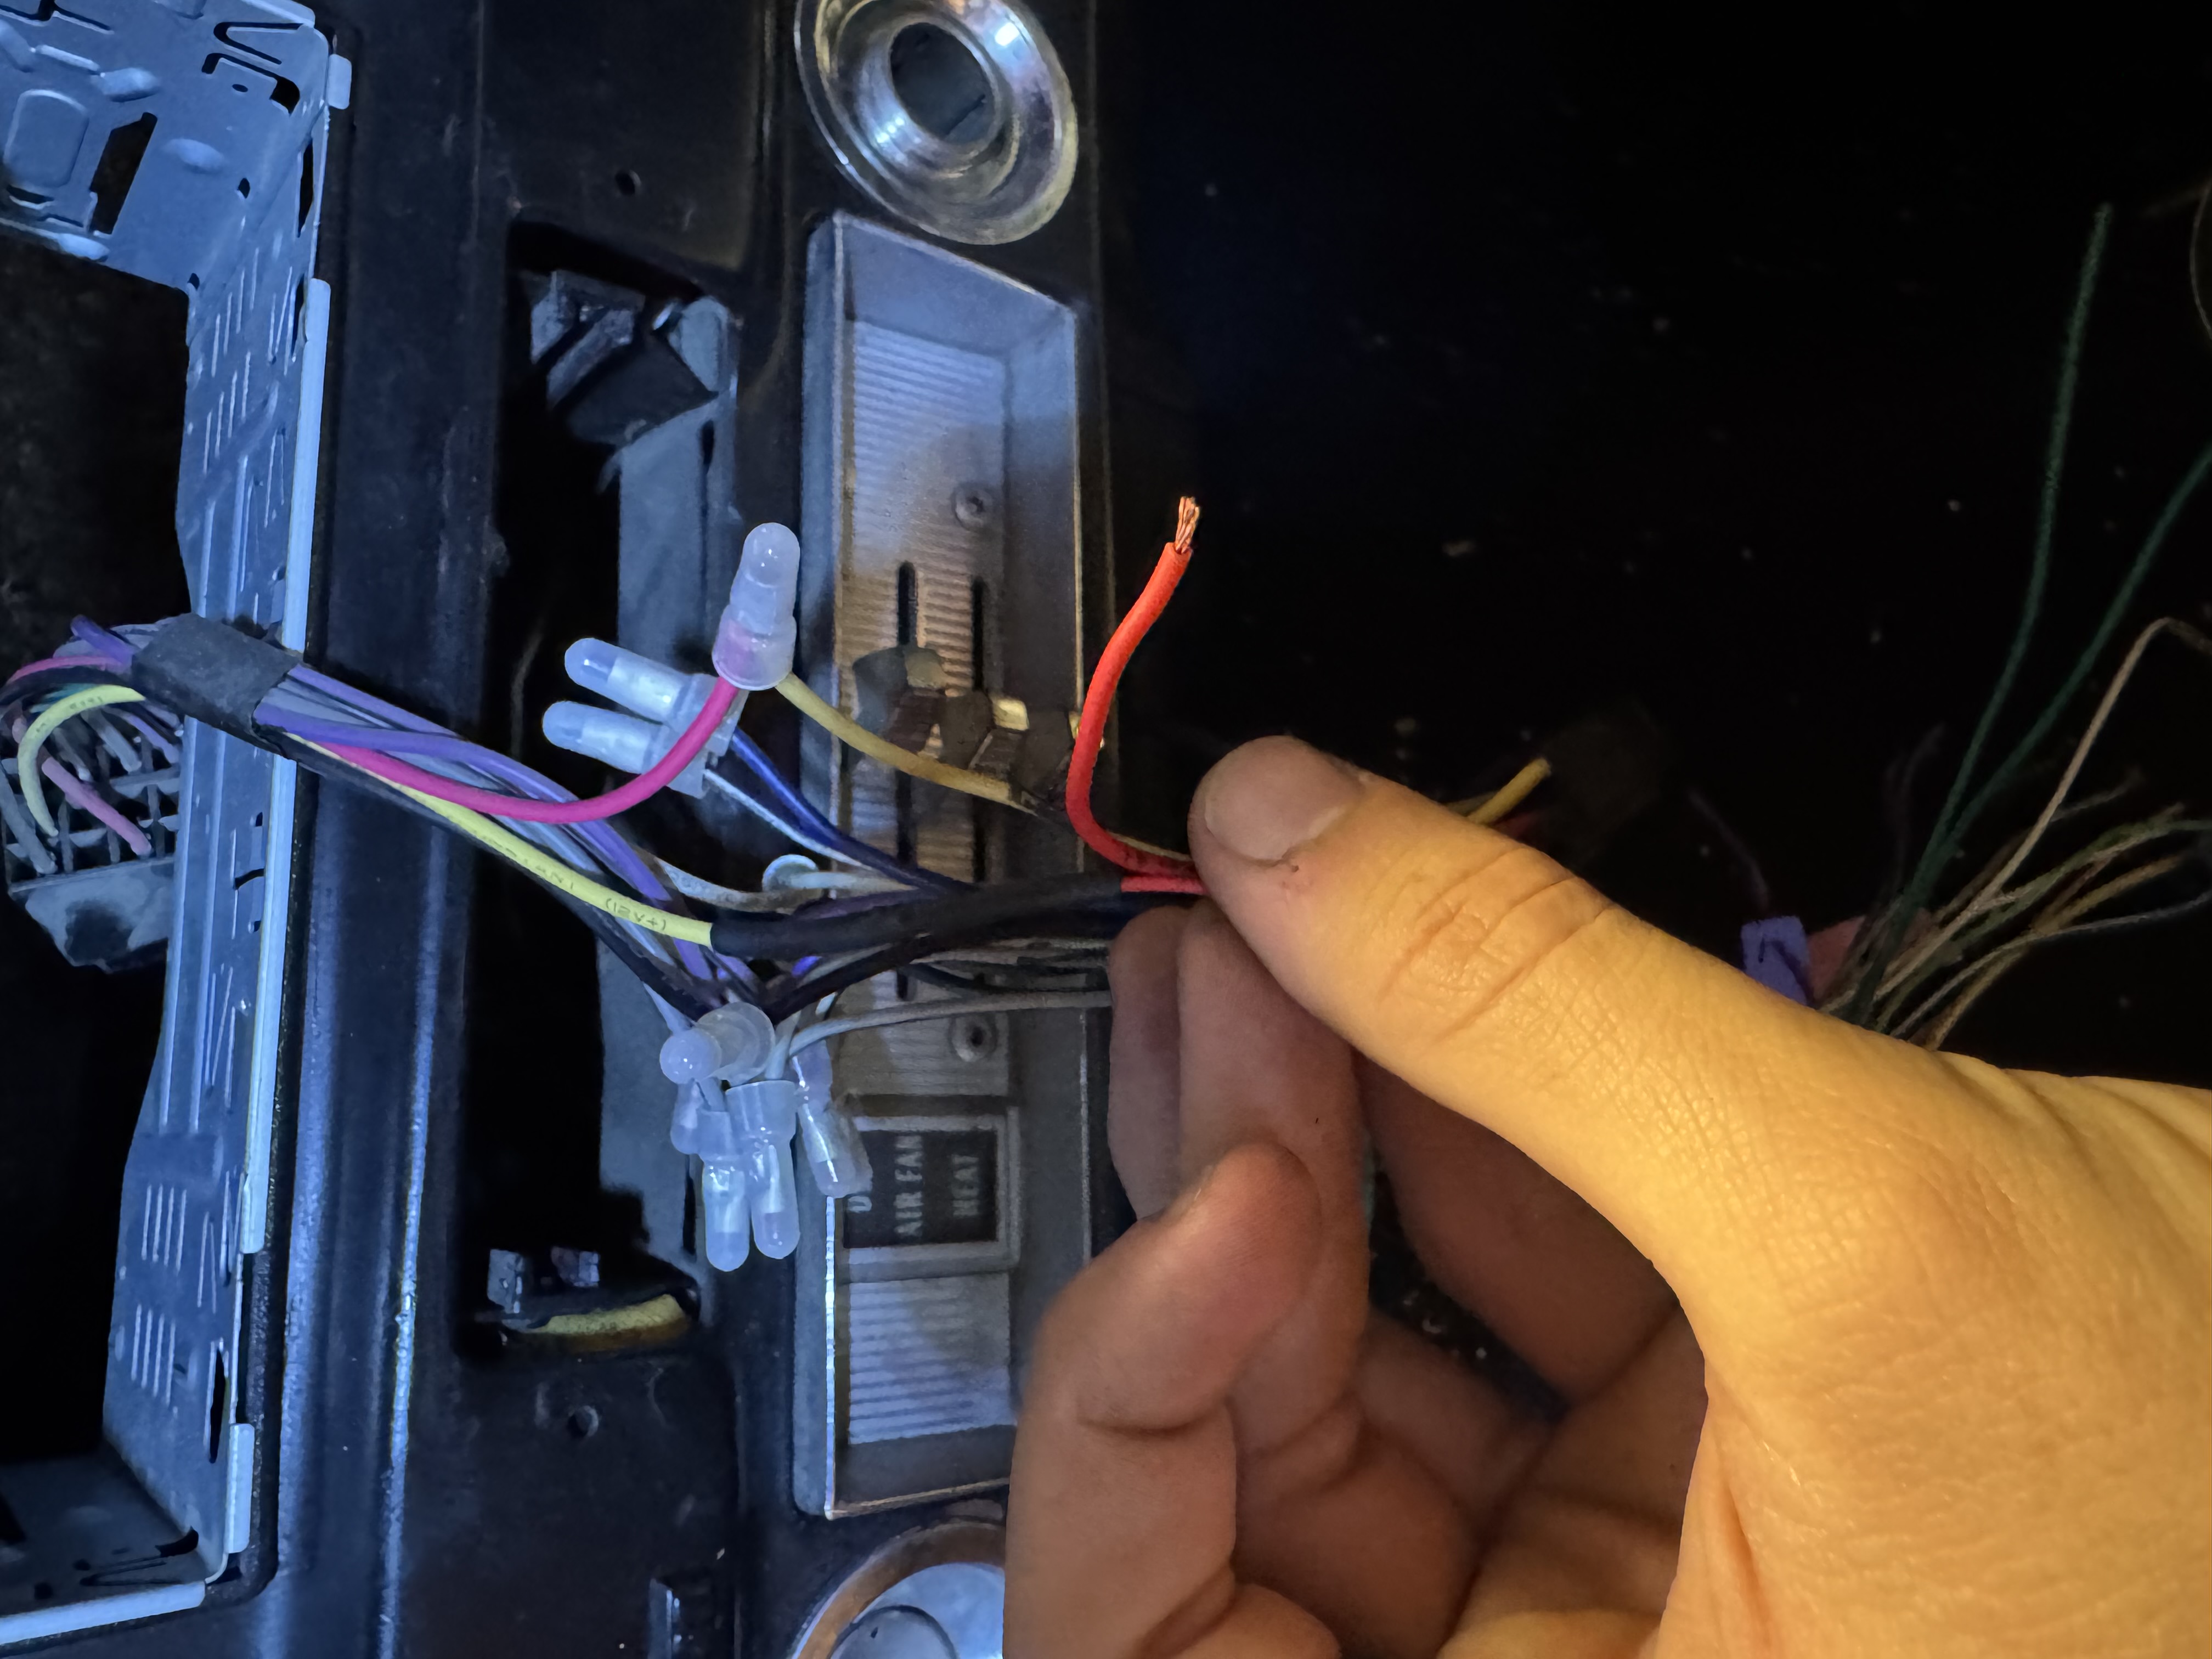
I started to rewire the screen while also accommodating the new speakers and sound system I wanted to install in the car.

1971 Chevy Blazer Restoration progress photo 22

Step 22

I finished wiring the screen setup, and my next step was to install the new mirrors on the doors and put in the new carpet, along with the old driver seat.

1971 Chevy Blazer Restoration progress photo 23

Step 23

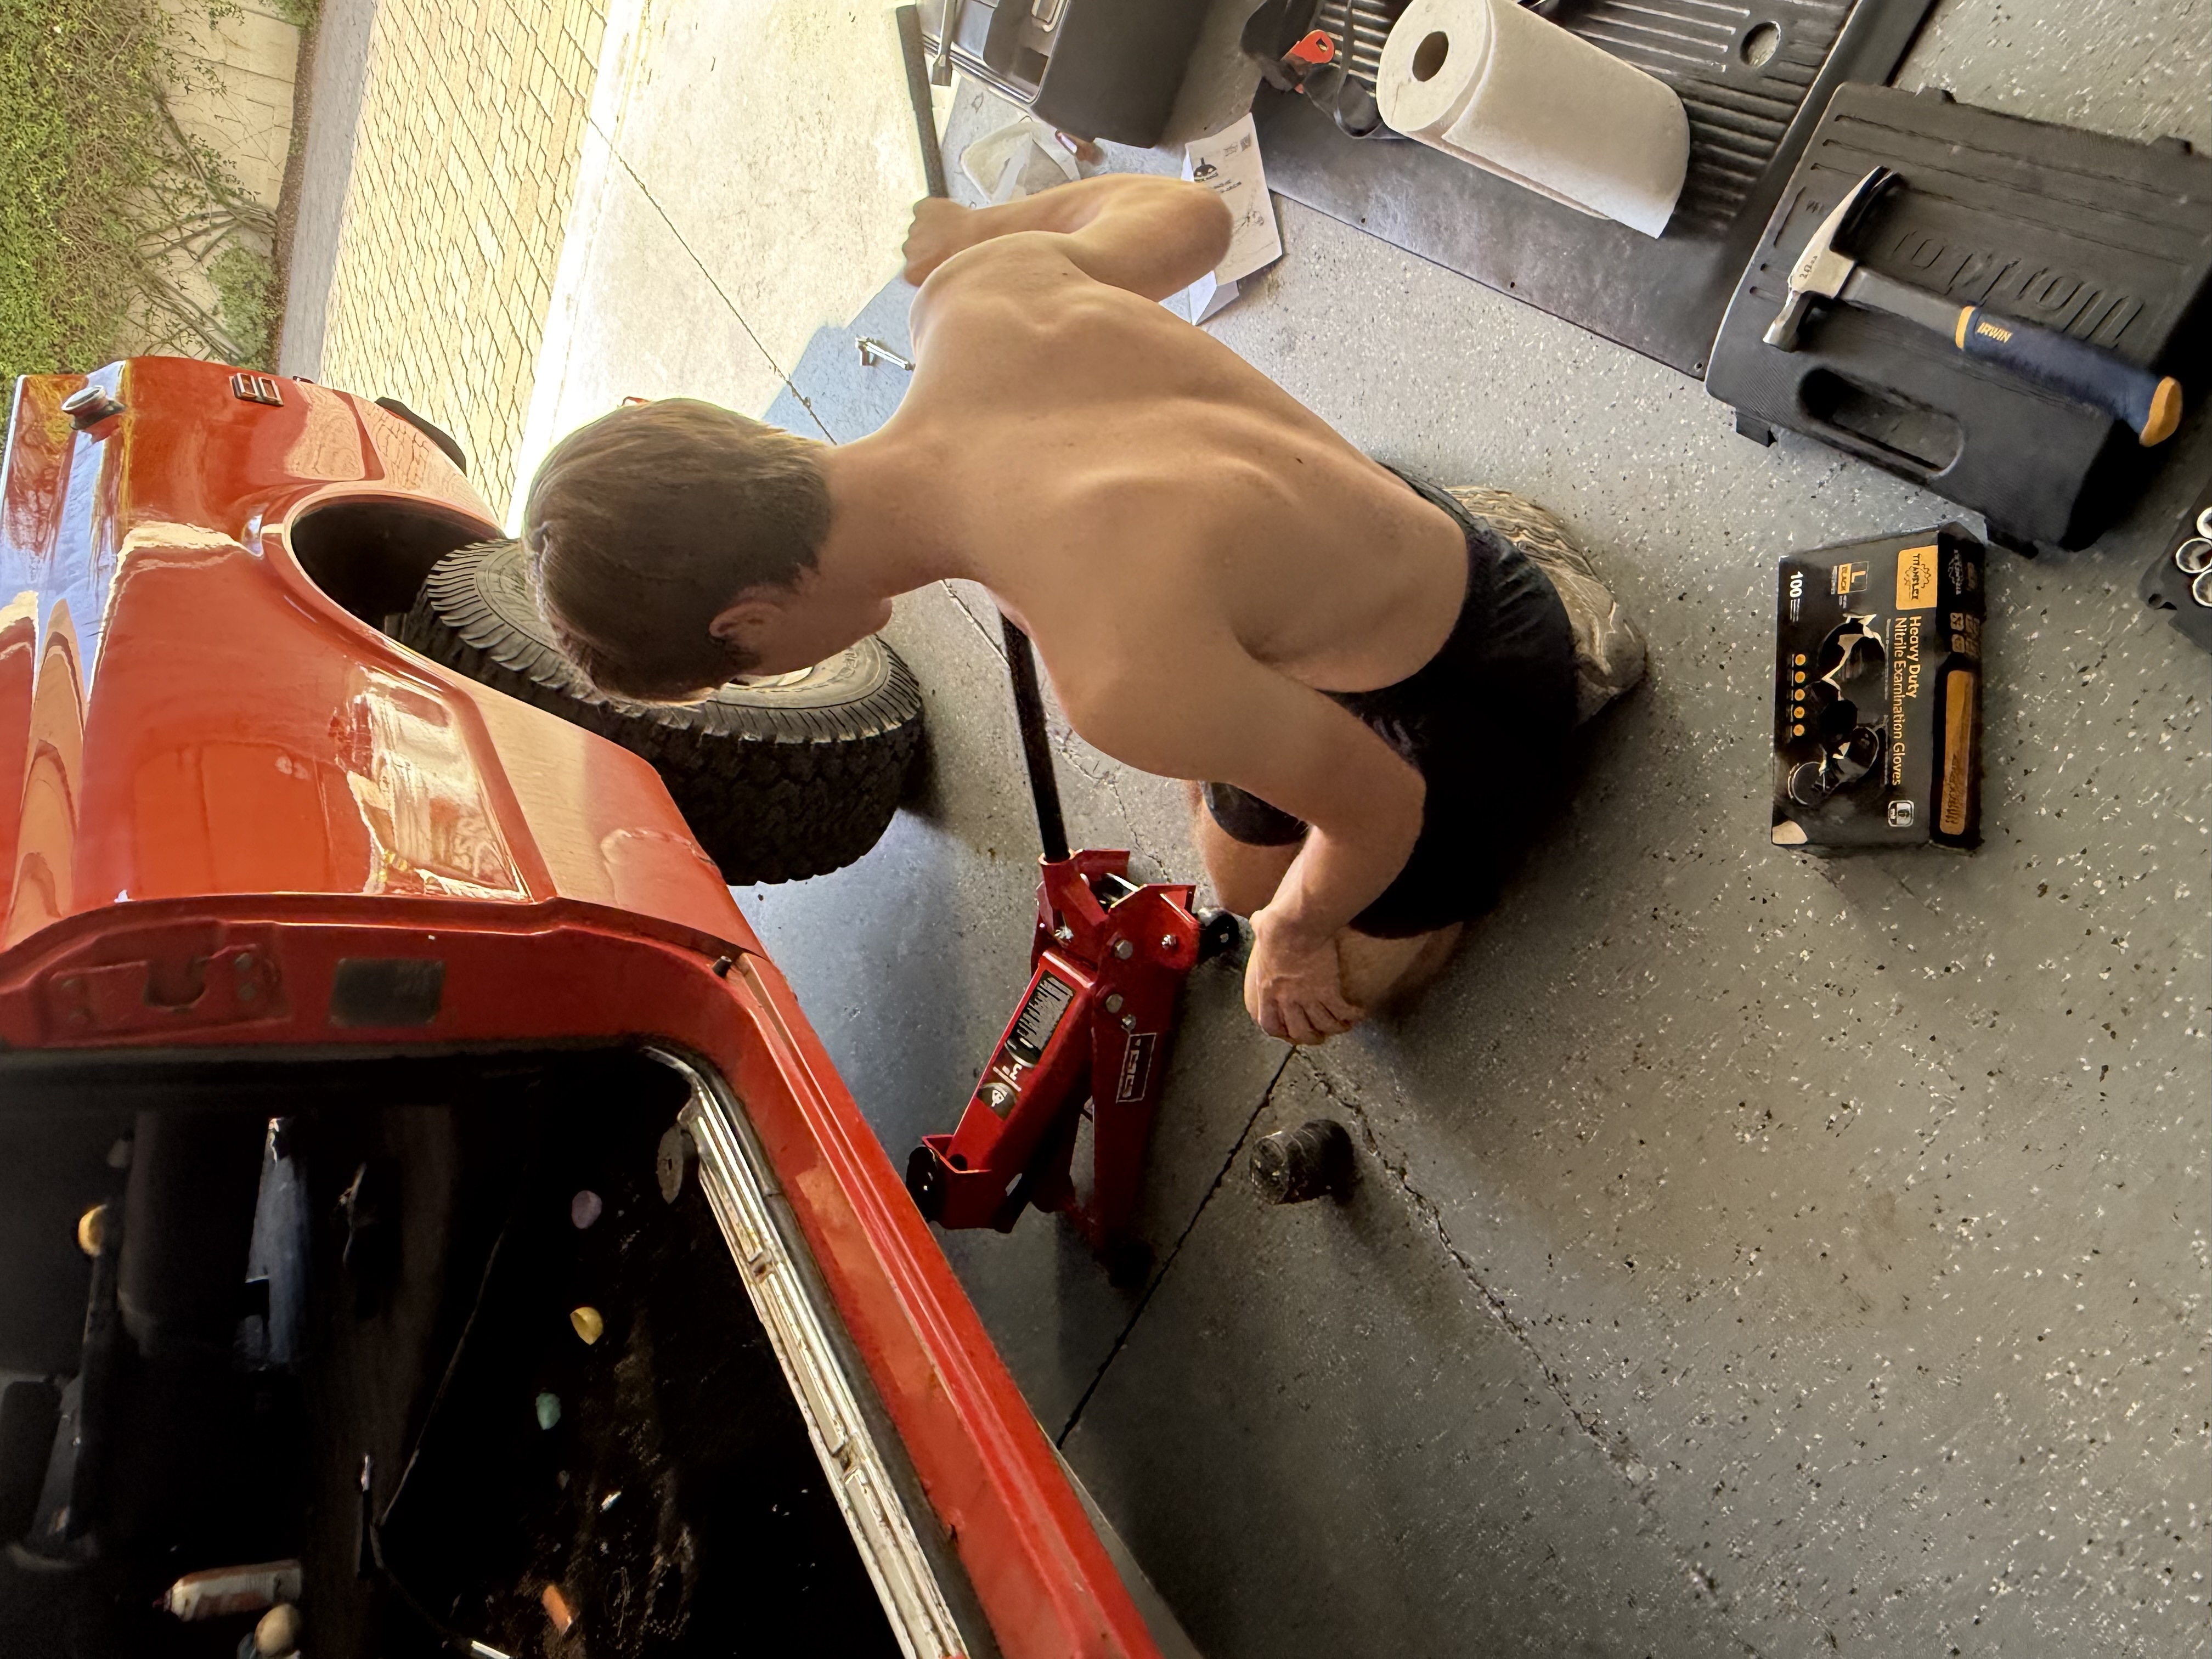
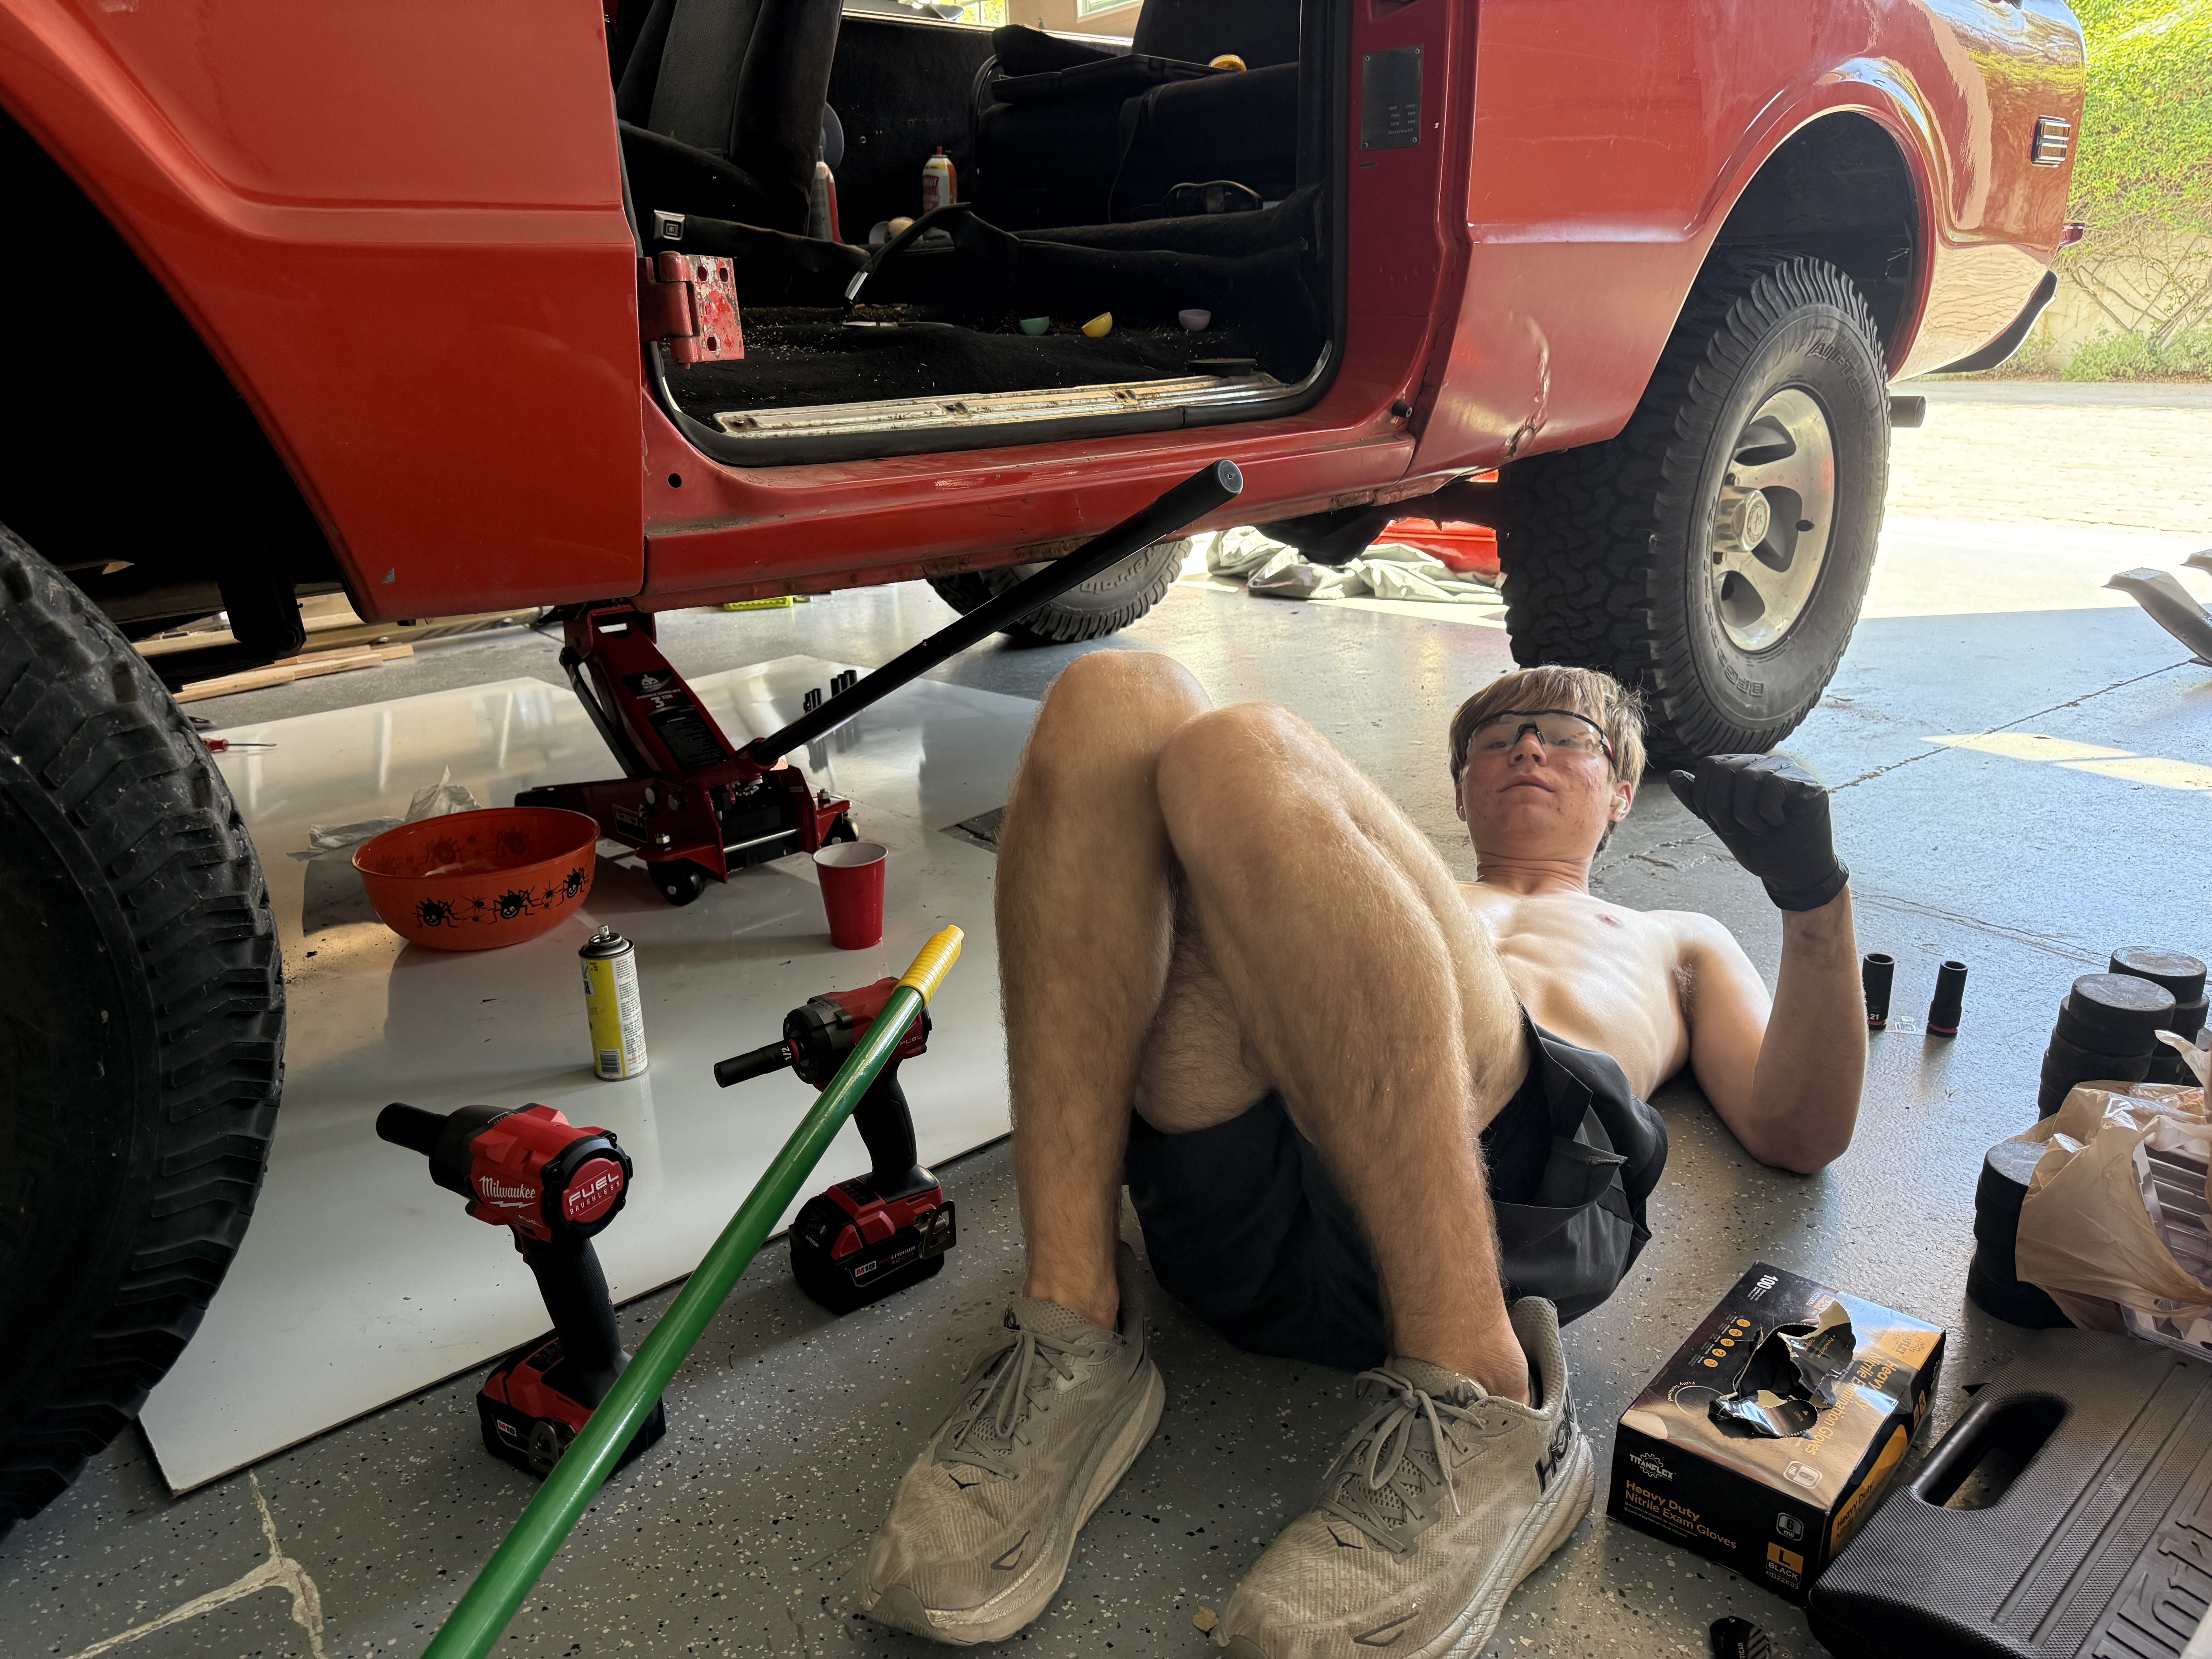
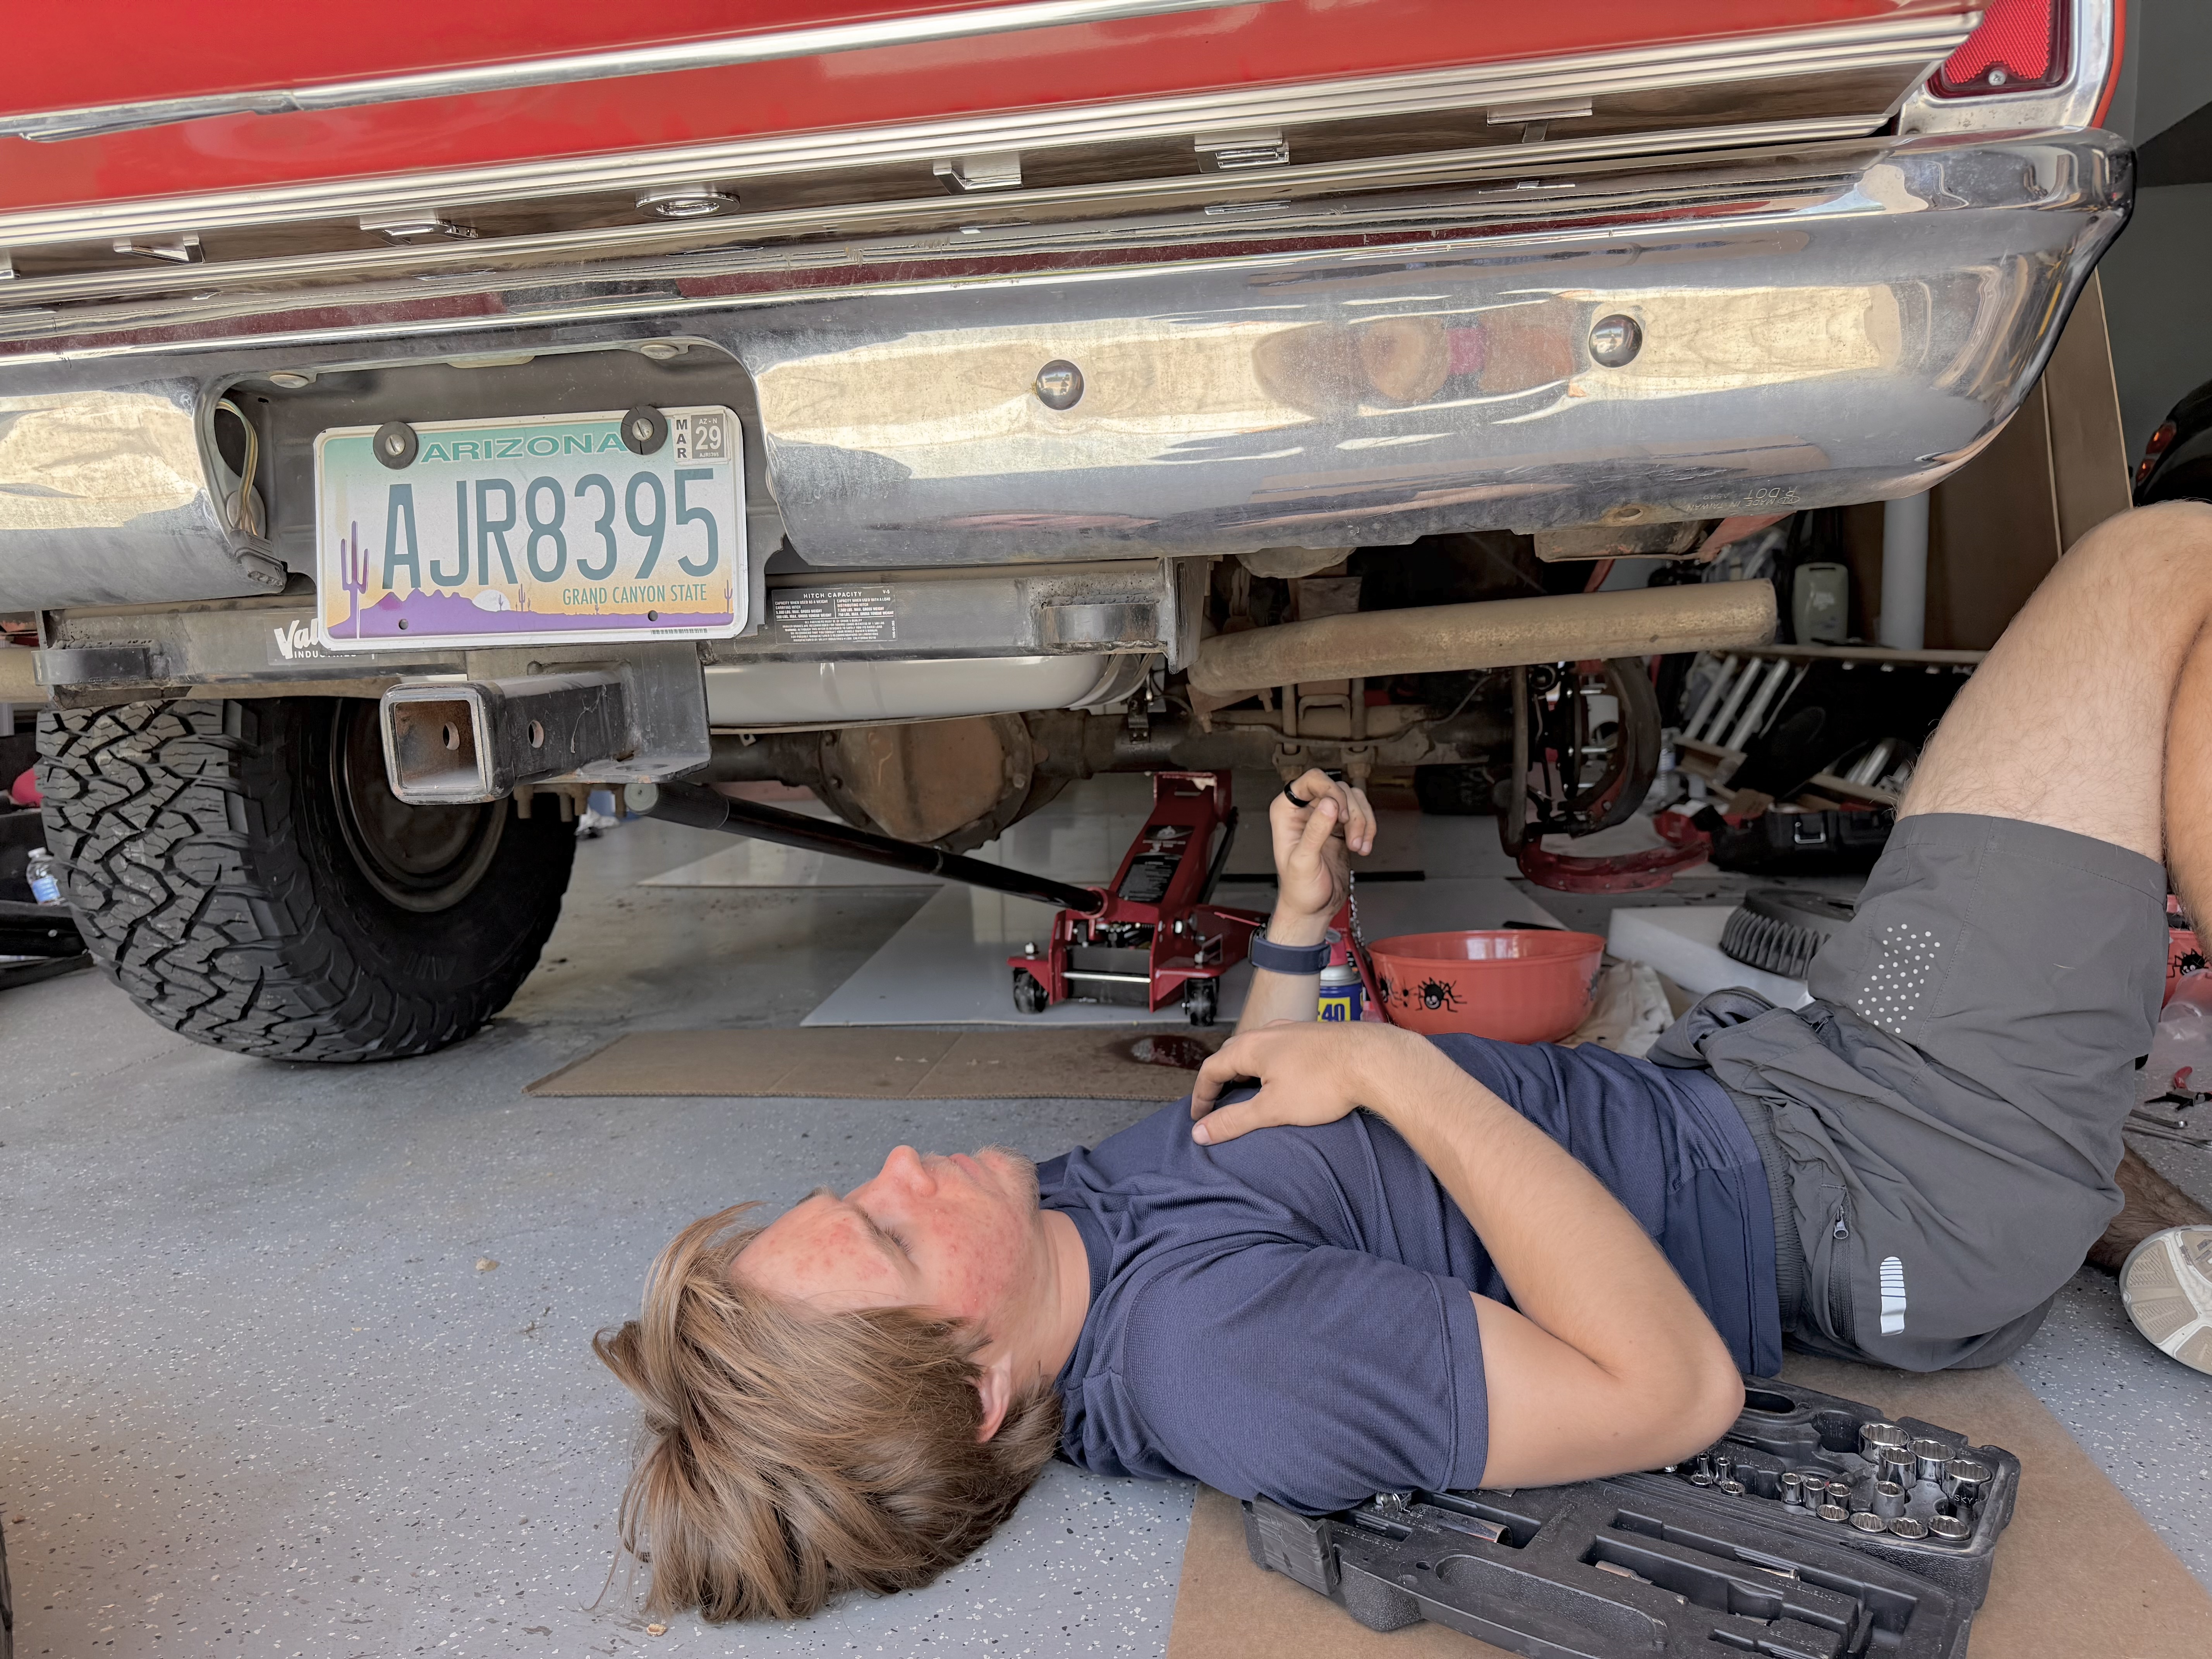
After all that, I noticed that a stud was broken on the rear wheels, so I started to push out the old studs and install new ones.

1971 Chevy Blazer Restoration progress photo 24

Step 24

I did the same on the other side so everything would be right.

1971 Chevy Blazer Restoration progress photo 25

Step 25

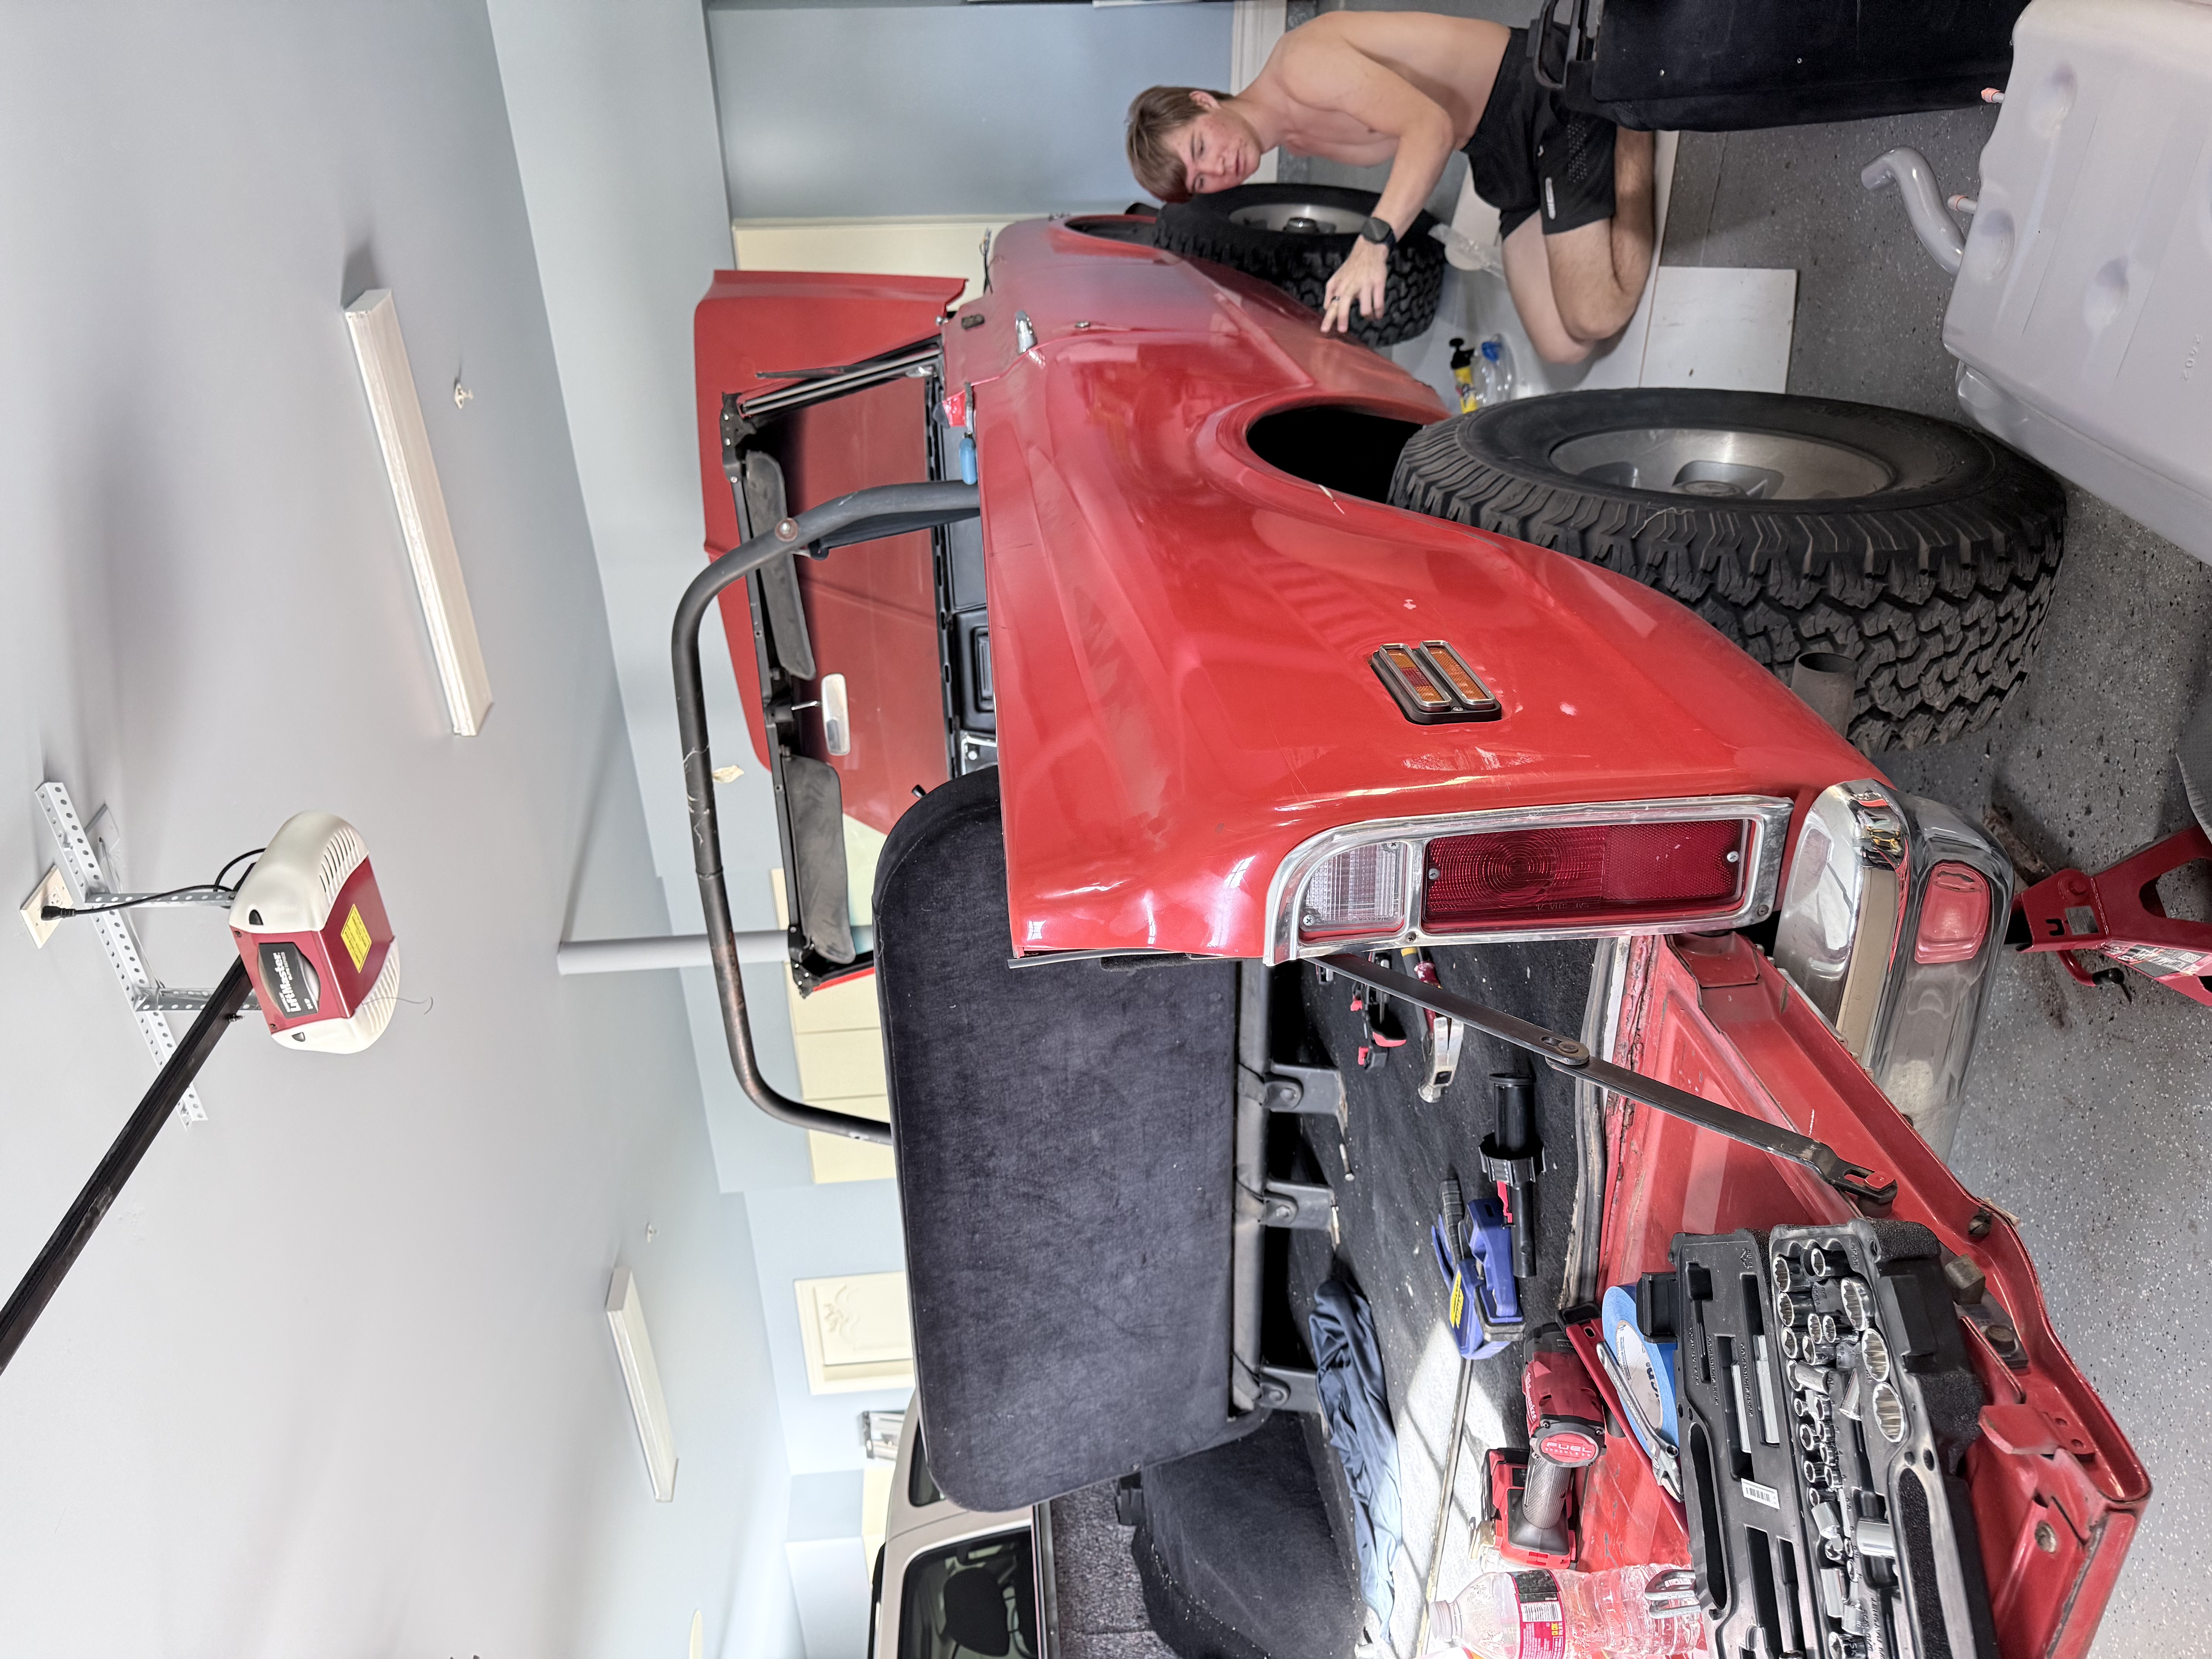
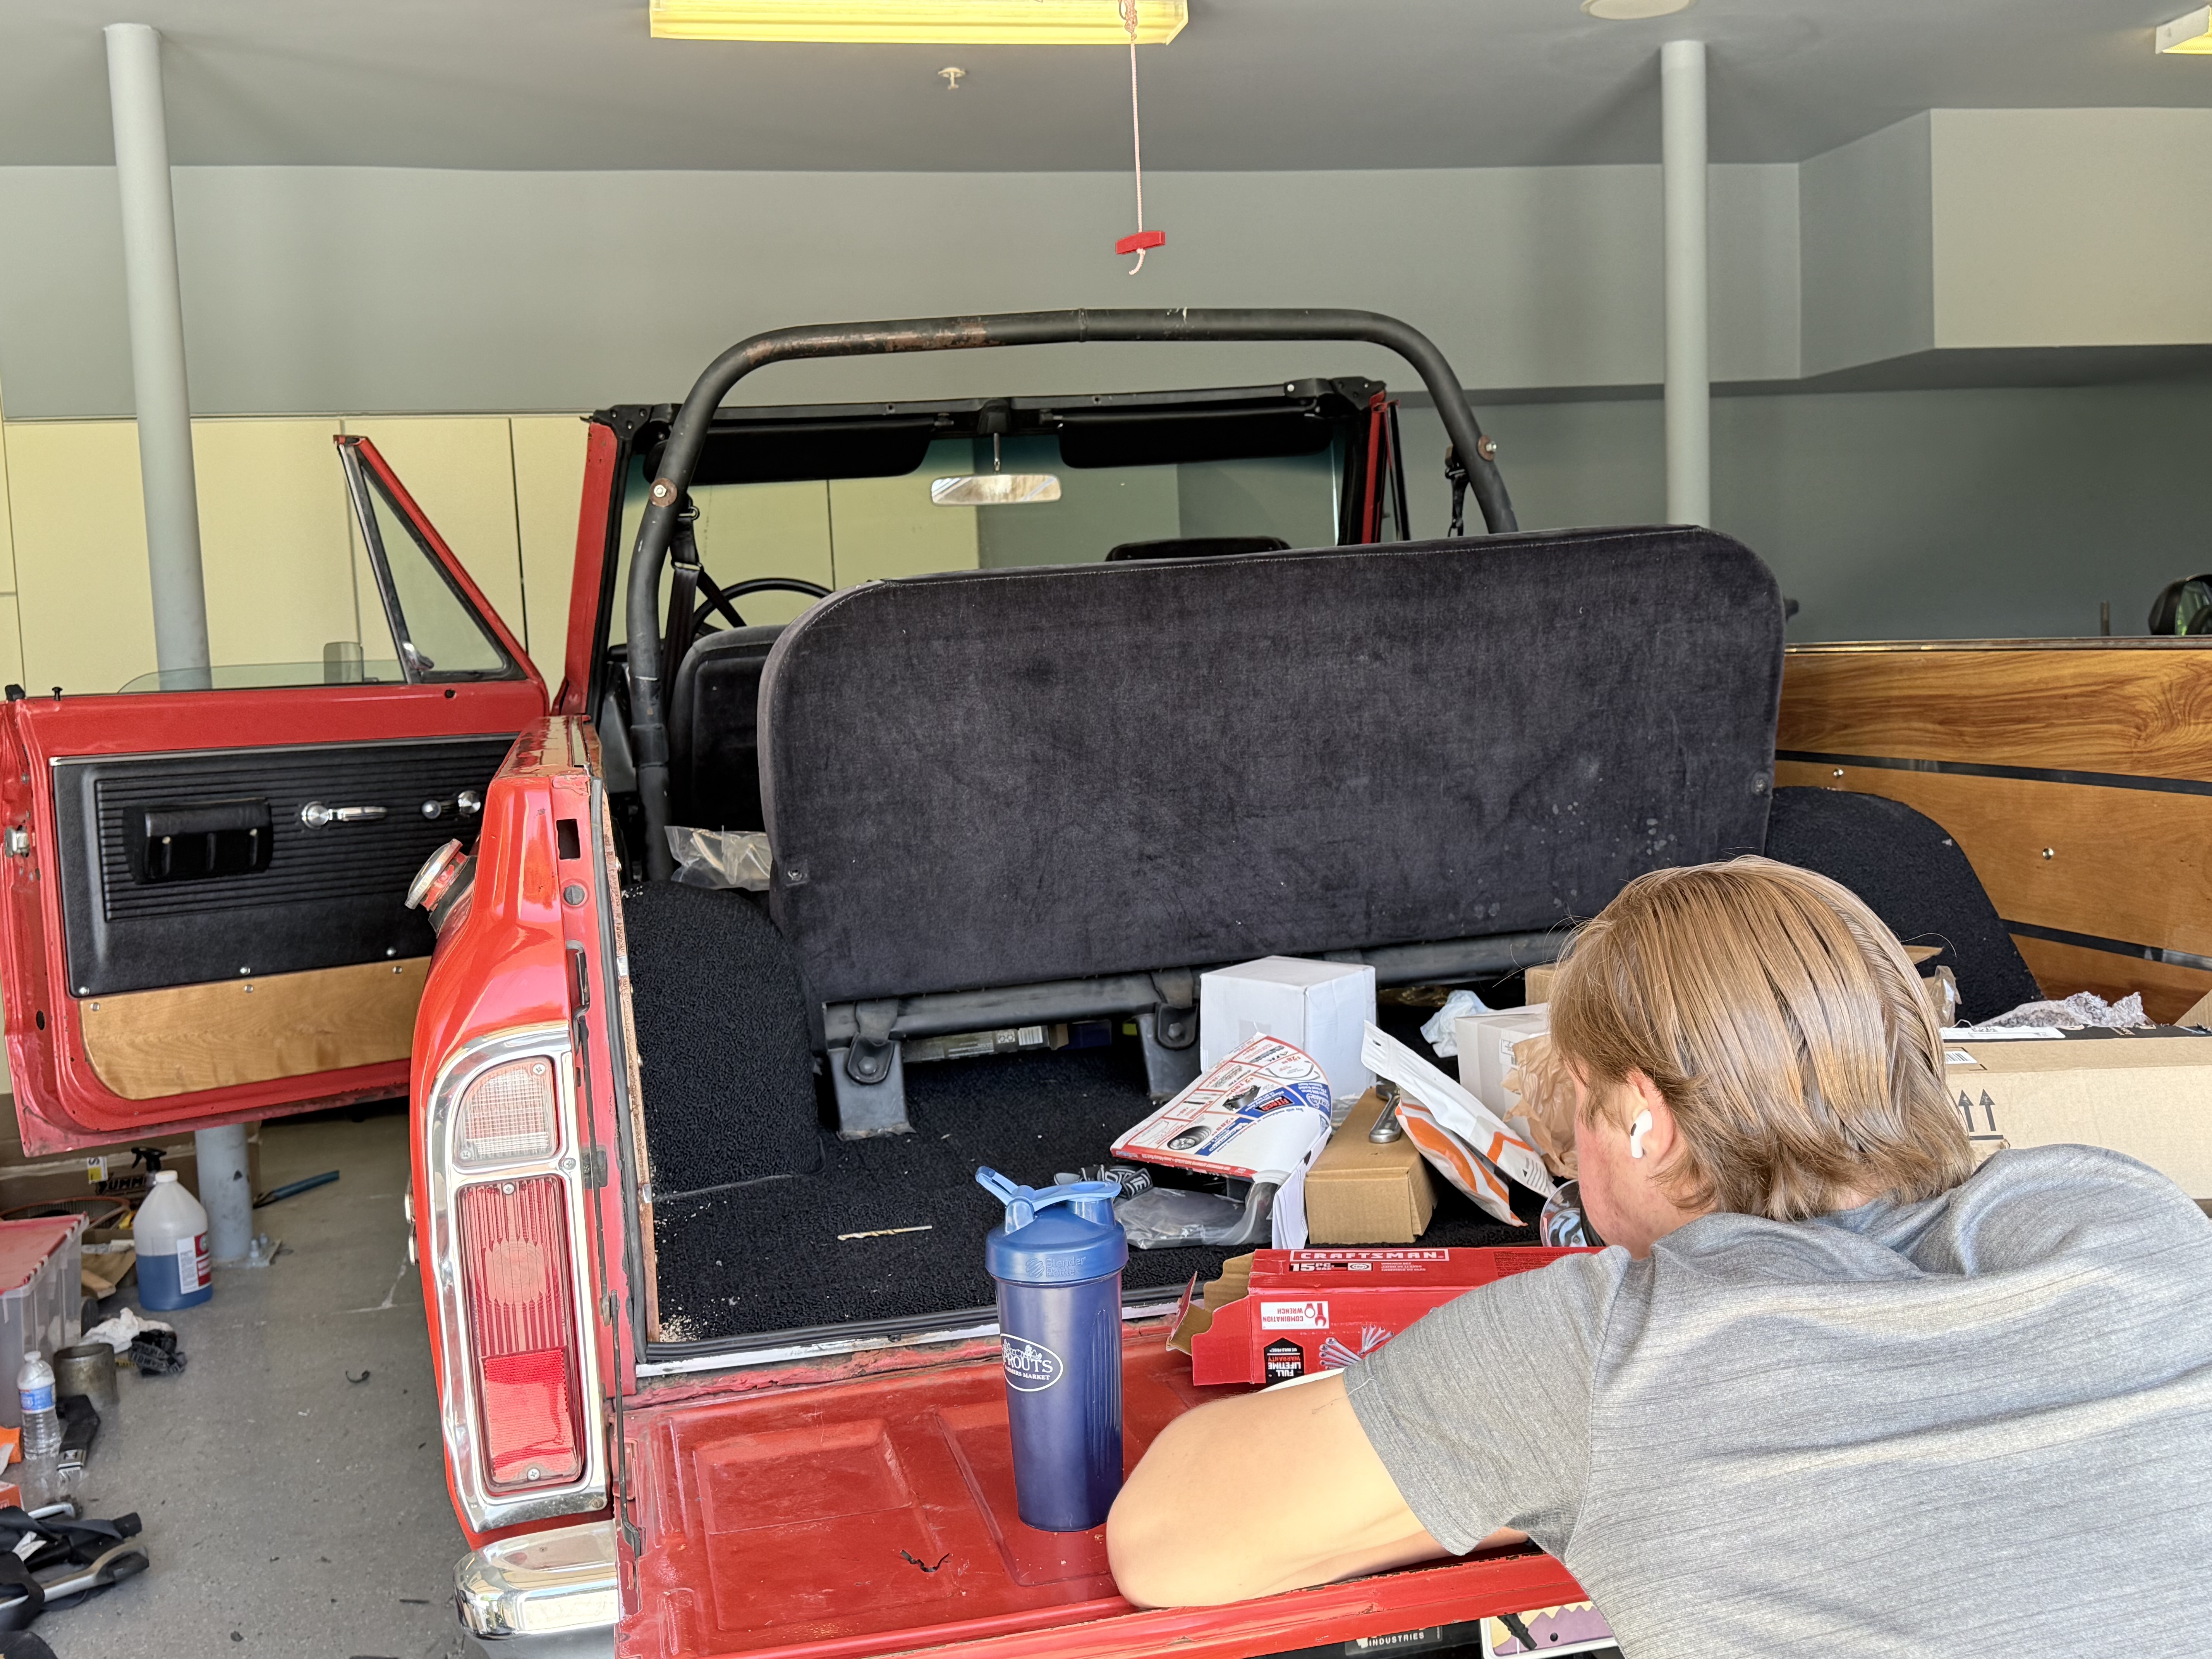
After installing the interior carpets and seats, I put on the wheels with their new tires, and it drove. It was not perfect yet, and there was still a stutter in the brakes.

1971 Chevy Blazer Restoration progress photo 26

Step 26

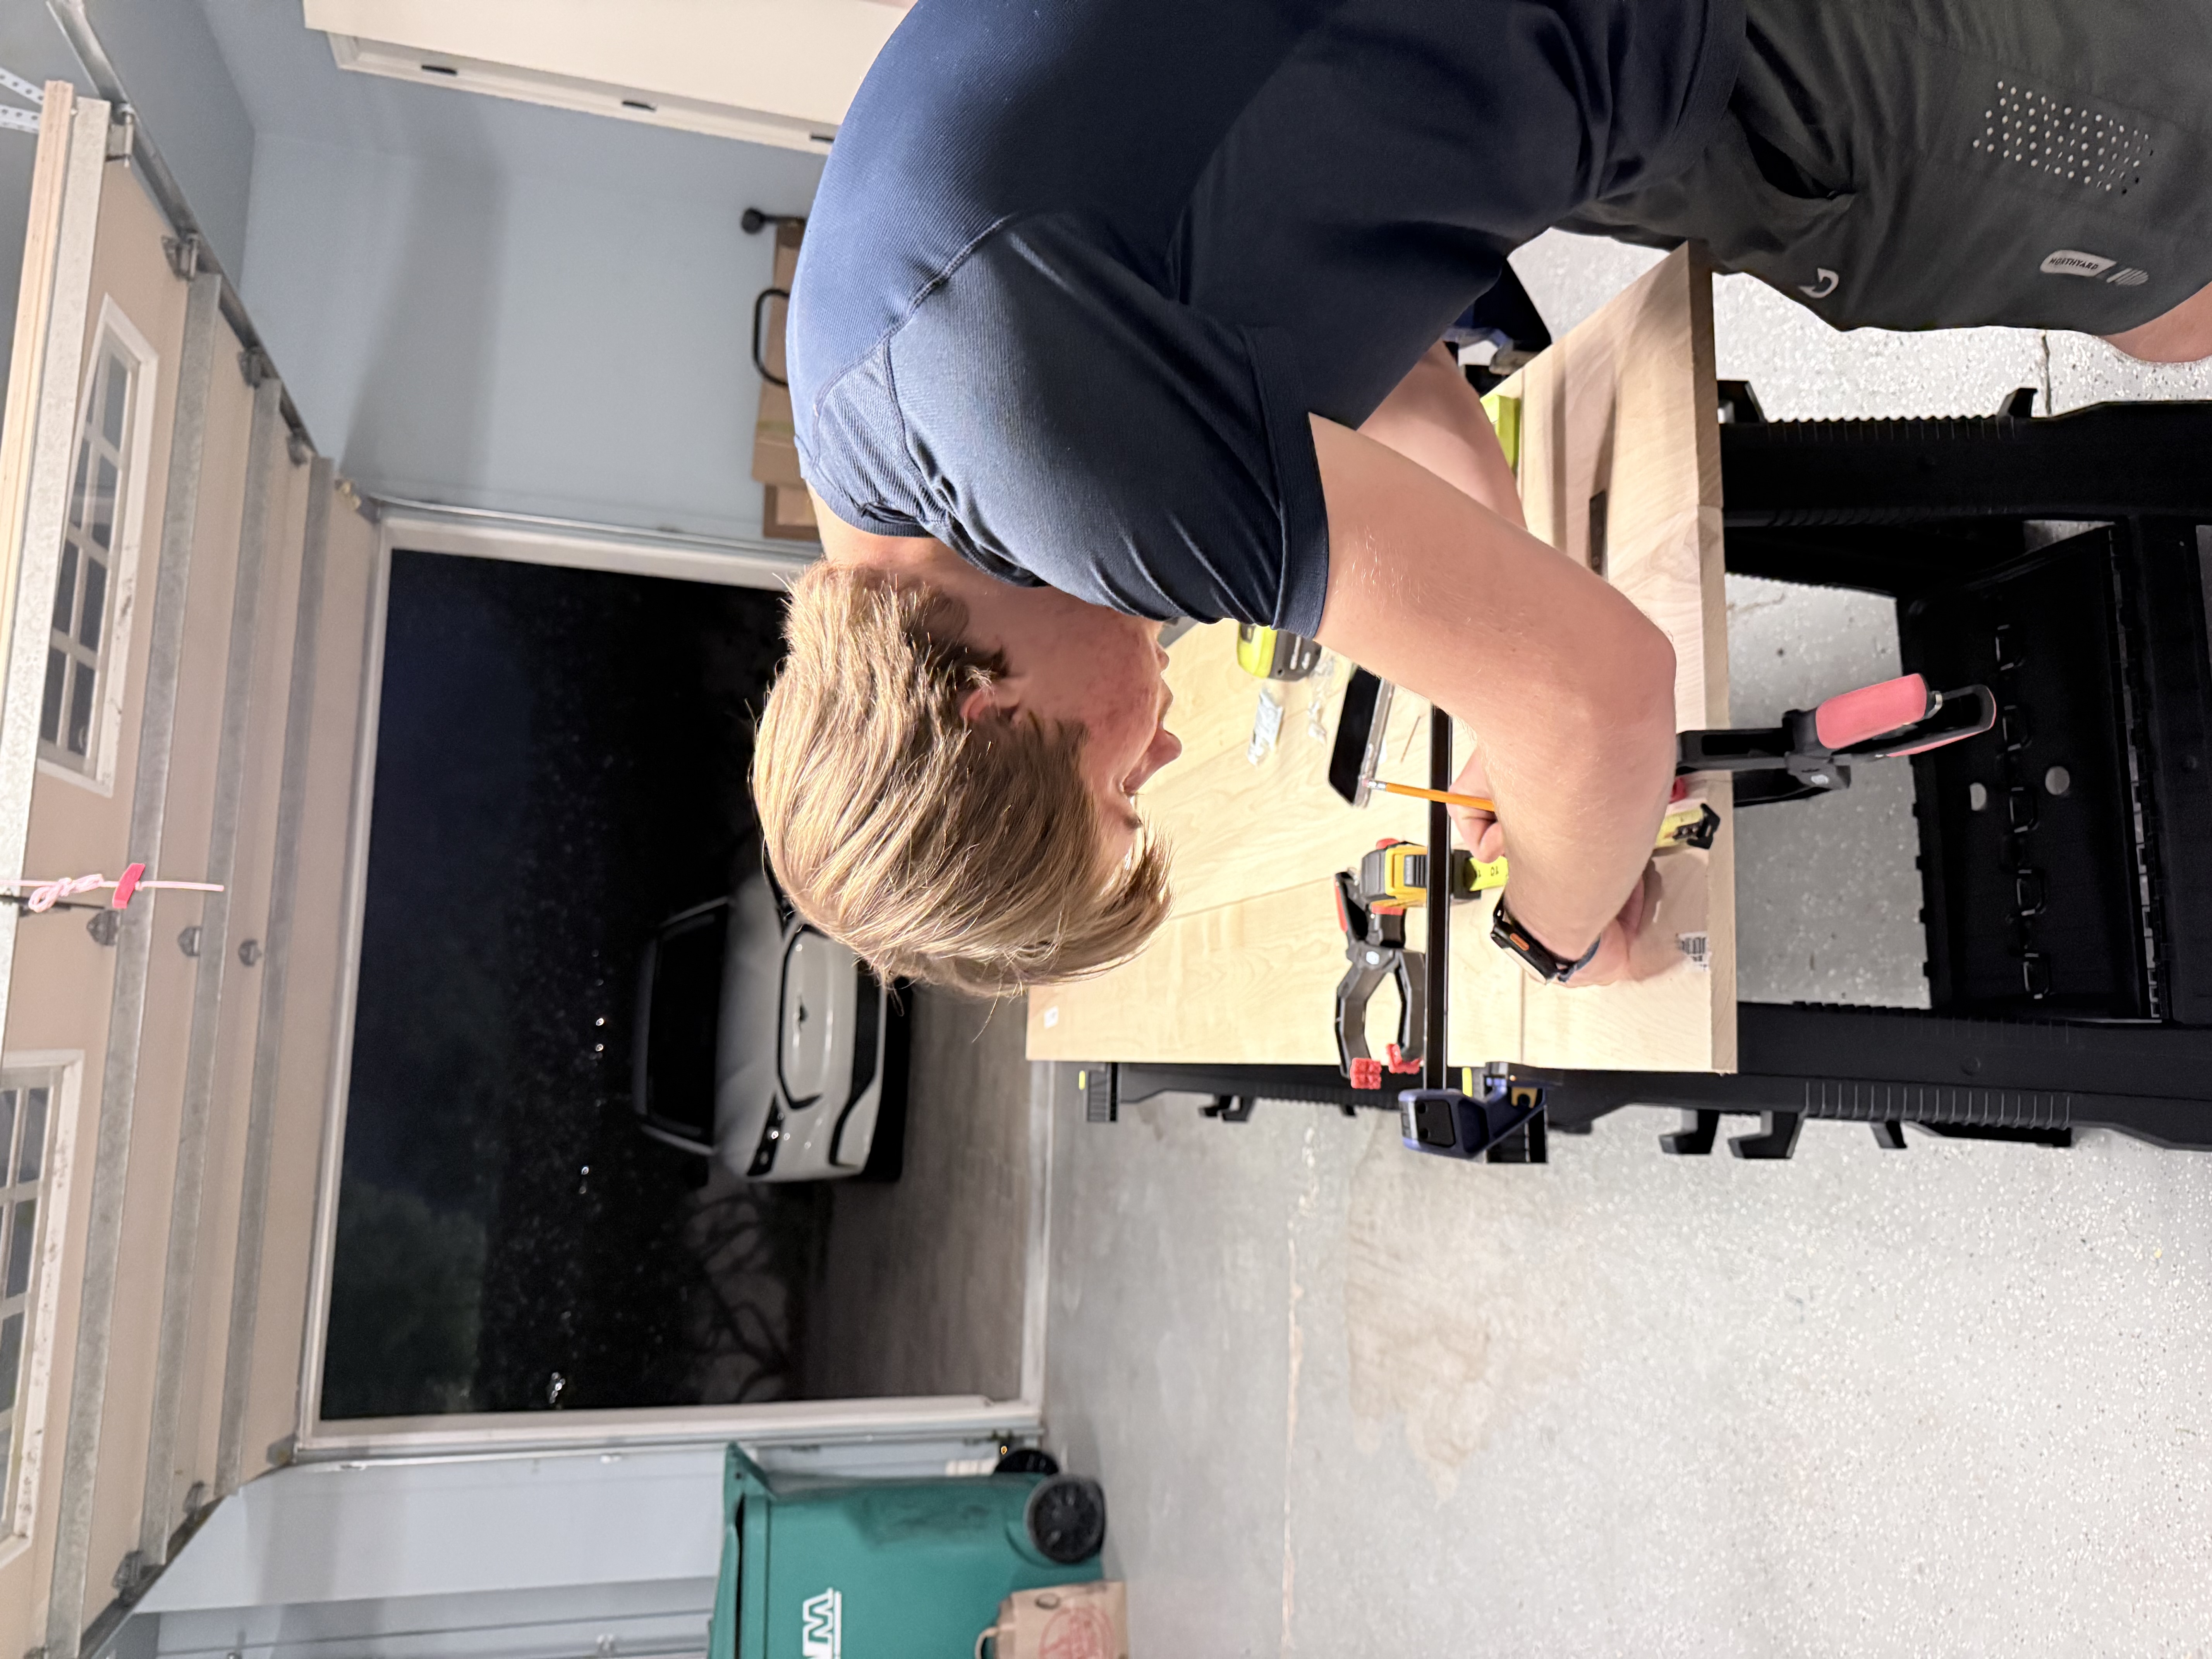
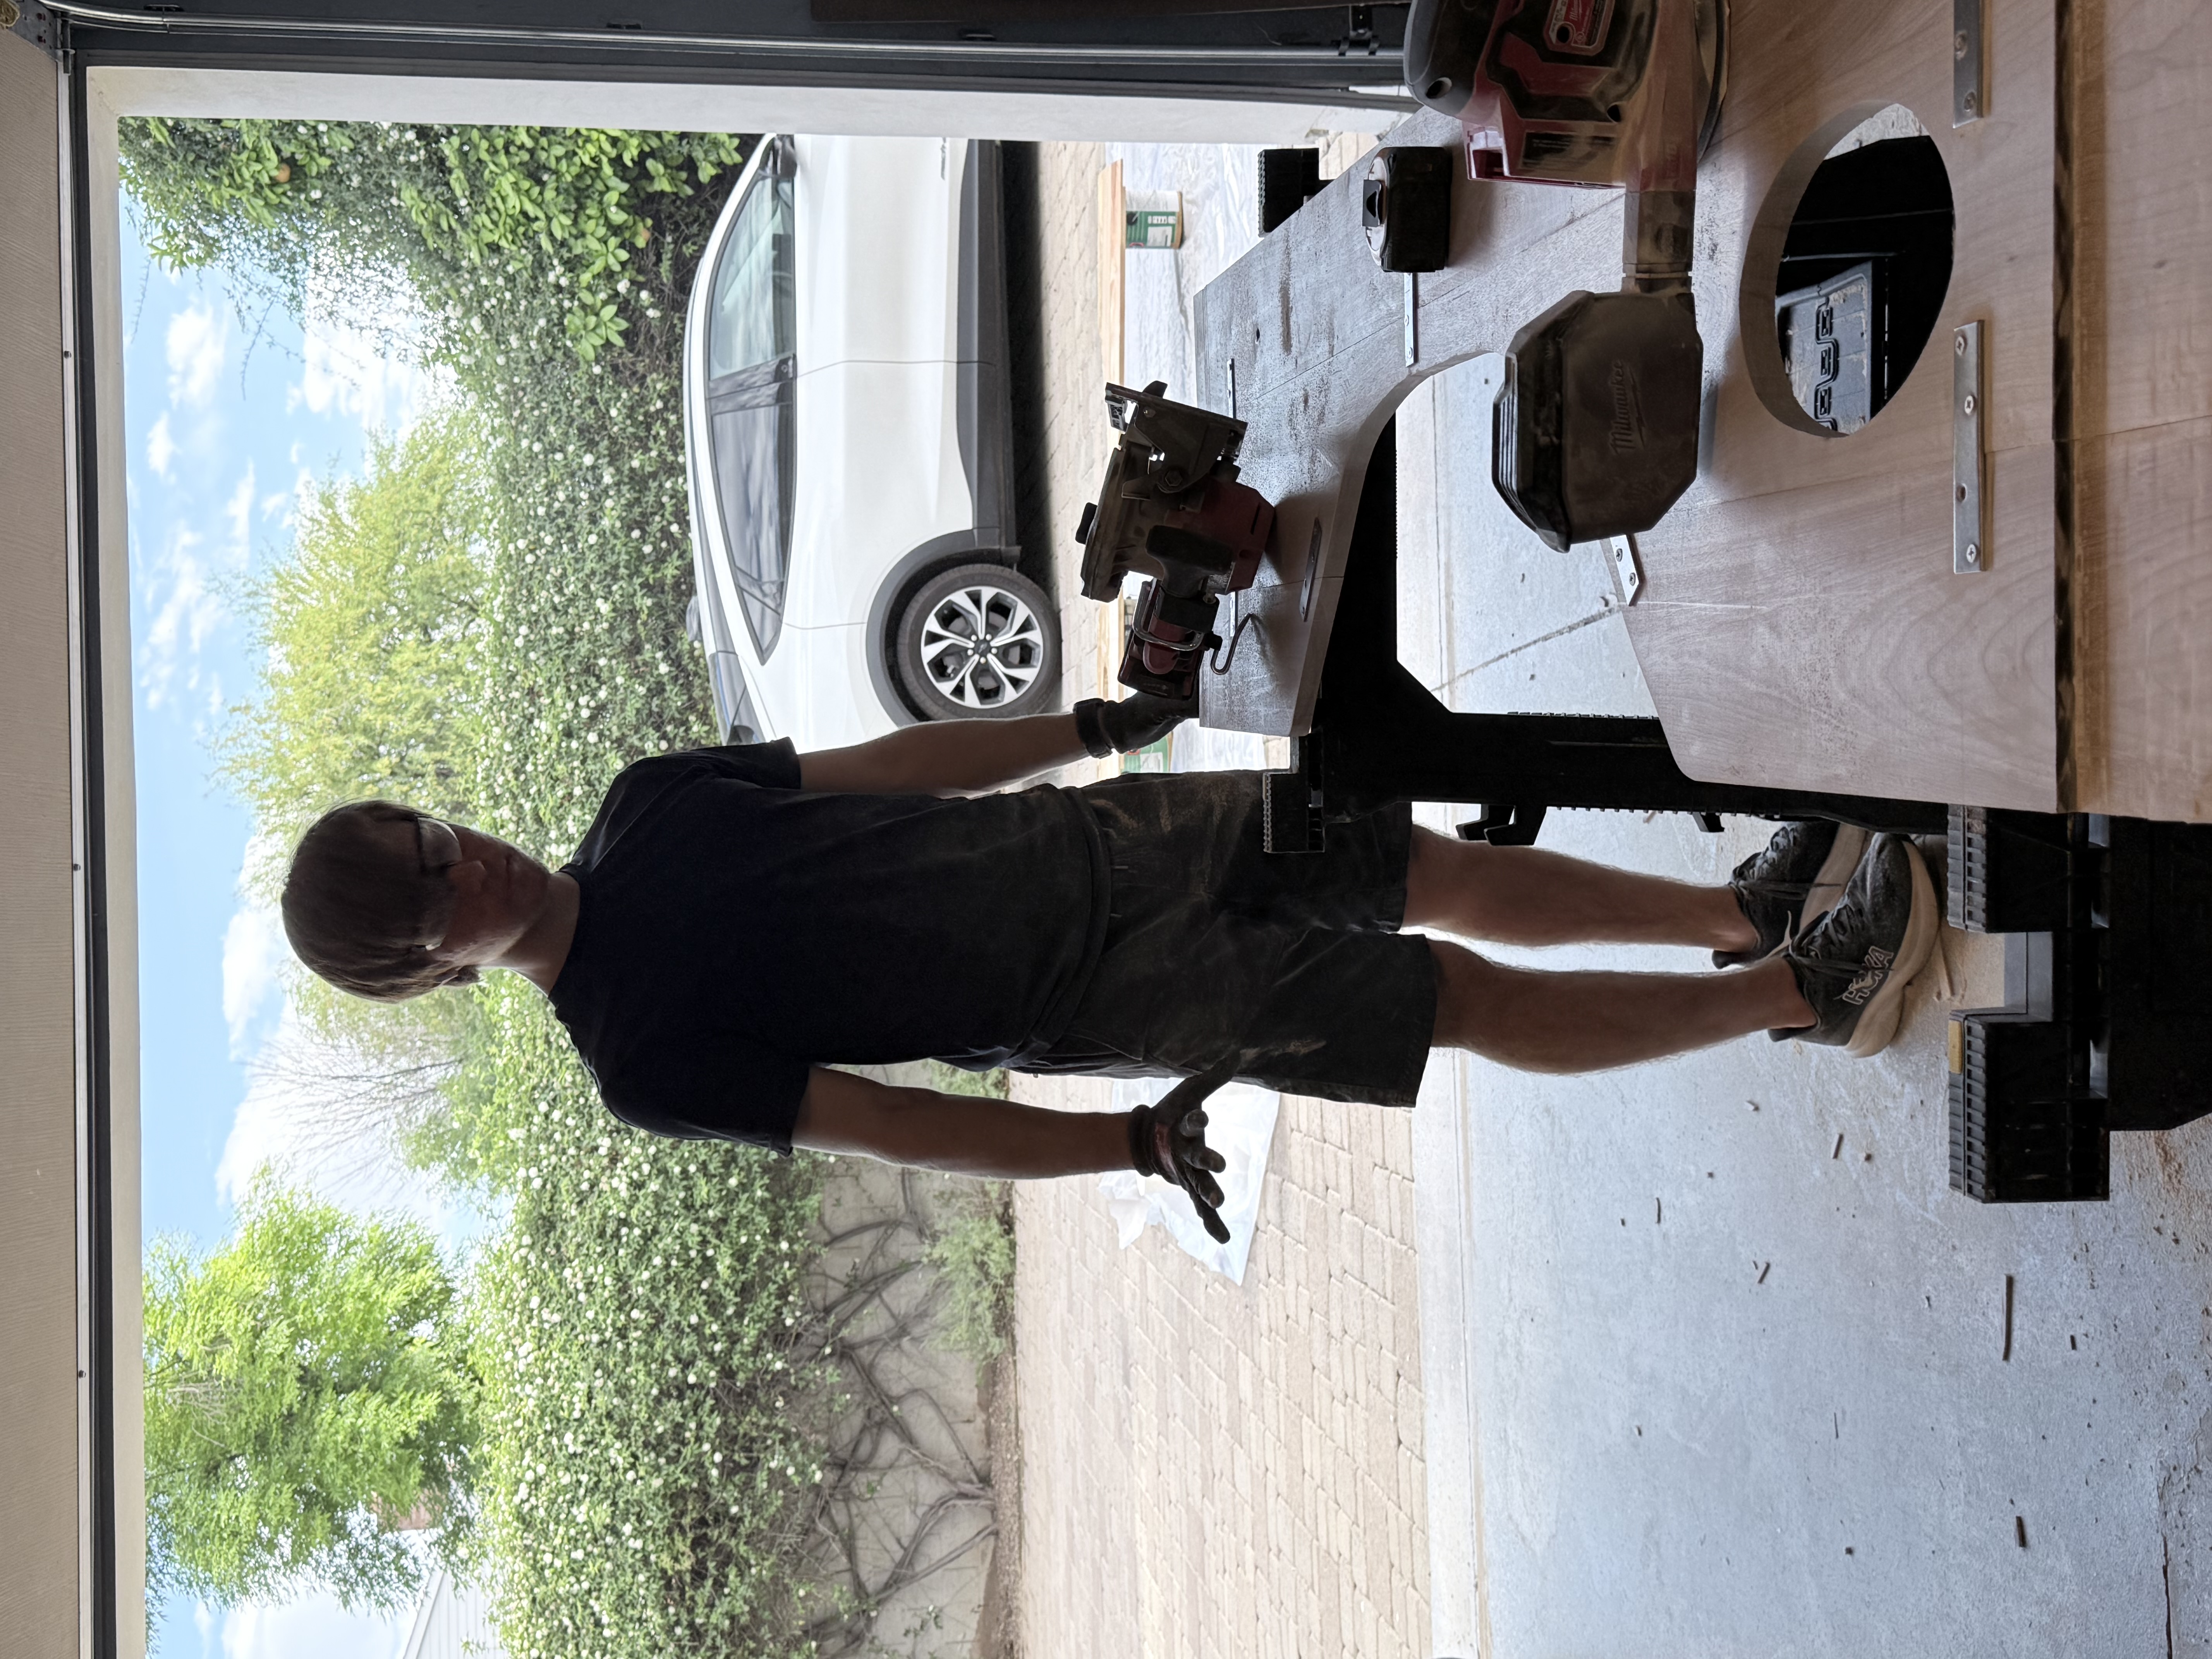
It was finally my favorite time of all: woodworking. I started making wood interior trim for the inside side panels by shaping and clamping the wood together so I could keep all three pieces aligned.

1971 Chevy Blazer Restoration progress photo 27

Step 27

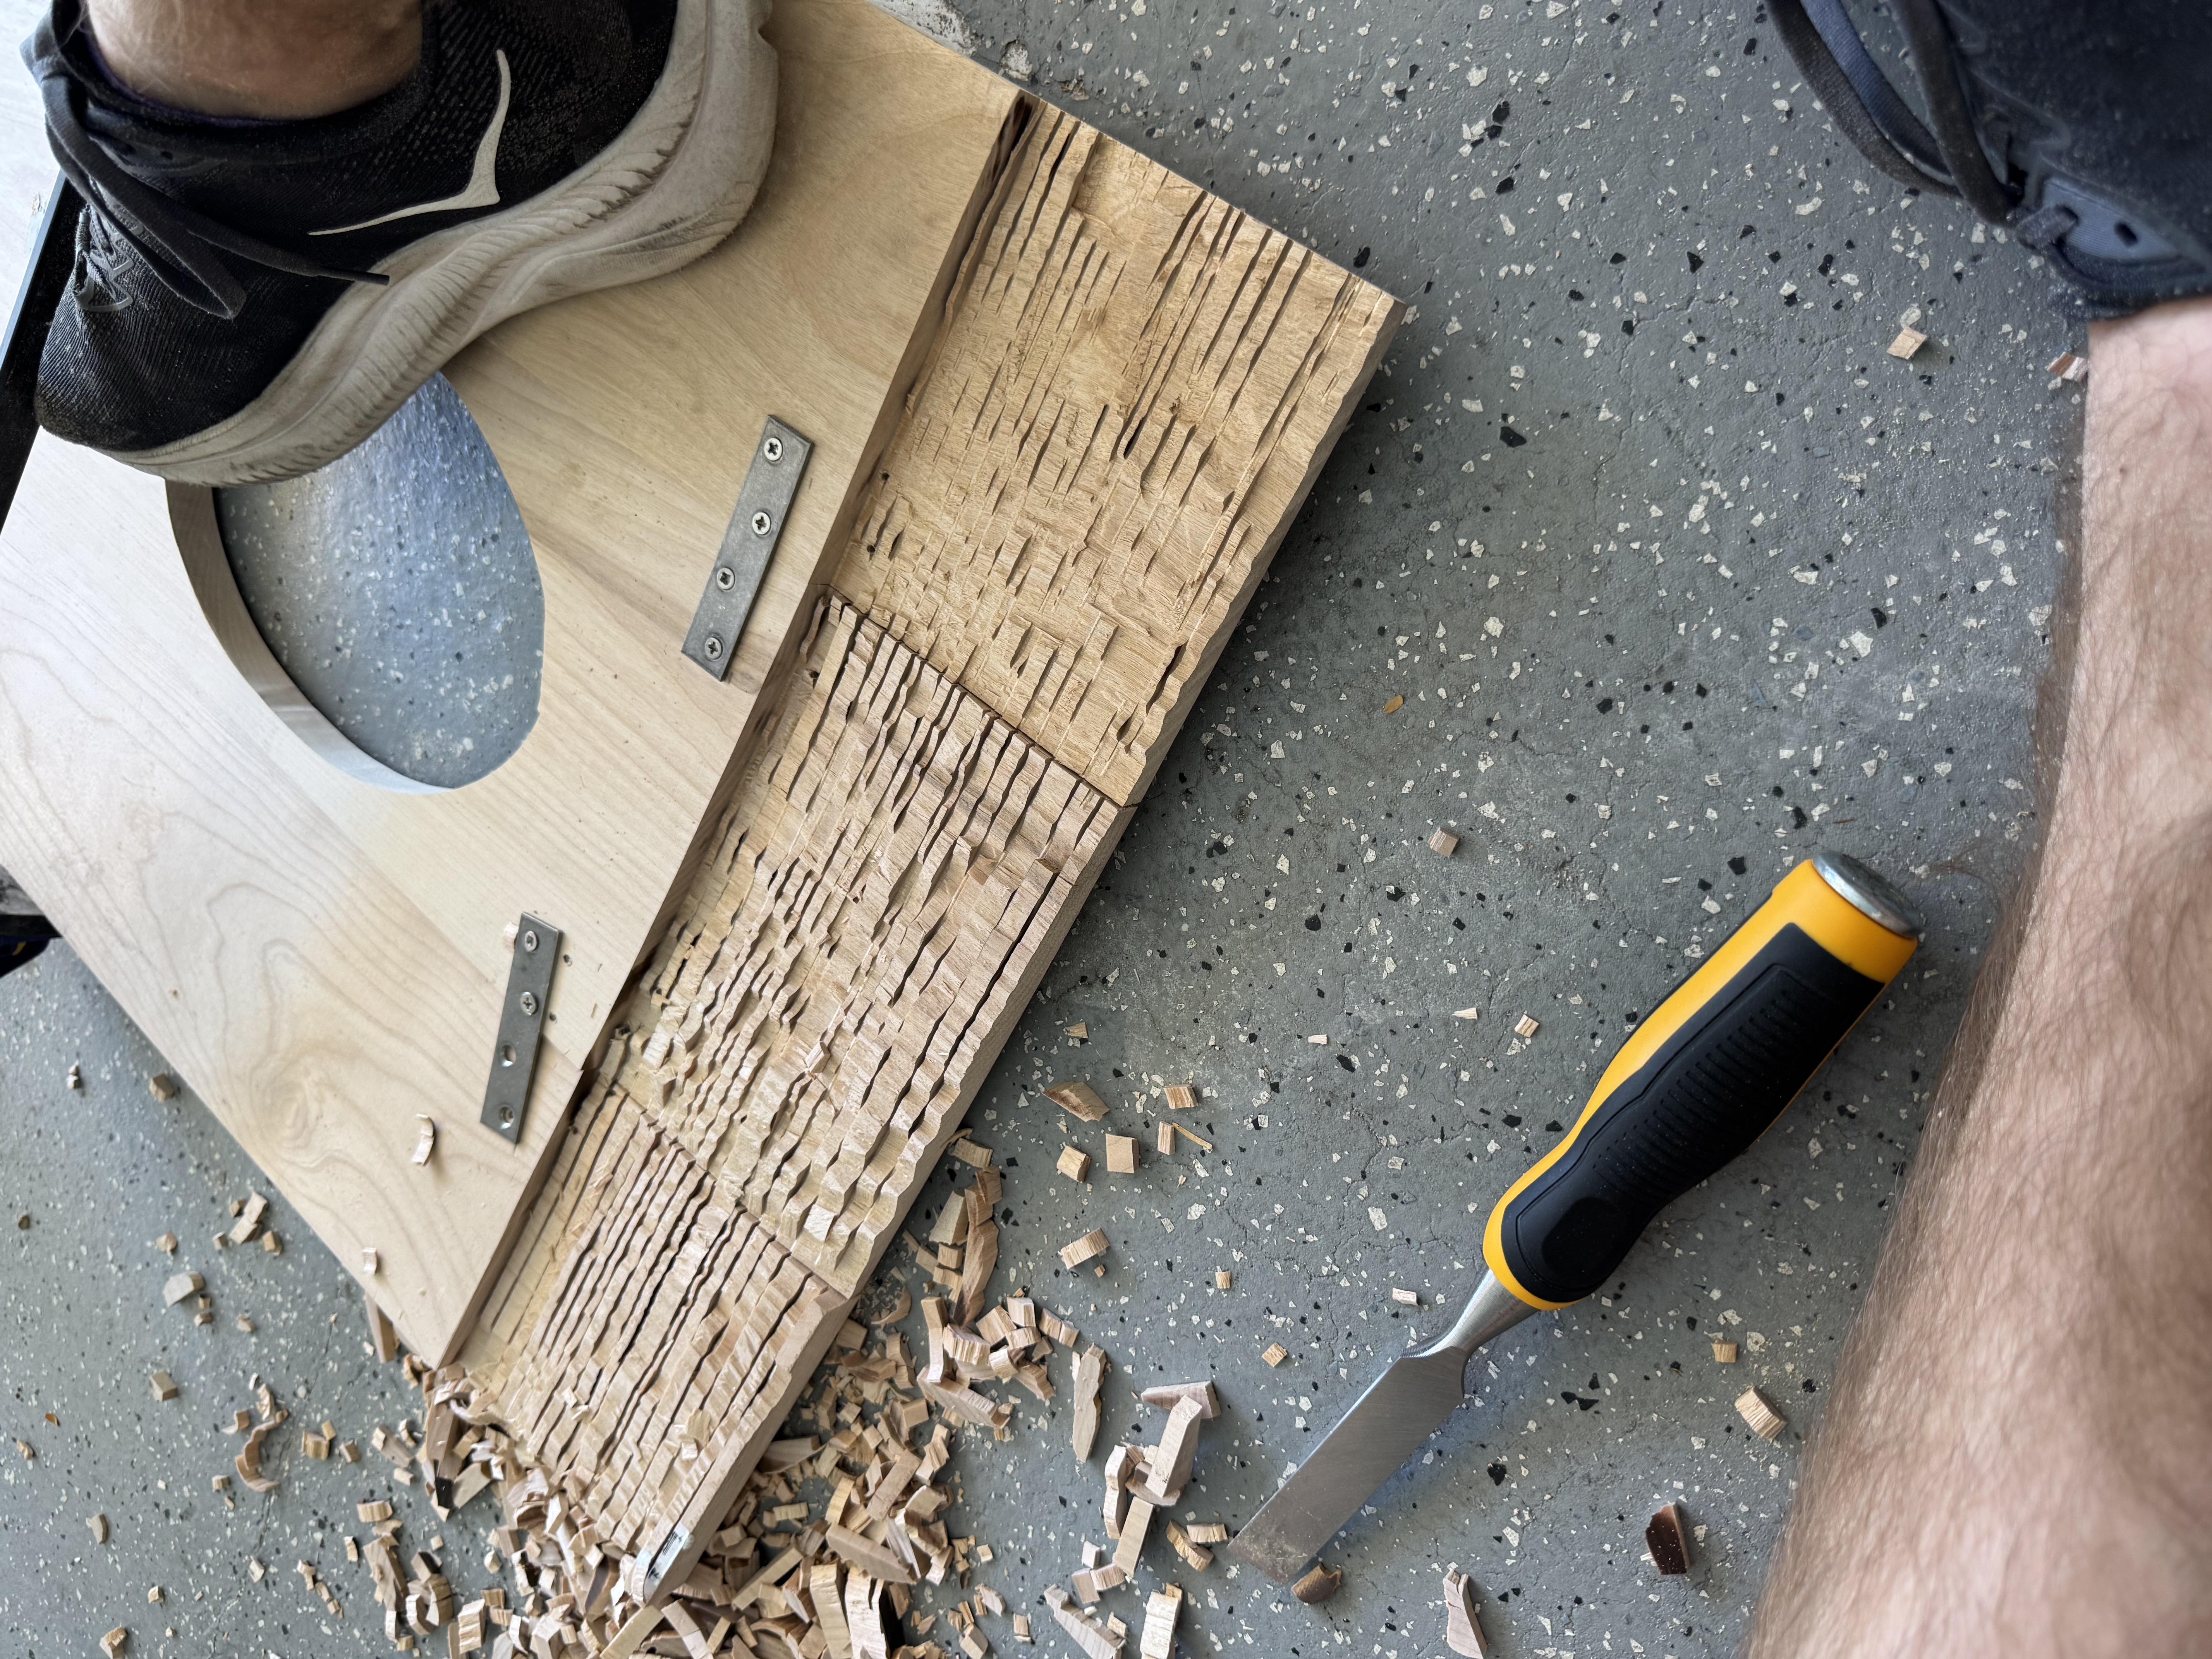
After shaping the wood, I had to make indents so it would fit perfectly into the sides. I started by making micro-cuts with a circular saw, then chiseled away the excess wood and sanded everything smooth.

1971 Chevy Blazer Restoration progress photo 28

Step 28

I then repeated that process on both sides of one piece of wood and completed the other interior side as well.

1971 Chevy Blazer Restoration progress photo 29

Step 29

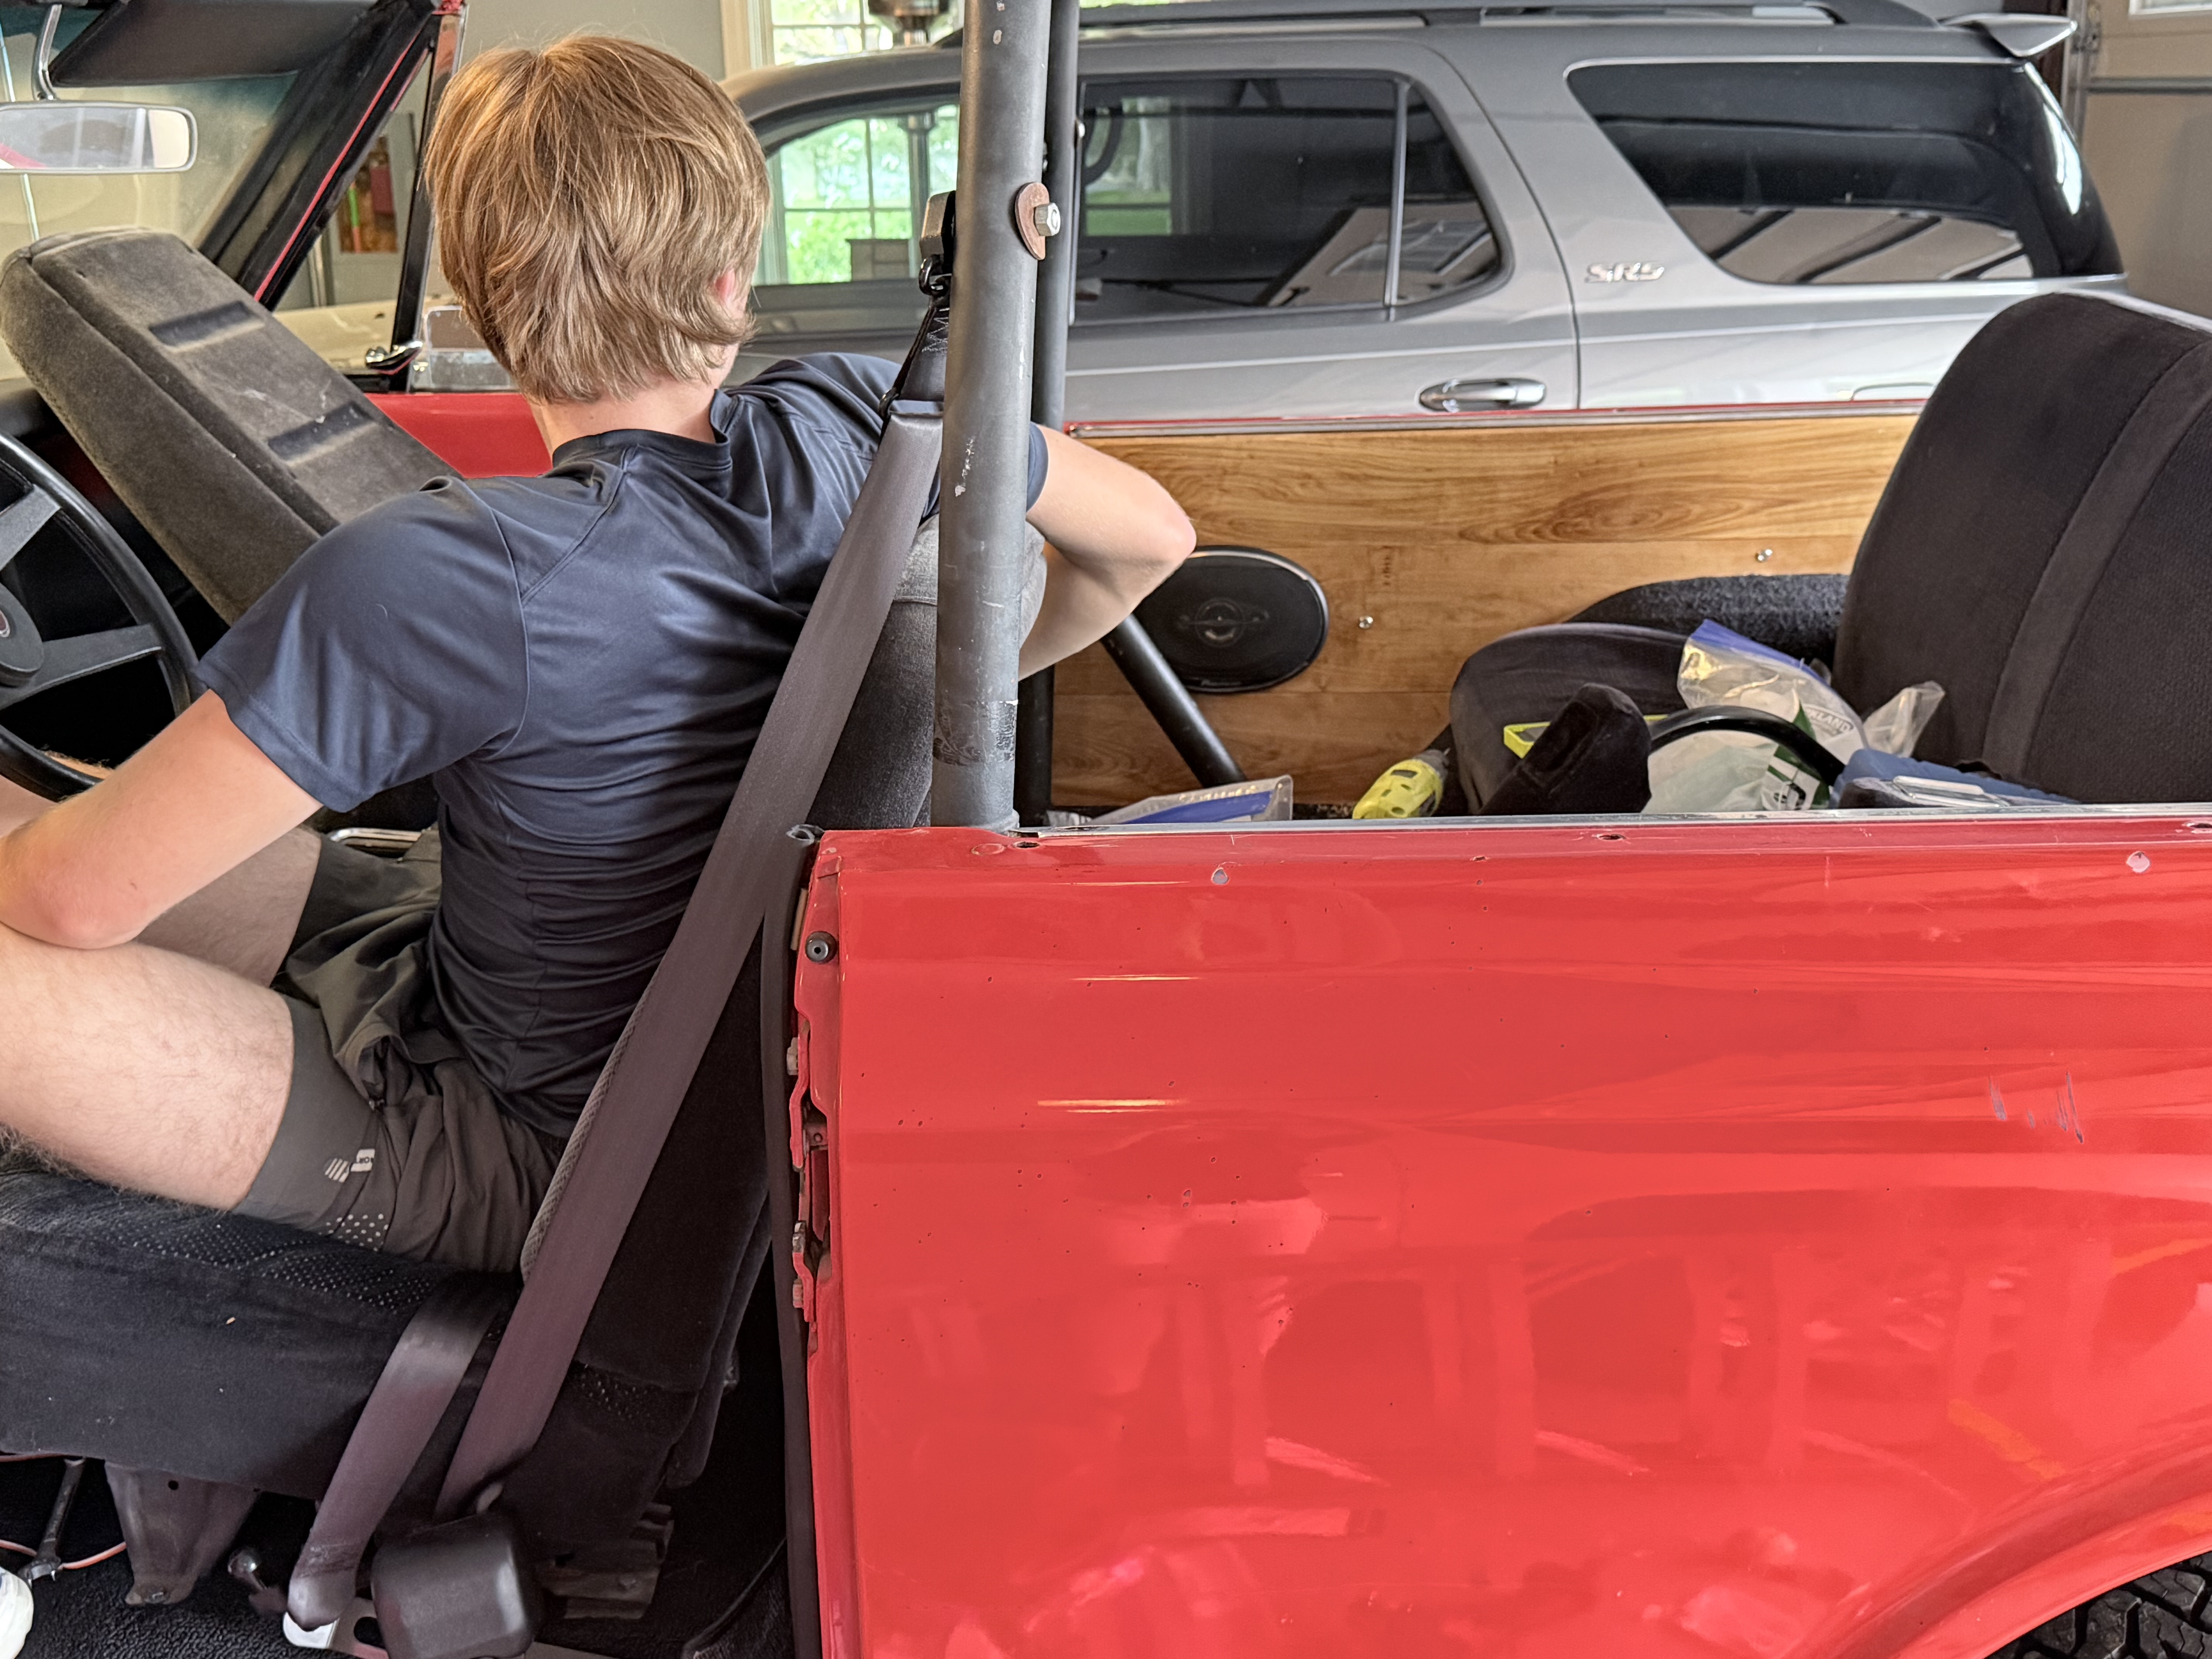
After everything was shaped, I epoxied the wood to keep it watertight and protected from the weather. I then installed the speakers and put the panels into the Blazer.

1971 Chevy Blazer Restoration progress photo 30

Step 30

After putting in every single wood panel, I began to add chrome trim and reseal all the doors.

1971 Chevy Blazer Restoration progress photo 31

Step 31

I also had to install new sun visors because the old ones were broken and rusted.

1971 Chevy Blazer Restoration progress photo 32

Step 32

After putting on the new liftgate logo, headlights, and parking lights, I started on some of the final trim.

1971 Chevy Blazer Restoration progress photo 33

Step 33

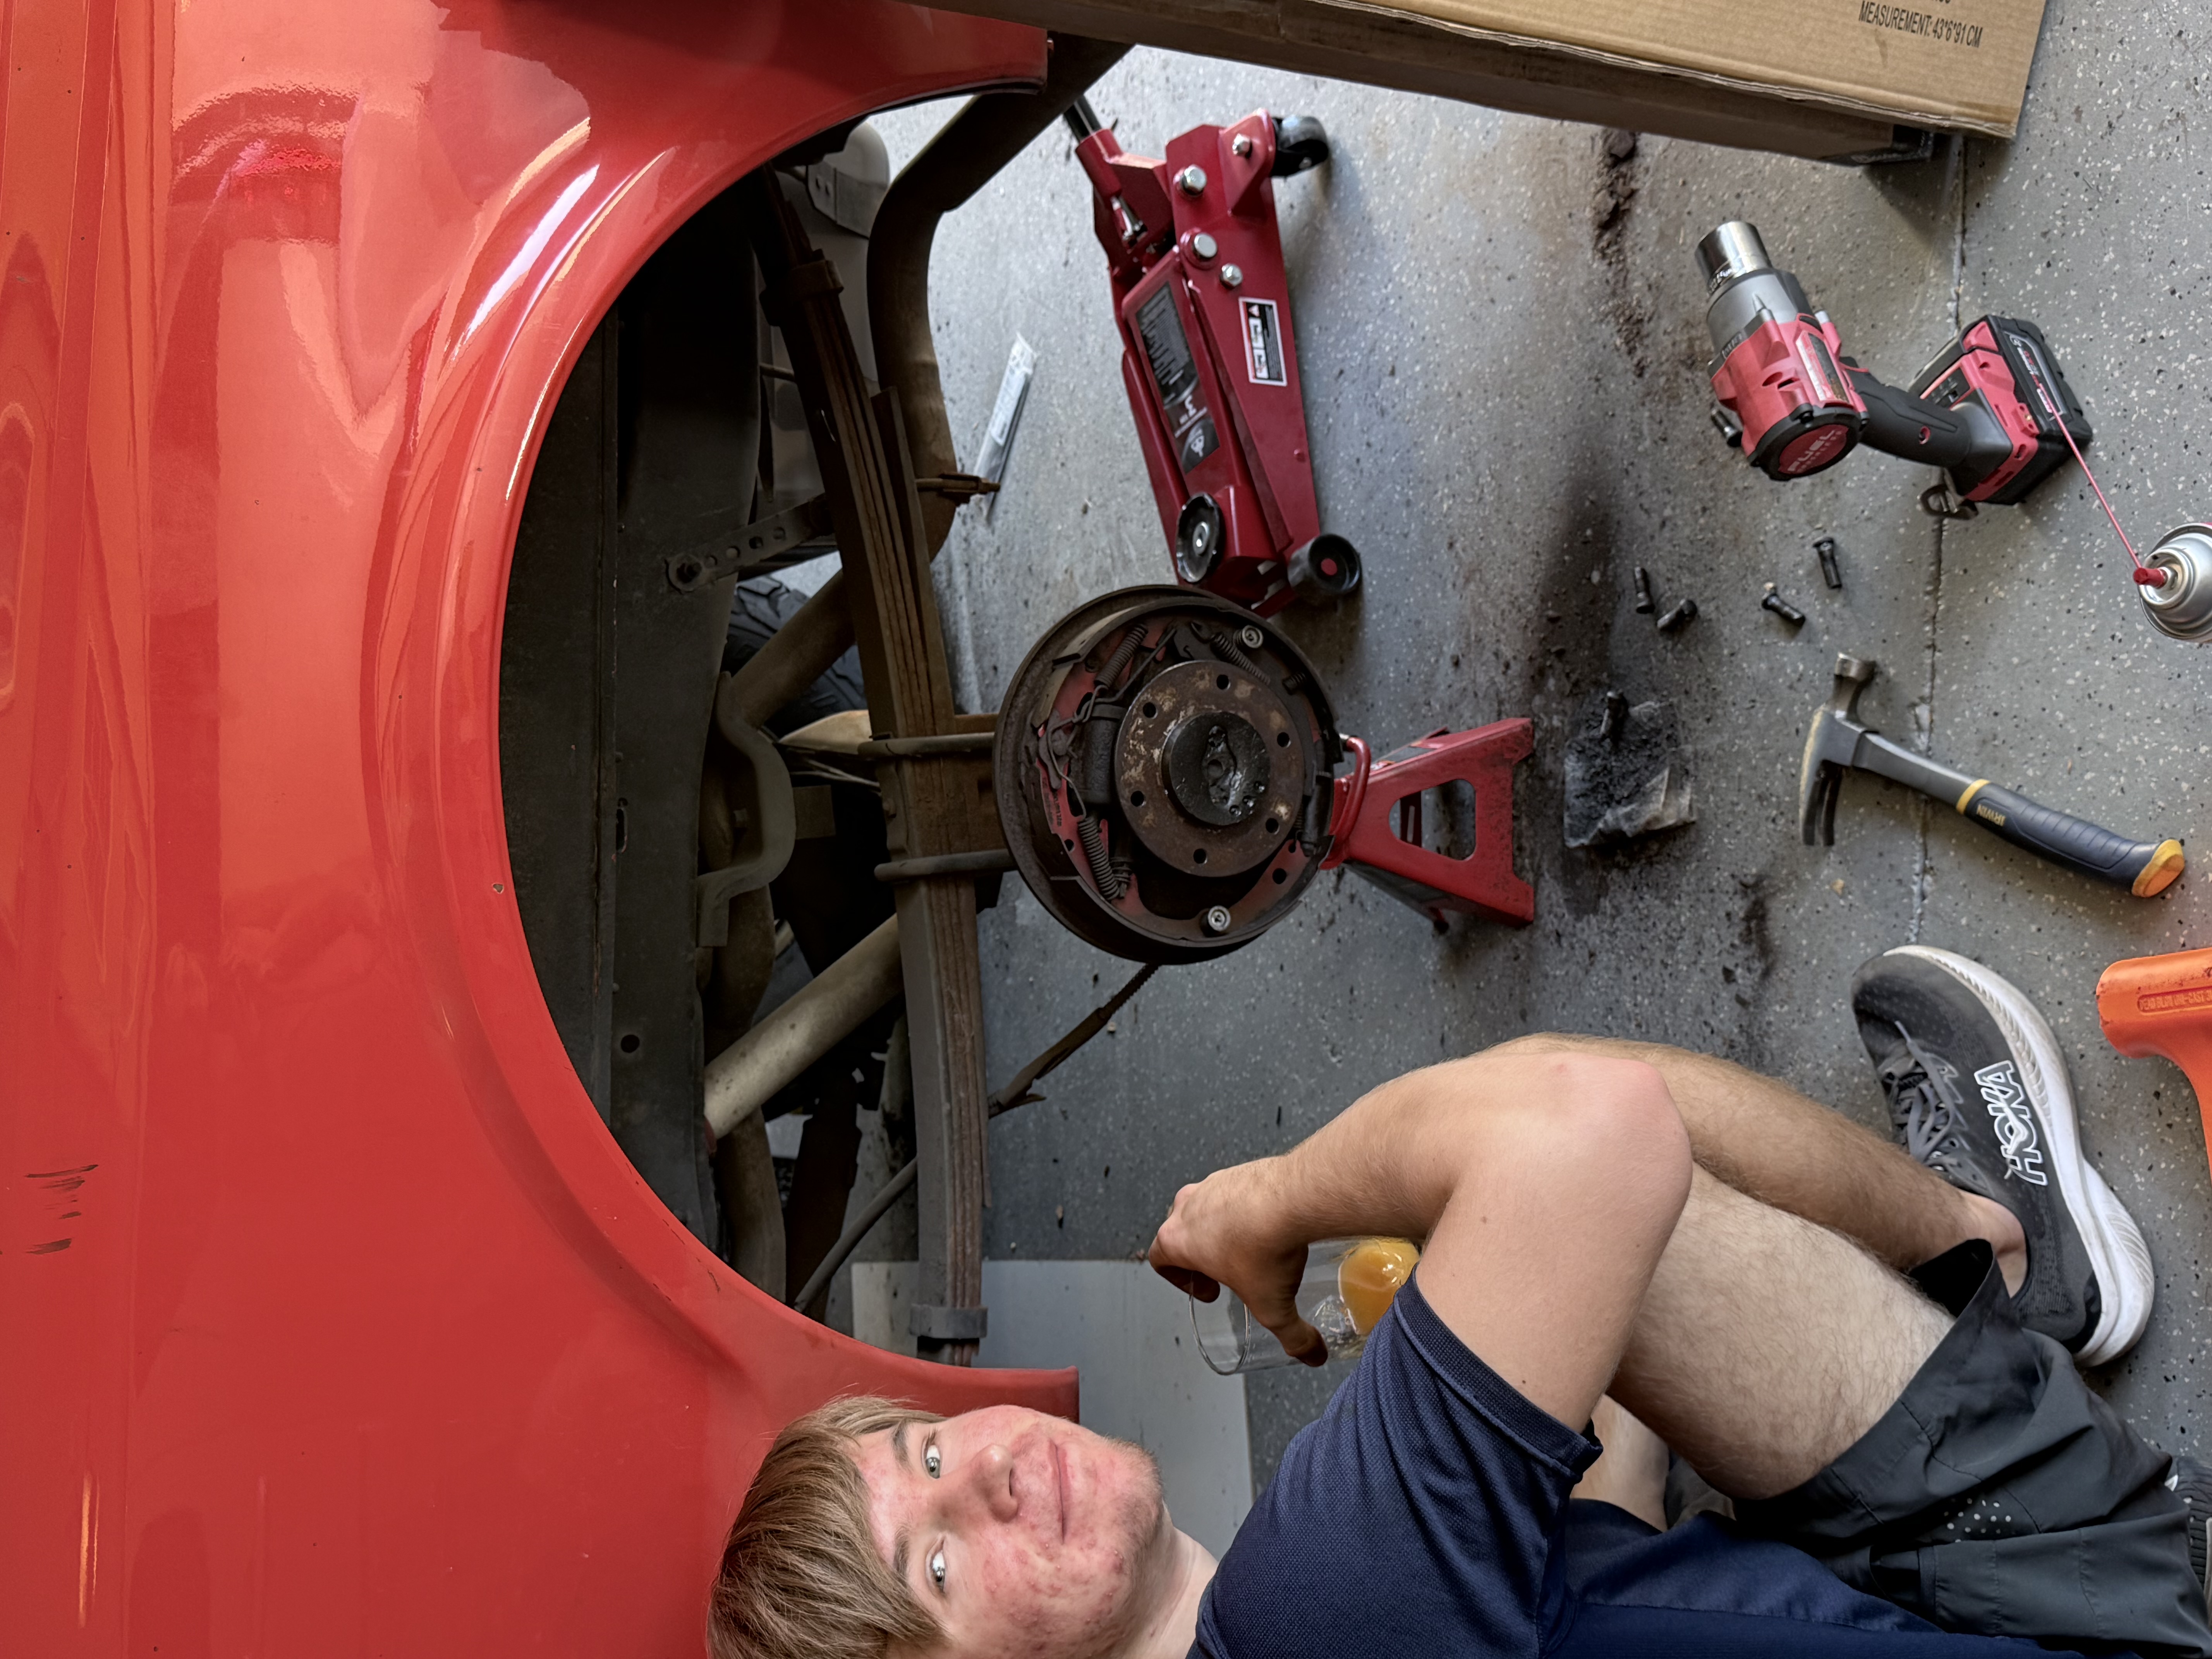
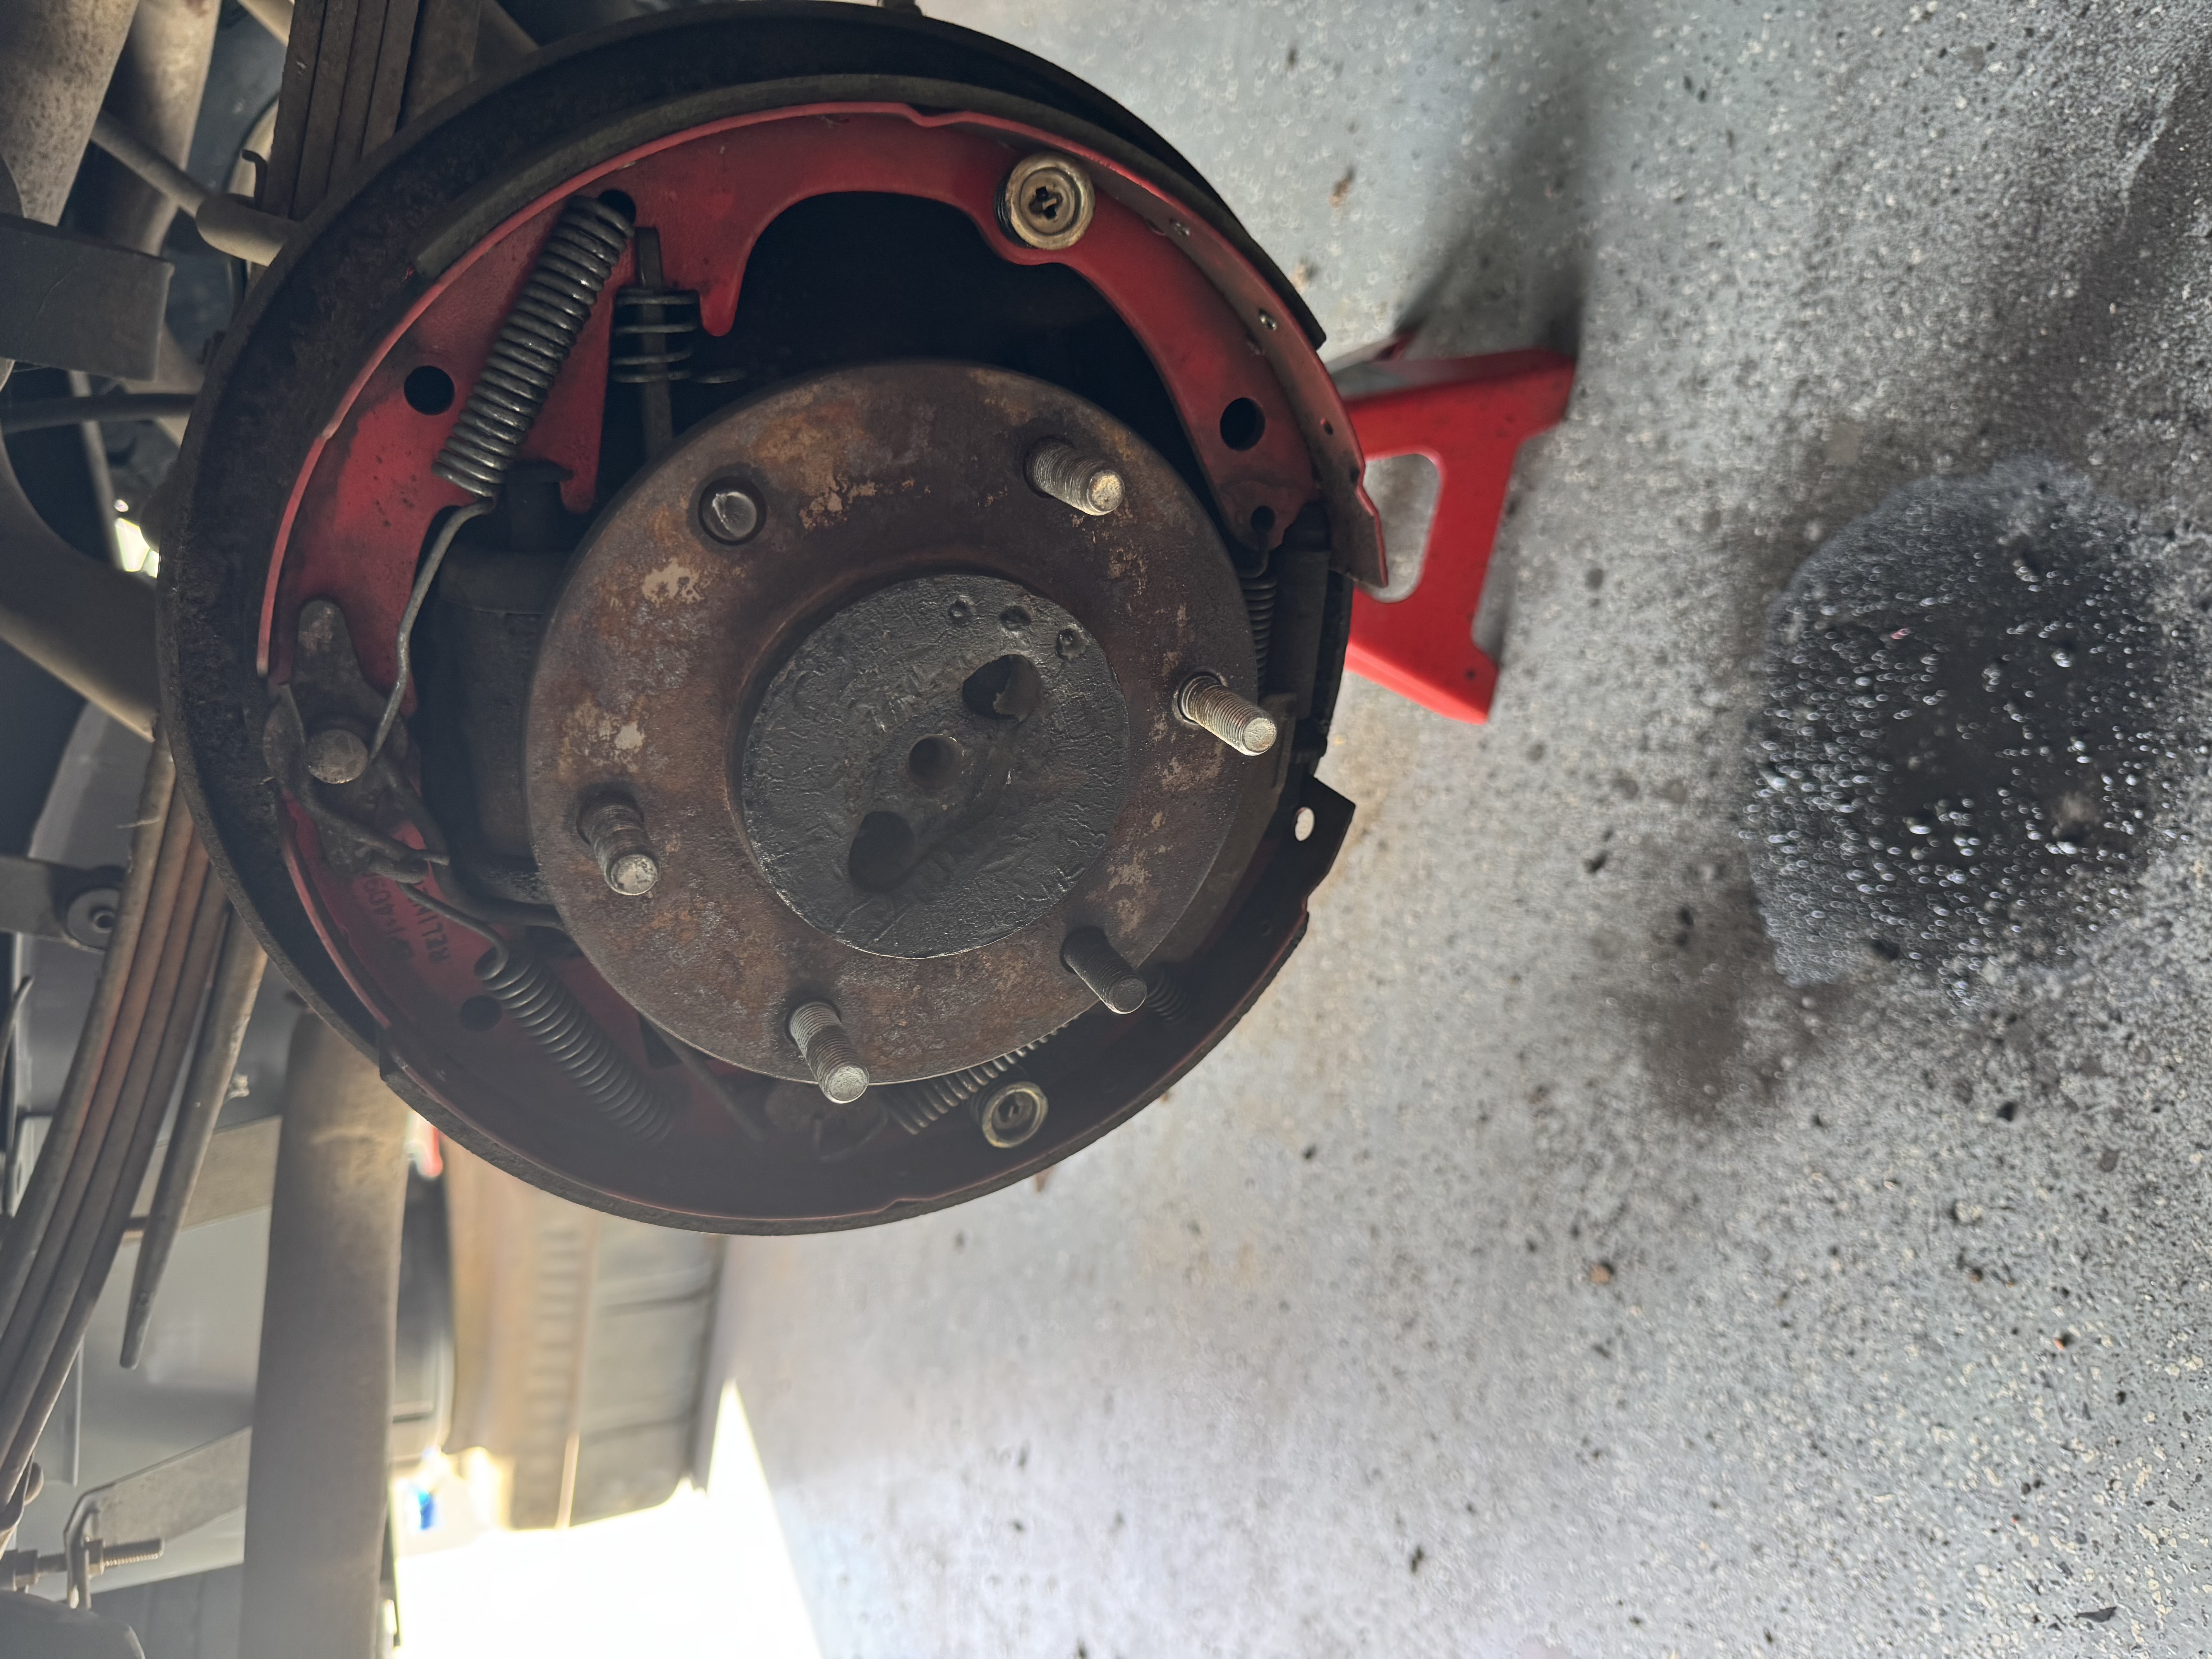
I finished the entire vehicle and tried to drive it, but noticed a stutter in the brakes. There was a leak in one of the old rear wheel brake cylinders. I then realized I could not replace only that cylinder because everything was so corroded, so I had to replace all the rear brake components and lines.

1971 Chevy Blazer Restoration progress photo 34

Step 34

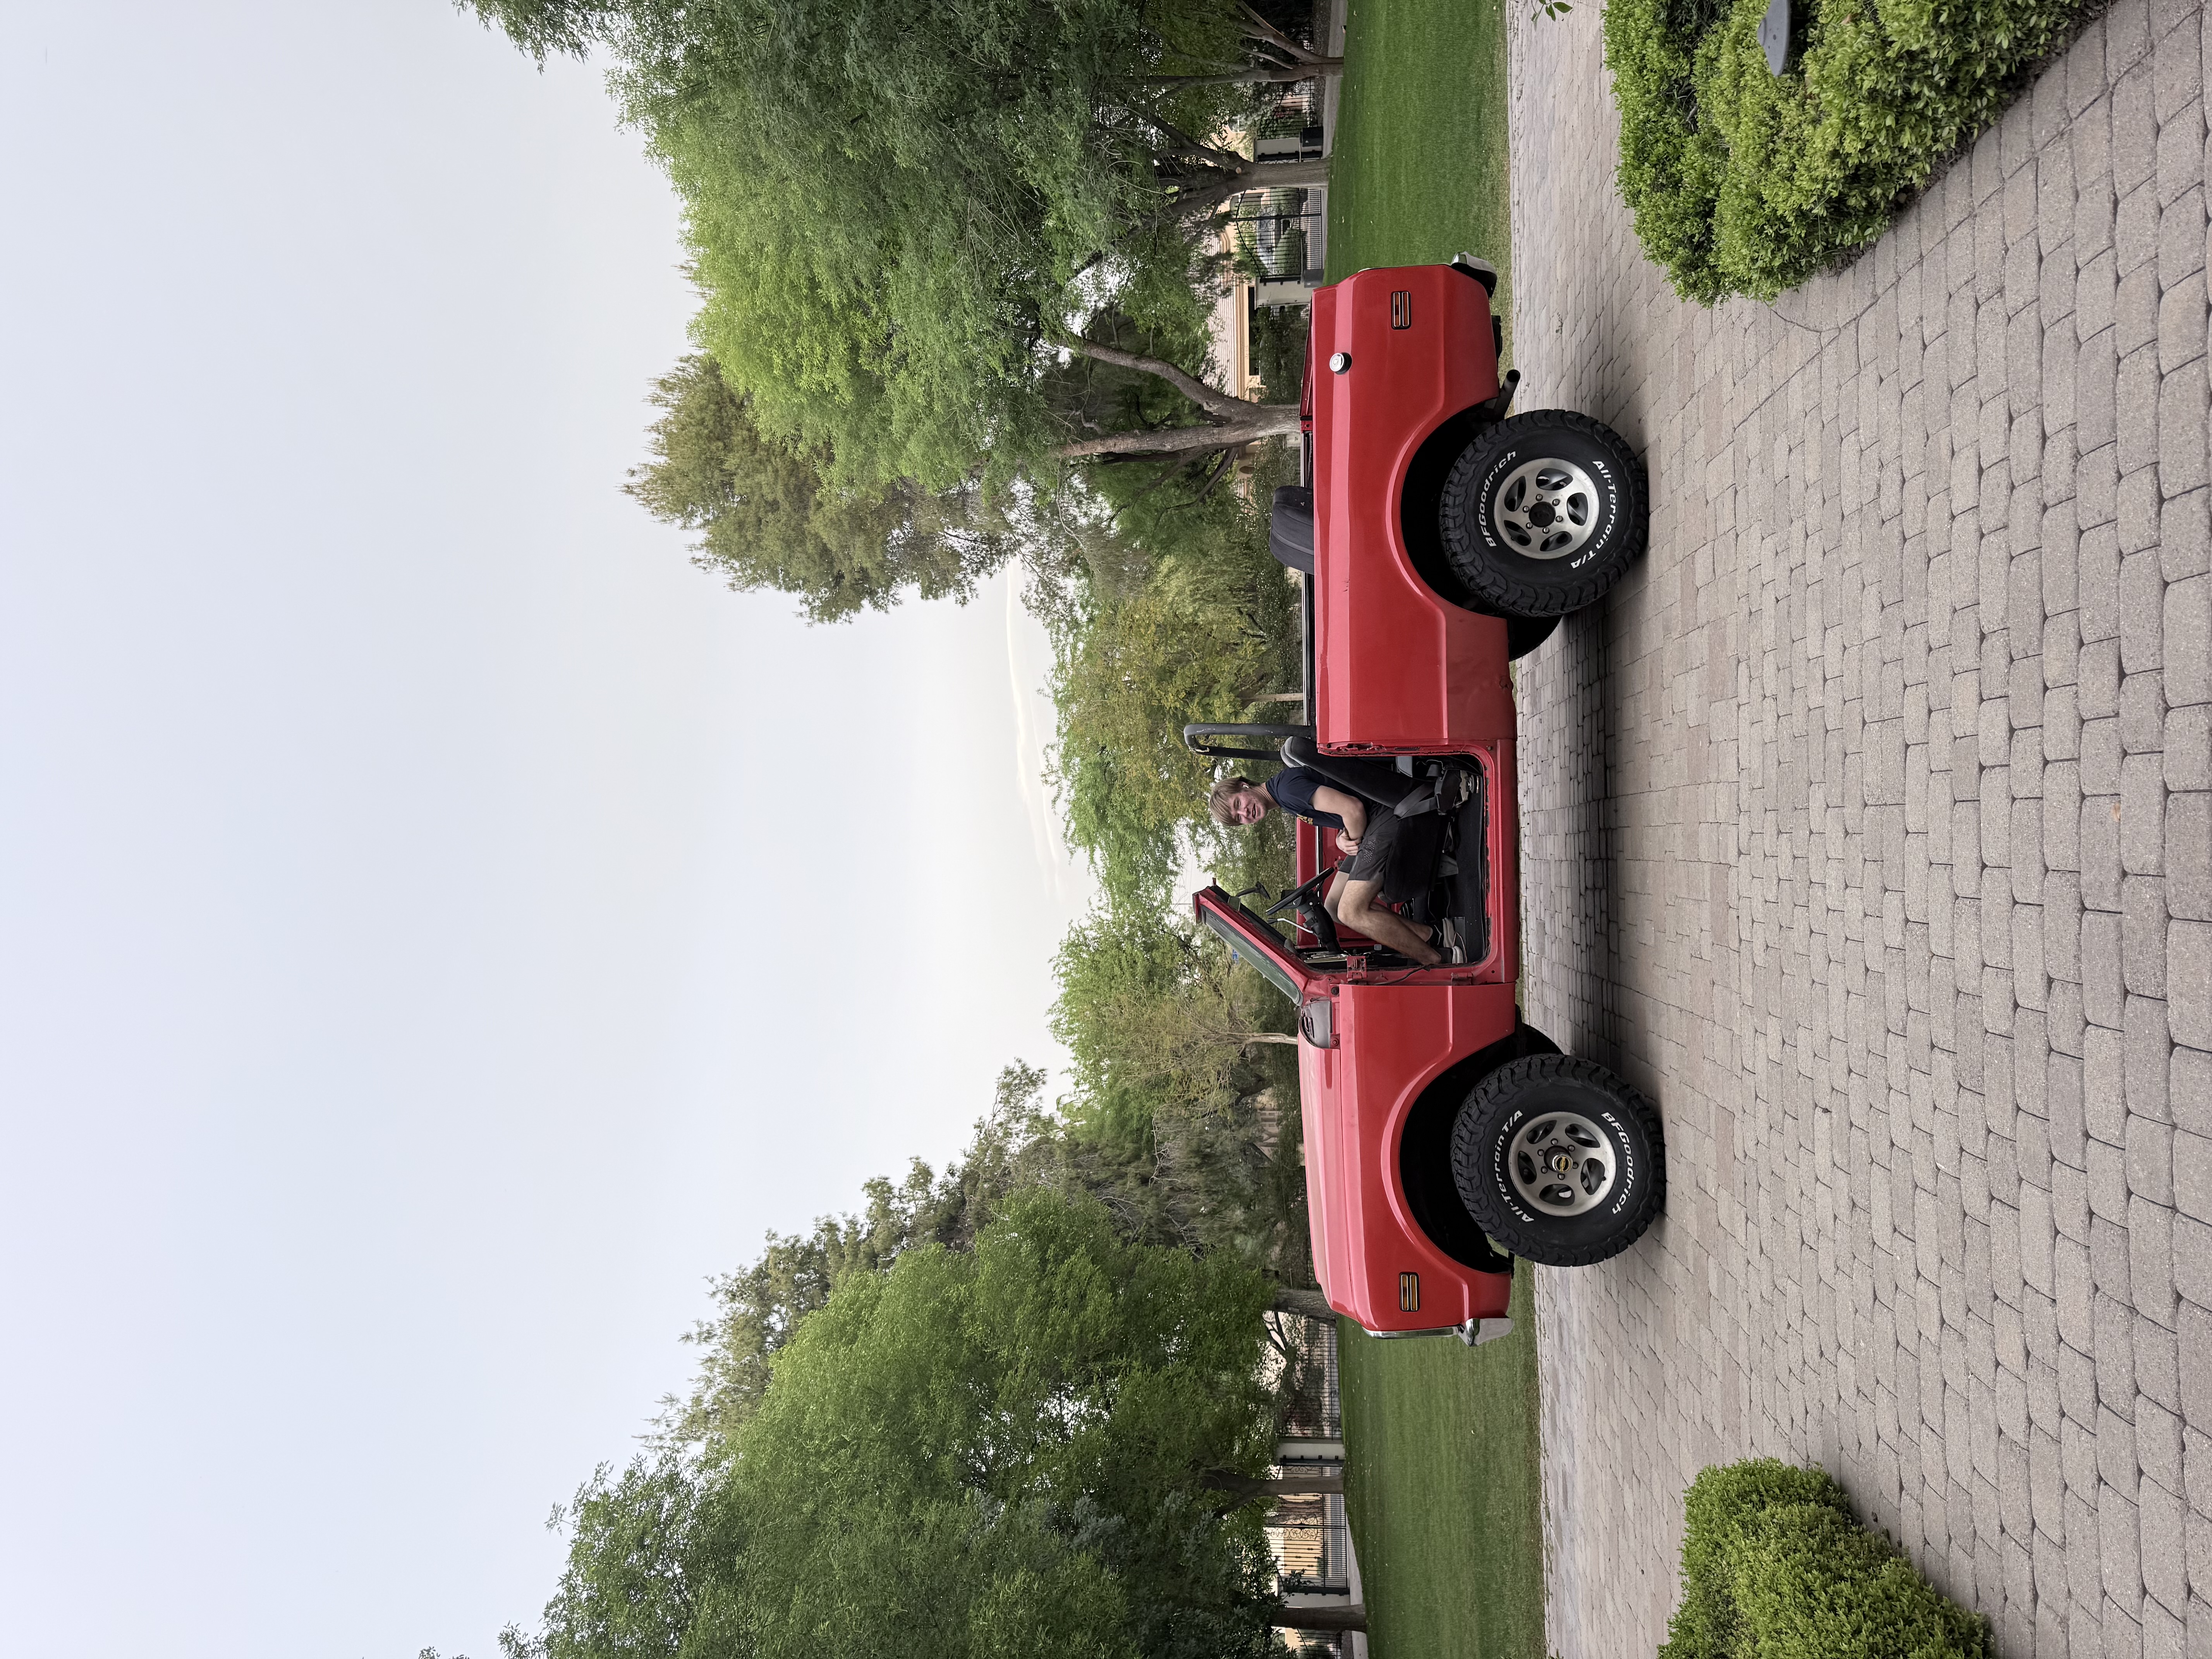
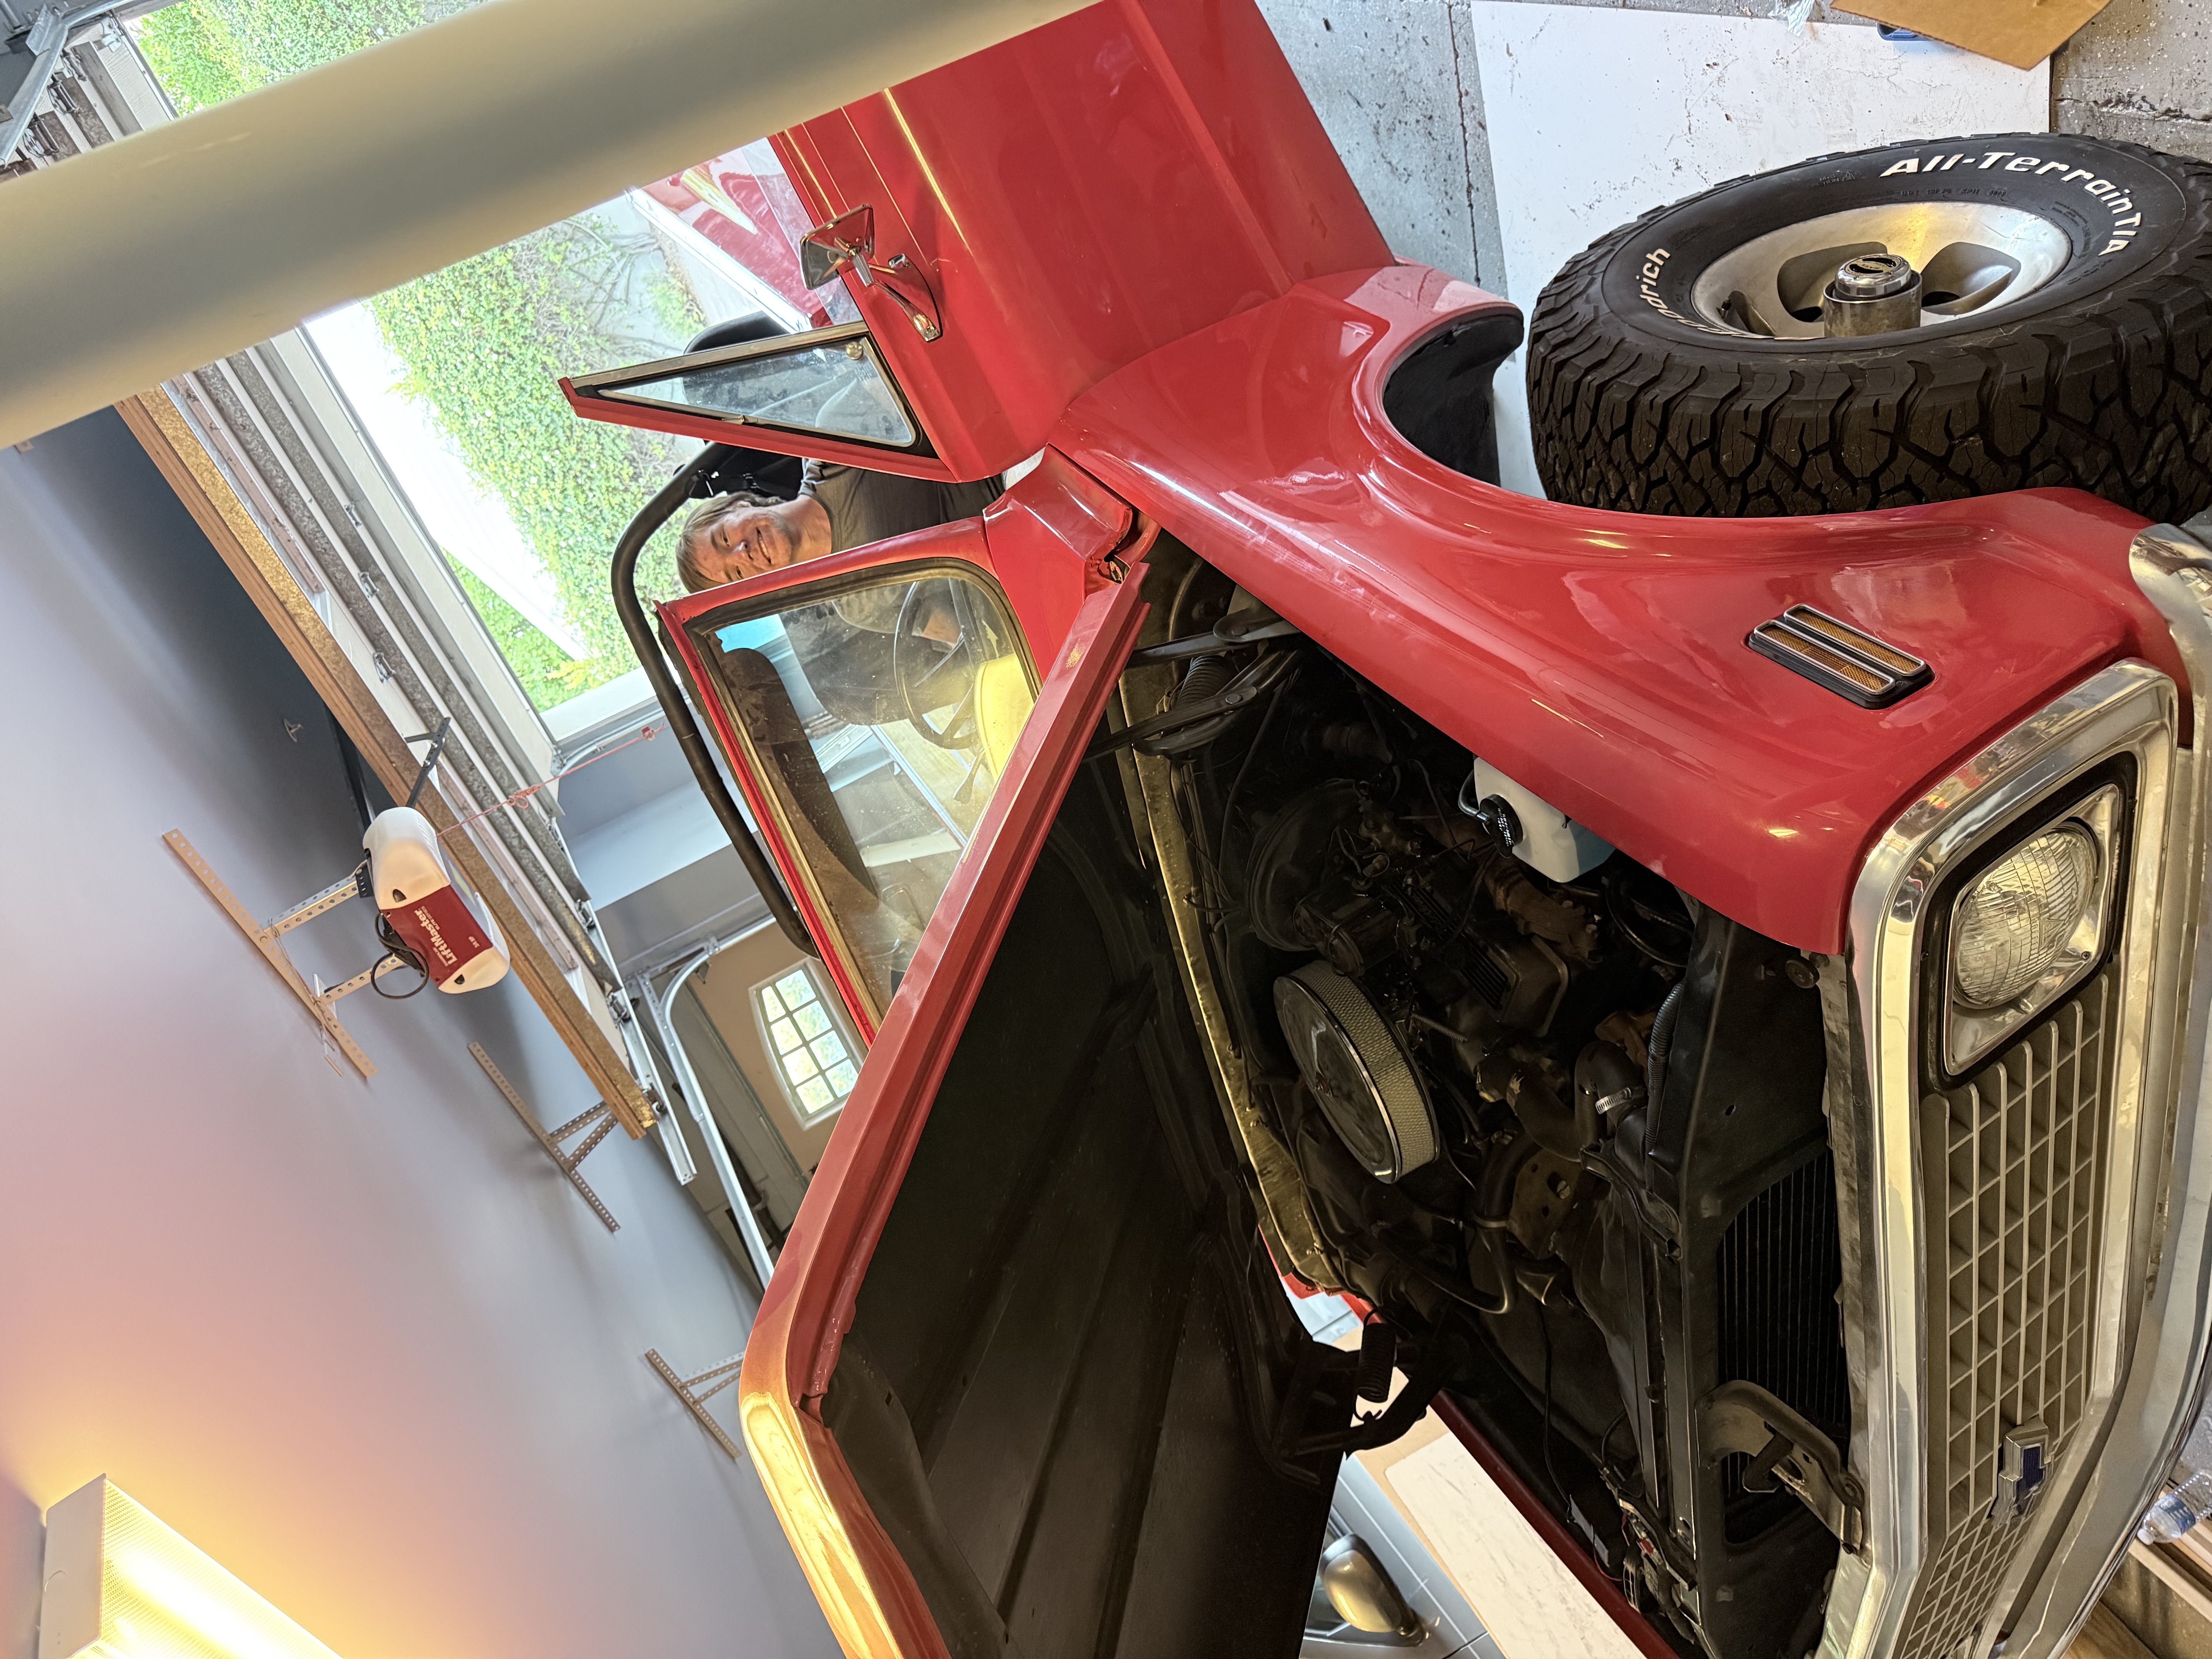
Finally, it ran. With one last deep clean, it was going to be roadworthy.